The first line Software version number "Version *". (English)
The second line Test pattern
The third line "KGS Braille-Labeler BL-1000" (English)
The fourth line "KGS Braille-Labeler BL-1000" (Japanese)
Important: In order to place the text the right way round, please make sure that the braille
dots are closer to the top than to the bottom.
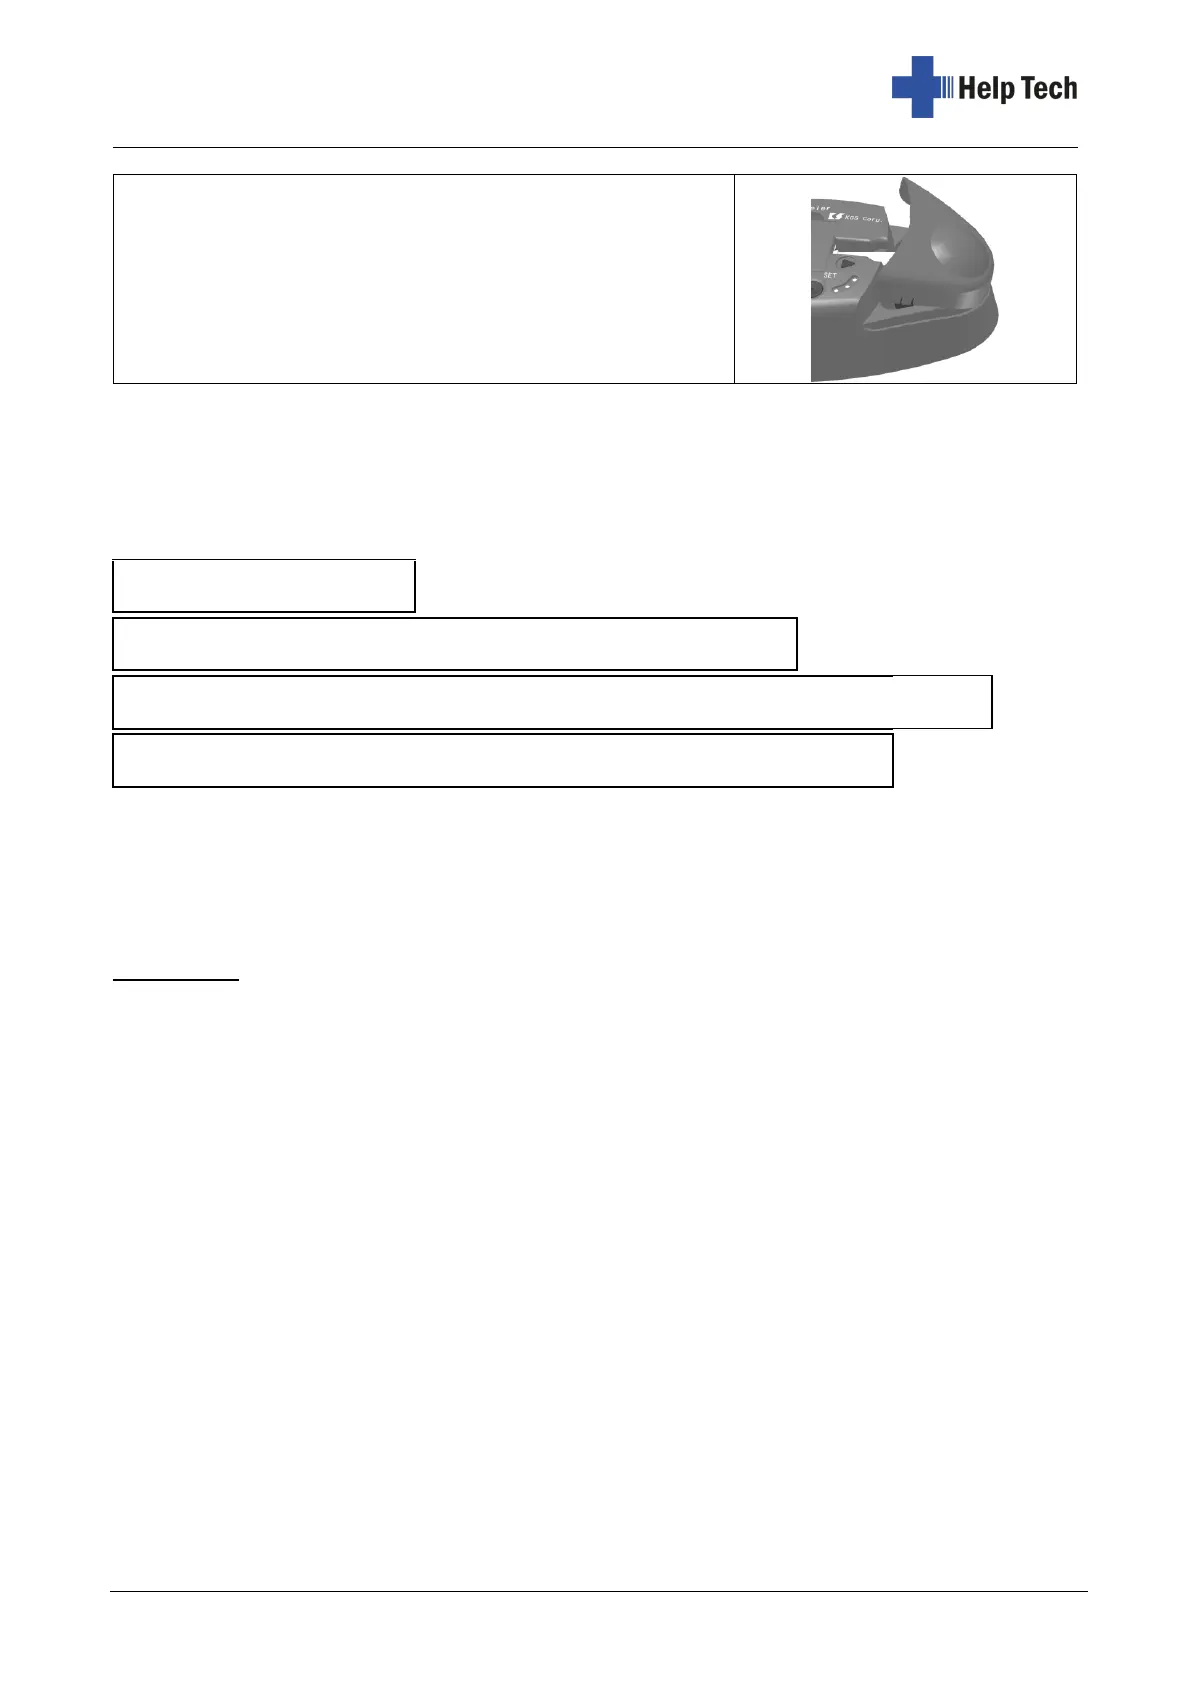
1. To start the test print, press and hold both the SET and RESET buttons together while
turning on the BL-1000 LINK with the power switch.
2. Then press the SET button. The first test strip is printed with the yellow LED lit.
3. After the test strip has been printed, the BL-1000 LINK signals this with a double beep
every 2 seconds.
4. Press the CUT button to cut the test strip.
5. If you now want to print the second test strip, press the SET button again. Otherwise,
turn off the BL-1000 LINK.
6. After the second test strip has been printed, the BL-1000 LINK signals this with a double
beep every 2 seconds.
7. Press the CUT button to cut the test strip.
8. If you now want to print the third test strip, press the SET button again. Otherwise, turn
off the BL-1000 LINK.
9. After the third test strip is printed, the BL-1000 LINK will beep twice every 2 seconds.
10. Press the CUT button to cut the test strip.
11. When you press the SET button again, the fourth test strip is printed.
12. To exit the test print mode, turn off the BL-1000 LINK.