Page 12 For technical questions, please call 1-888-866-5797. Item 59615
General Operation
WARNING! TO PREVENT SERIOUS INJURY:
During operation, fine dust will be generated.
Wear NIOSH-approved breathing protection.
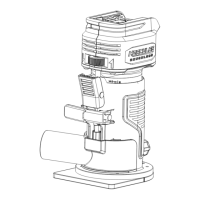
1. Confirm the Collet is tight on the router bit and
the Locking Lever is in the locked position.
2. Place the Router on the workpiece, making sure
the router bit is not in contact with the workpiece.
3. Hold the tool by gripping the textured surface
opposite the Locking Lever. Use another hand
on top of the battery pack to maintain control.
4. Adjust Router speed to suit workpiece and
router bit diameter. To adjust speed, rotate the
Variable Speed Control. Speed ranges from
1 (slowest speed) to 6 (fastest speed).
a. Generally, use the lower settings for larger
diameter cutting bits and the higher settings
for smaller cutting bits. The correct setting will
also depend on the density of the material,
depth of cut, and feed speed of the Router.
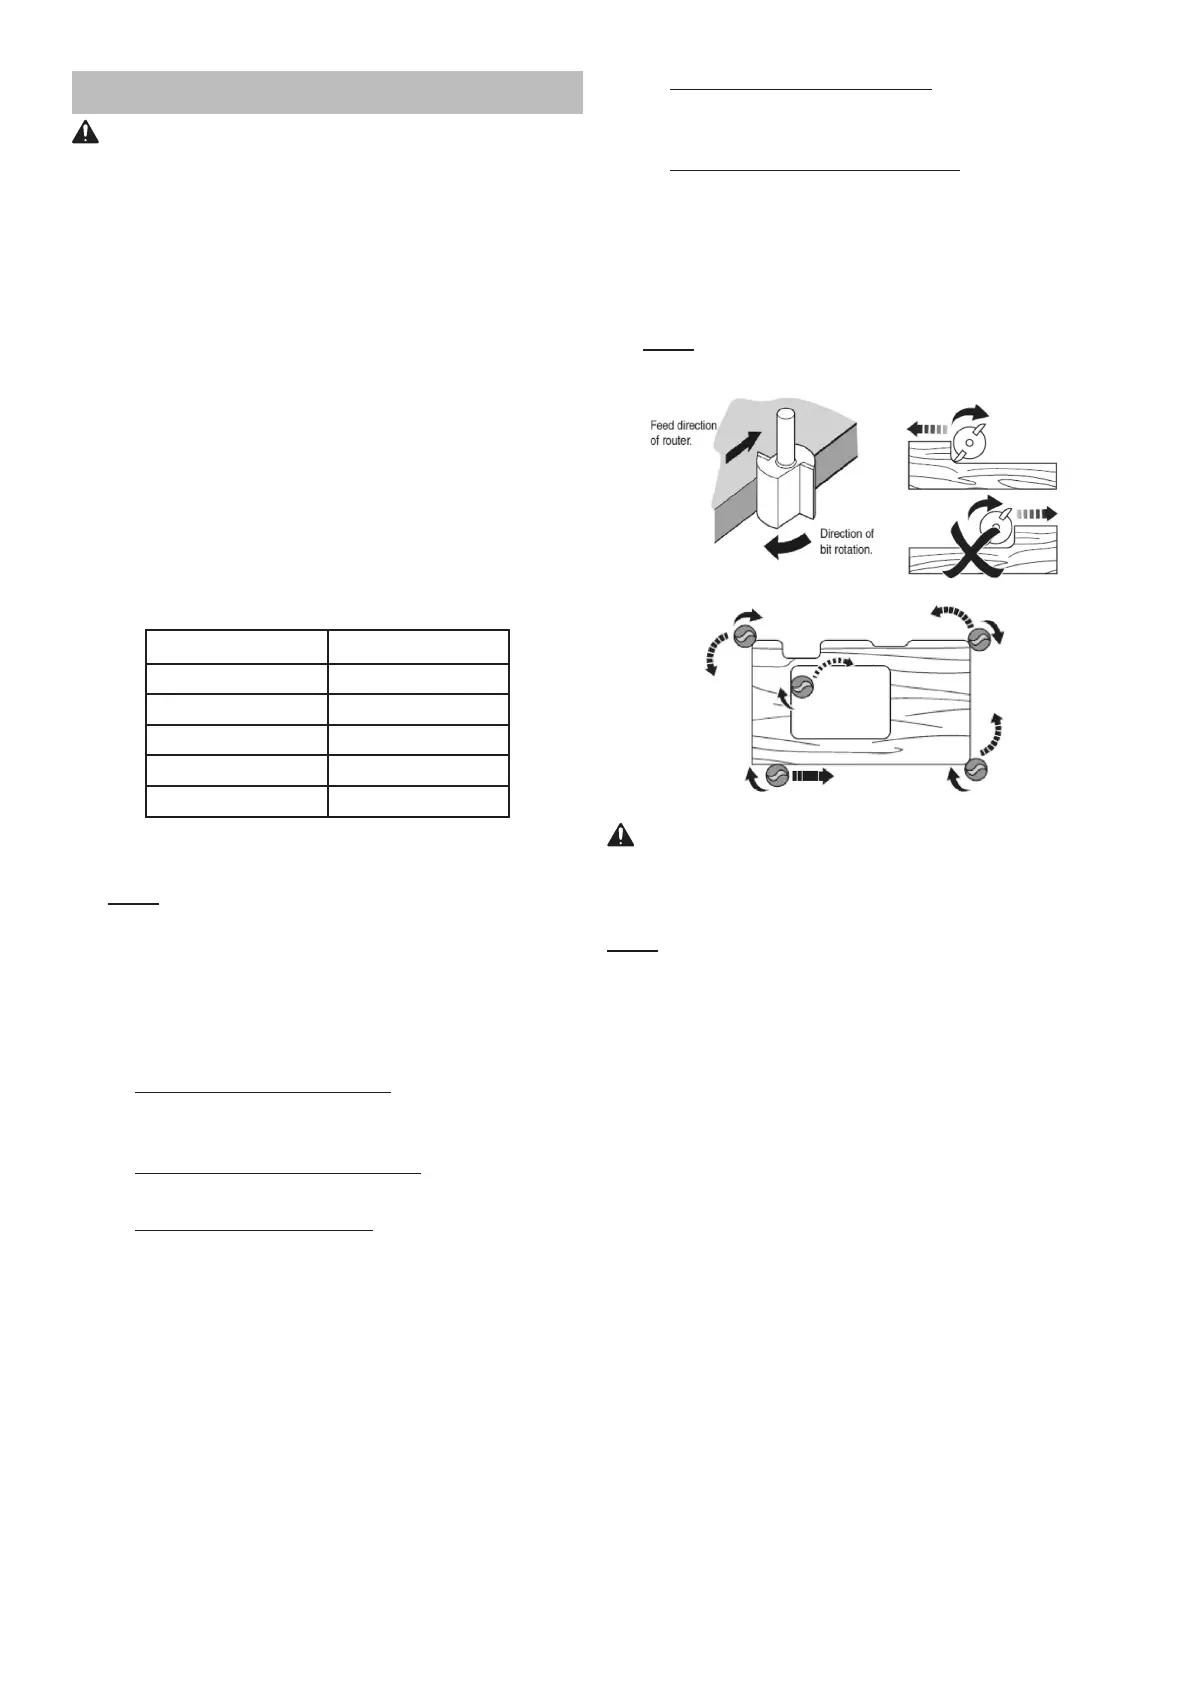
Material Speed Ranges
Hardwood 4-6
Softwood 5-6
Chipboard 3-5
Plastic 2-3
Aluminum 1-4
5. Press and hold the “ON” Power Button
for one second or until Router starts.
Note: Momentarily pressing the “ON” Power
Button will switch on the LED lights.
6. Wait until the router bit has reached its full speed
before making contact with the workpiece.
7. Move the Router with a slow, controlled motion.
Pay attention to the direction of feed. Do not force
the Router into the cut; let the cutter do the work.
a. When using the Edge Guide: Cut parallel
to the edge of the workpiece with the
Edge Guide following the edge.
b. When using a Temporary Guide: Cut with the Edge
Guide following the edge of the temporary guide.
c. When making a Circle Cut: With the nail in place
through the center hole of the Edge Guide,
plunge the router bit into the workpiece and
rotate the Router in a circle around the nail.
d. When using the Roller Guide: Cut the edge
of the workpiece with the Roller Guide
following the edge of the workpiece.
e. When using the Template Guide: Cut the
edge of the workpiece with the Template
Guide following the edge of the template.
8. Always route against the rotation direction of the
router bit. Move the Router counterclockwise when
routing on workpiece edges, move the Router
clockwise when routing the inside of the workpiece.
Note: An engraved arrow on the side of the Router
Base indicates the router bit’s direction of rotation.
WARNING! TO PREVENT SERIOUS INJURY:
Make sure the Router lays flat on the workpiece
during operation! Do not try to make cuts
with the router held only by one hand!
Note: Keep the Router moving at all times; do not stop
in one position or use too slow of a feed rate to avoid
burning the workpiece. Avoid aggressive feed rates that
slow down / overload the motor extensively.
Use several passes to achieve the desired depth; limit
cutting passes to approximately 1/8″ (3mm) depth.
9. Bring the Router to a stop at the end of the cut.
Press the “OFF” Power Button. Wait until the
router bit has come to a complete stop before
removing the Router from the workpiece.
10. To prevent accidents, turn off the tool and
remove its Battery Pack after use. Clean, then
store the tool indoors out of children’s reach