oode, ou a use self-tappig ses to seue
the aea.
If the podut does ot futio popel, otat
ou deale o the eaest seie ete. Do NOT
disassele the aea fo epai o aiteae
ouself.
Installation of Type I Camera
Steps:
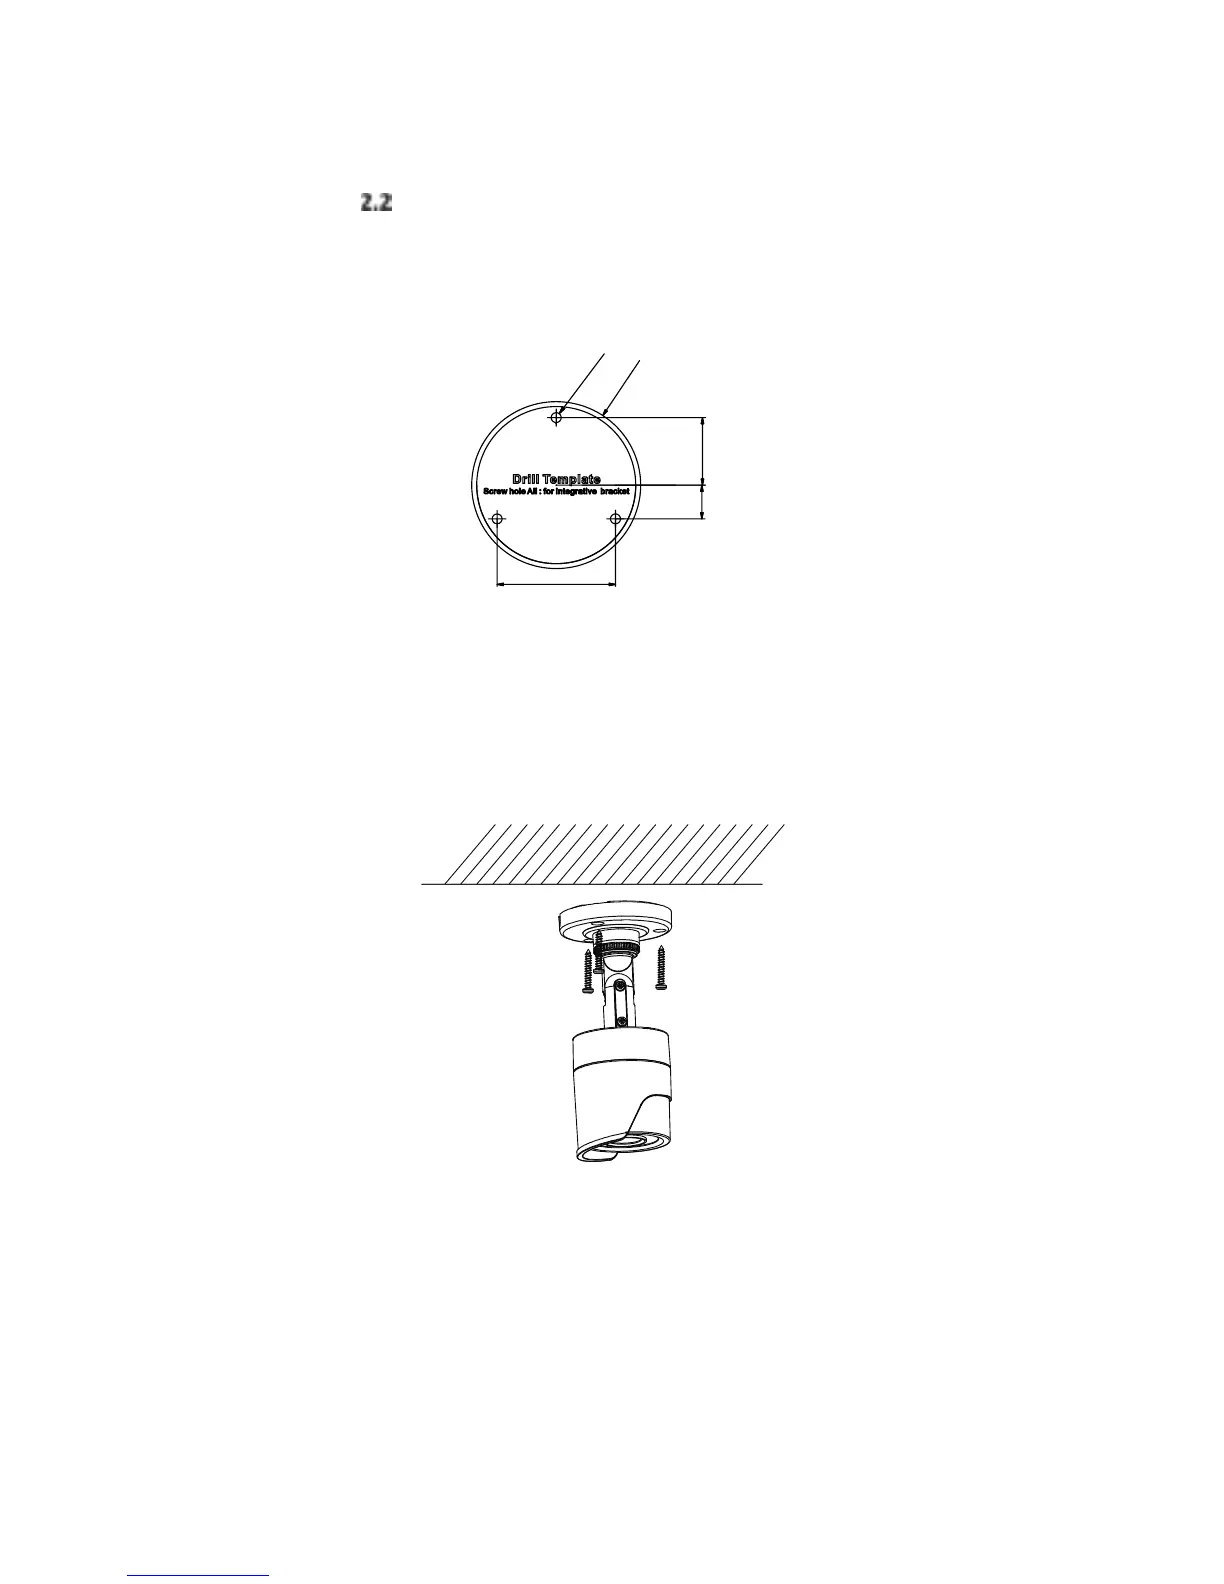
1. Attah the dill teplate to the eilig.
2. Dill the se holes aodig to the dill teplate,
ad the ale hole optioal o the eilig.
Figure 2. 1 Drill Template
Note:
Cale hole is euied he adoptig eilig outlet to
oute the ale.
3. Attah the outig ase of the tpe I aea to
the eilig ad seue the aea ith supplied
ses.
Figure 2. 2 Secure the camera to the ceiling
Note:
In the supplied screw package, both self-tapping
screws and expansion blots are contained.
If the wall is cement, expansion blots are required
to fix the camera. If the wall is wooden,
self-tapping screws are required.
4. Route the ales though the ale hole optioal,
o the side opeig.
5. Coet the oespodig poe od ad ideo
ale.
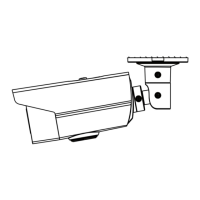
6. Poe o the aea to hek hethe the iage
o the oito is gotte fo the optiu agle.
If ot, adjust the aea aodig to the figue
elo to get a optiu agle.
 Loading...