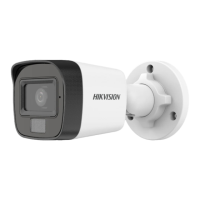
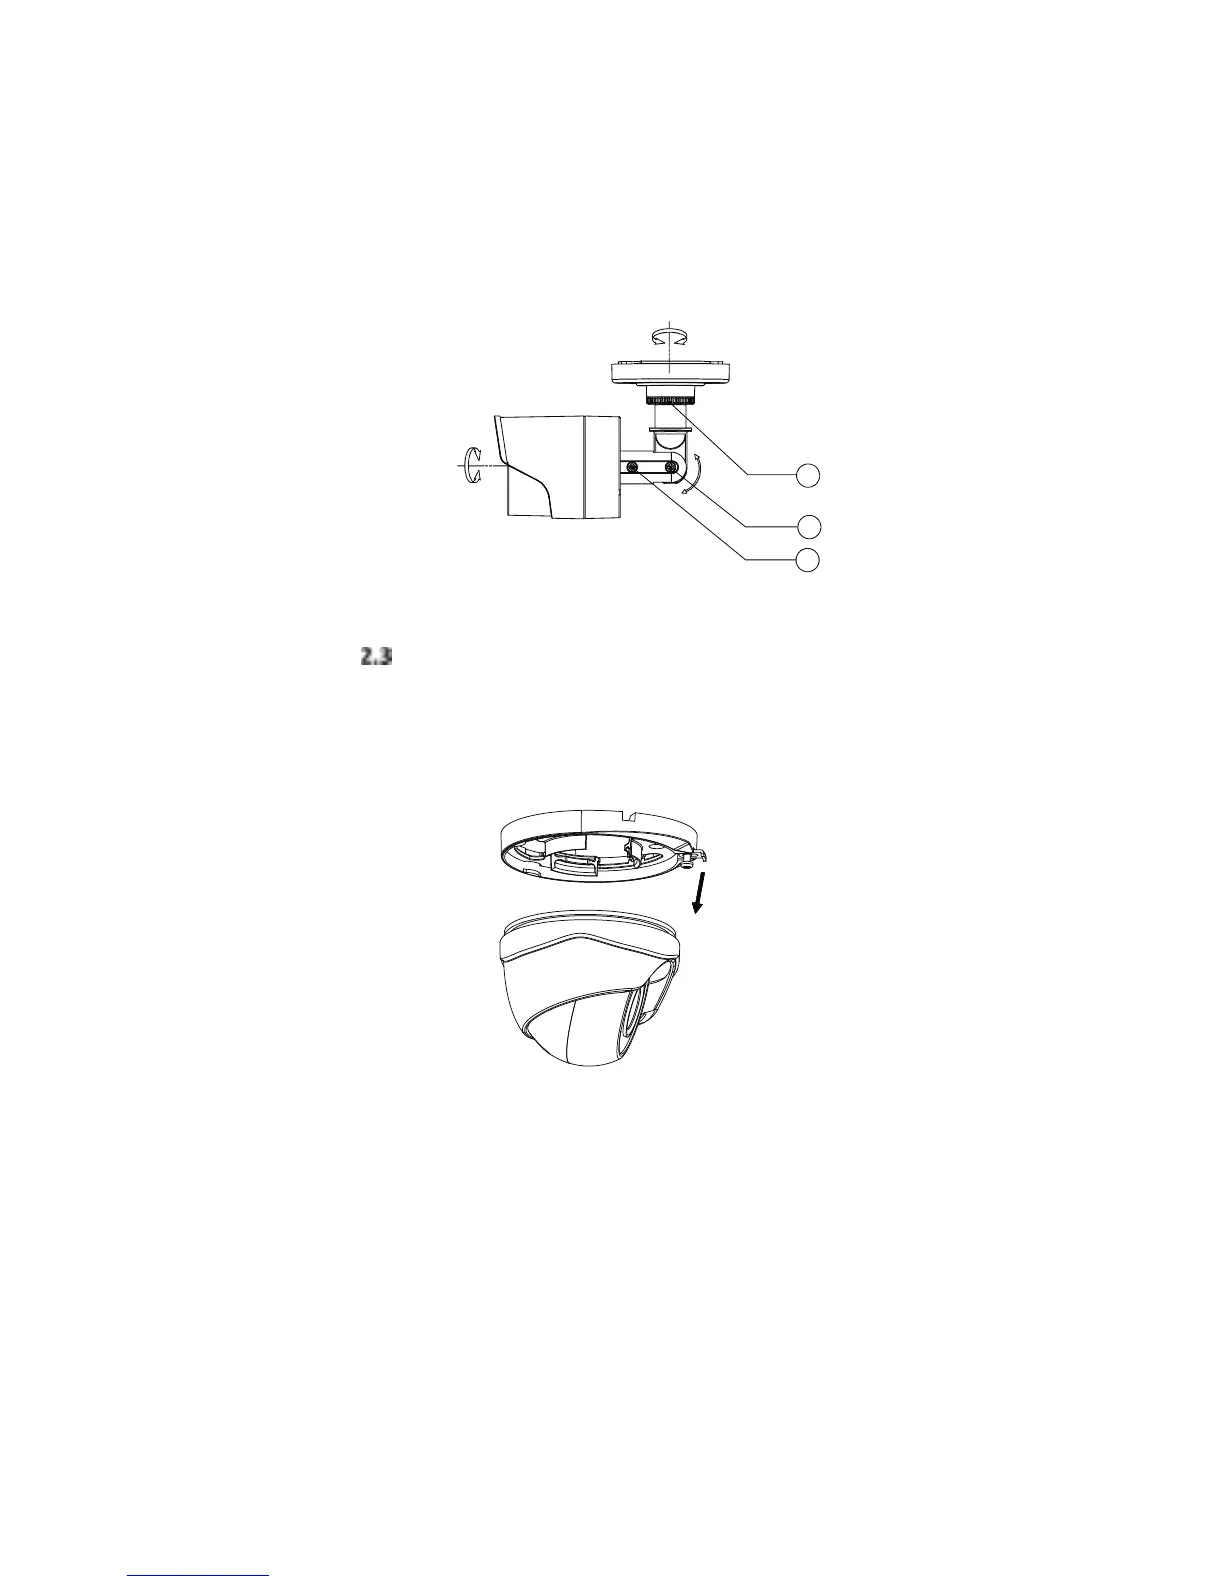
1). Loose the No. adjustig se to adjust the
pa positio ° to °.
2). Tighte the No. adjustig se.
3). Loose the No. adjustig se to adjust the
tiltig positio ° to °.
4). Tighte the No. adjustig se.
5). Loose the No. adjustig se to adjust the
otatio positio ° to °.
6). Tighte the No. adjustig se.
0° to 360°
3
2
1
0° to 360°
0° to 180°
Figure 2. 3 3-Axis Adjustment
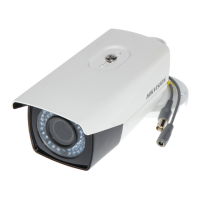
Installation of Type II camera
Steps:
1. Use the he eh to loose the se, ad
eoe the outig ase fo the aea od,
sho as the figue ..
Figure 2. 4 Disassemble the Camera
2. Attah the dill teplate supplied to the plae
hee ou at to istall the aea, ad the dill
the se holes aodig to the dill teplate, ad
the ale hole optioal o the eilig.
Note:
Cale hole is euied he adoptig eilig outlet to
oute the ale.
 Loading...