© Hikvision
Proper configuration of all passwords and other security settings is the responsibility of the
installer and/or end-user.
Steps:
1. Enter the HTTPS settings interface.
Configuration > Network > Advanced Settings > HTTPS
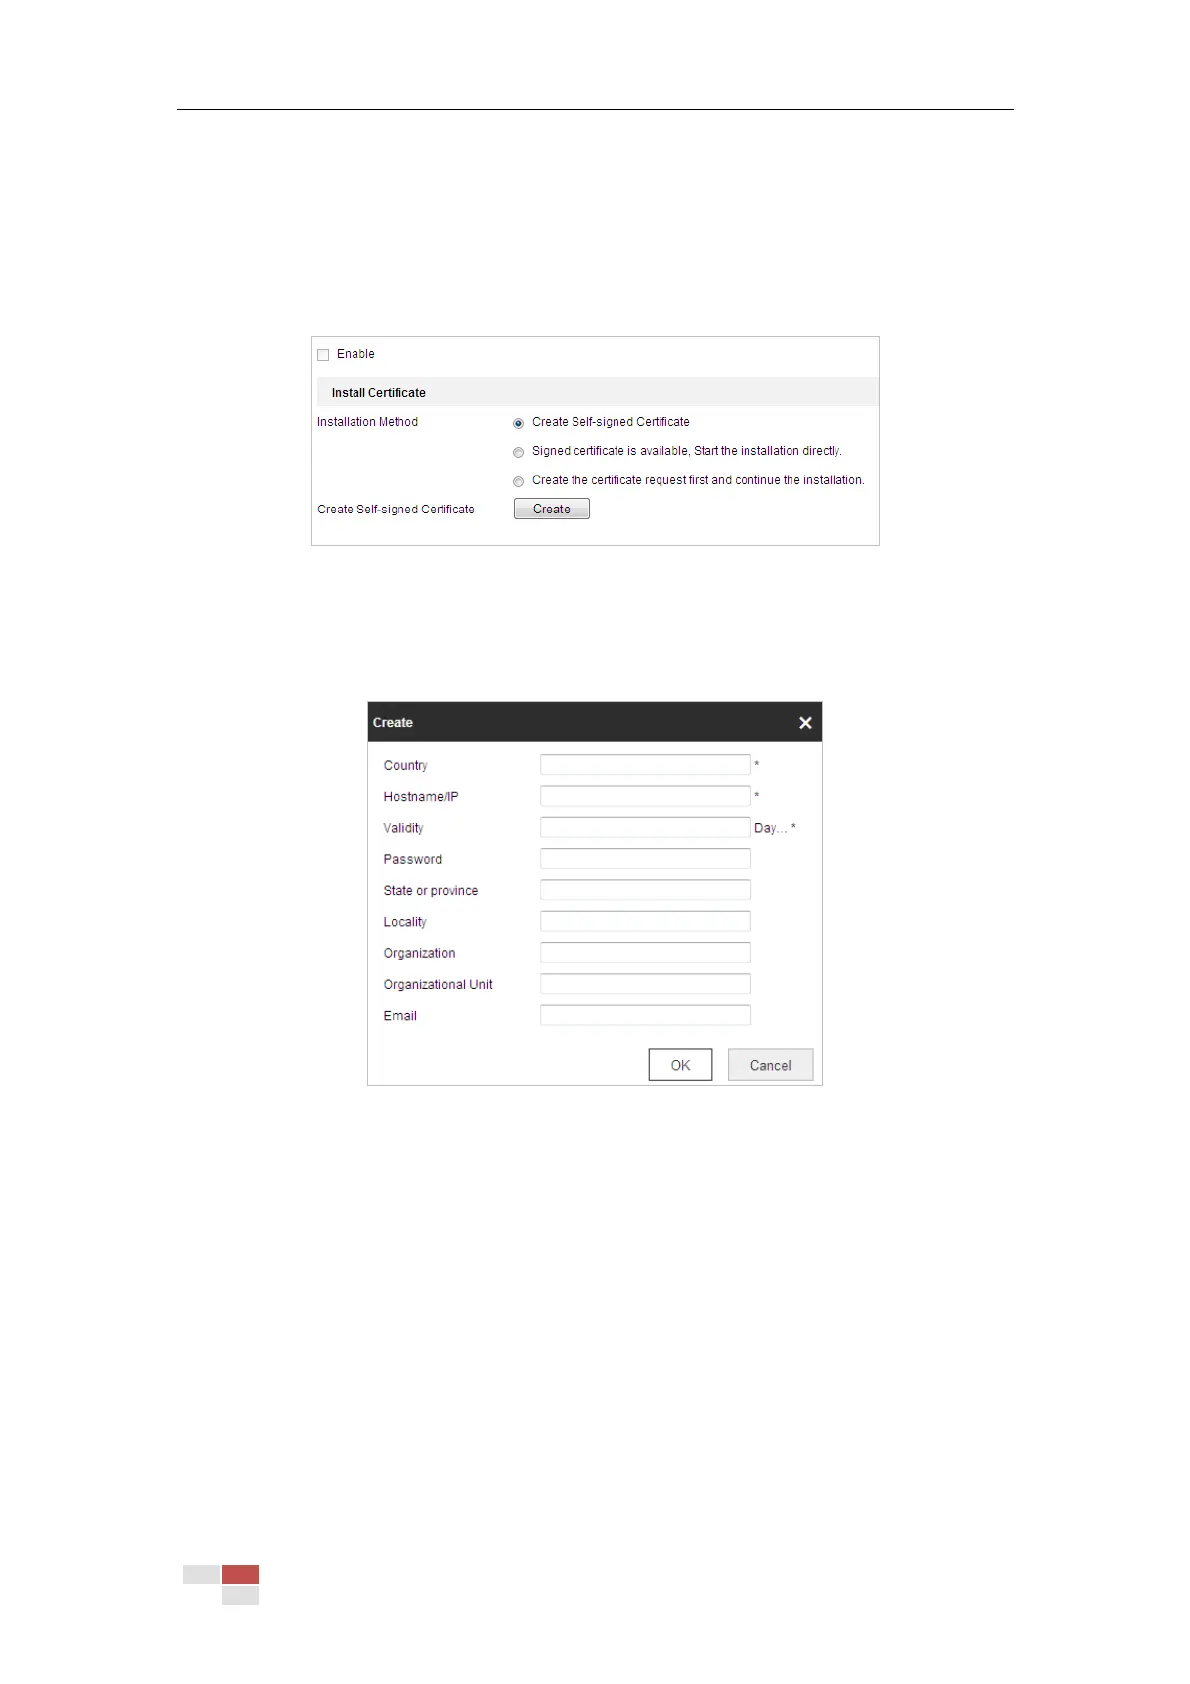
2. Create the self-signed certificate or authorized certificate.
Figure 6-13 Create Certificate
OPTION 1: Create the self-signed certificate
(1) Select Create Self-signed Certificate.
(2) Click Create to create the following dialog box.
Figure 6-14 Create Self-signed Certificate
(3) Enter the country, host name/IP, validity and other information.
(4) Click OK to save the settings.
OPTION 2: Start the installation when signed certificate is available.
(1) Select Signed certificate is available, Start the installation directly.
(2) Click Browse to upload the available certificate.
(3) Click Install button to install the certificate.
(4) Click OK to save the settings.
OPTION 3: Create certificate request first and continue the installation.
(1) Select Create certificate request first and continue the installation.
(2) Click Create to create the certificate request, and fulfill the required information.
(3) Download the certificate request and submit it to the trusted certificate authority for
signature.

 Loading...