Network Video Recorder User Manual
156
Example:
If you set the port number as 443 and the IP address is 192.0.0.64, you may access the device by inputting
https://192.0.0.64:443 via the web browser.
The HTTPS port can be only configured through the web browser.
Steps:
1. Open web browser, input the IP address of device, and the web server will select the language automatically
according to the system language and maximize the web browser.
2. Input the correct user name and password, and click Login button to log in the device.
3. Enter the HTTPS settings interface.
Configuration > Remote Configuration > Network Settings > HTTPS
4. Create the self-signed certificate or authorized certificate.
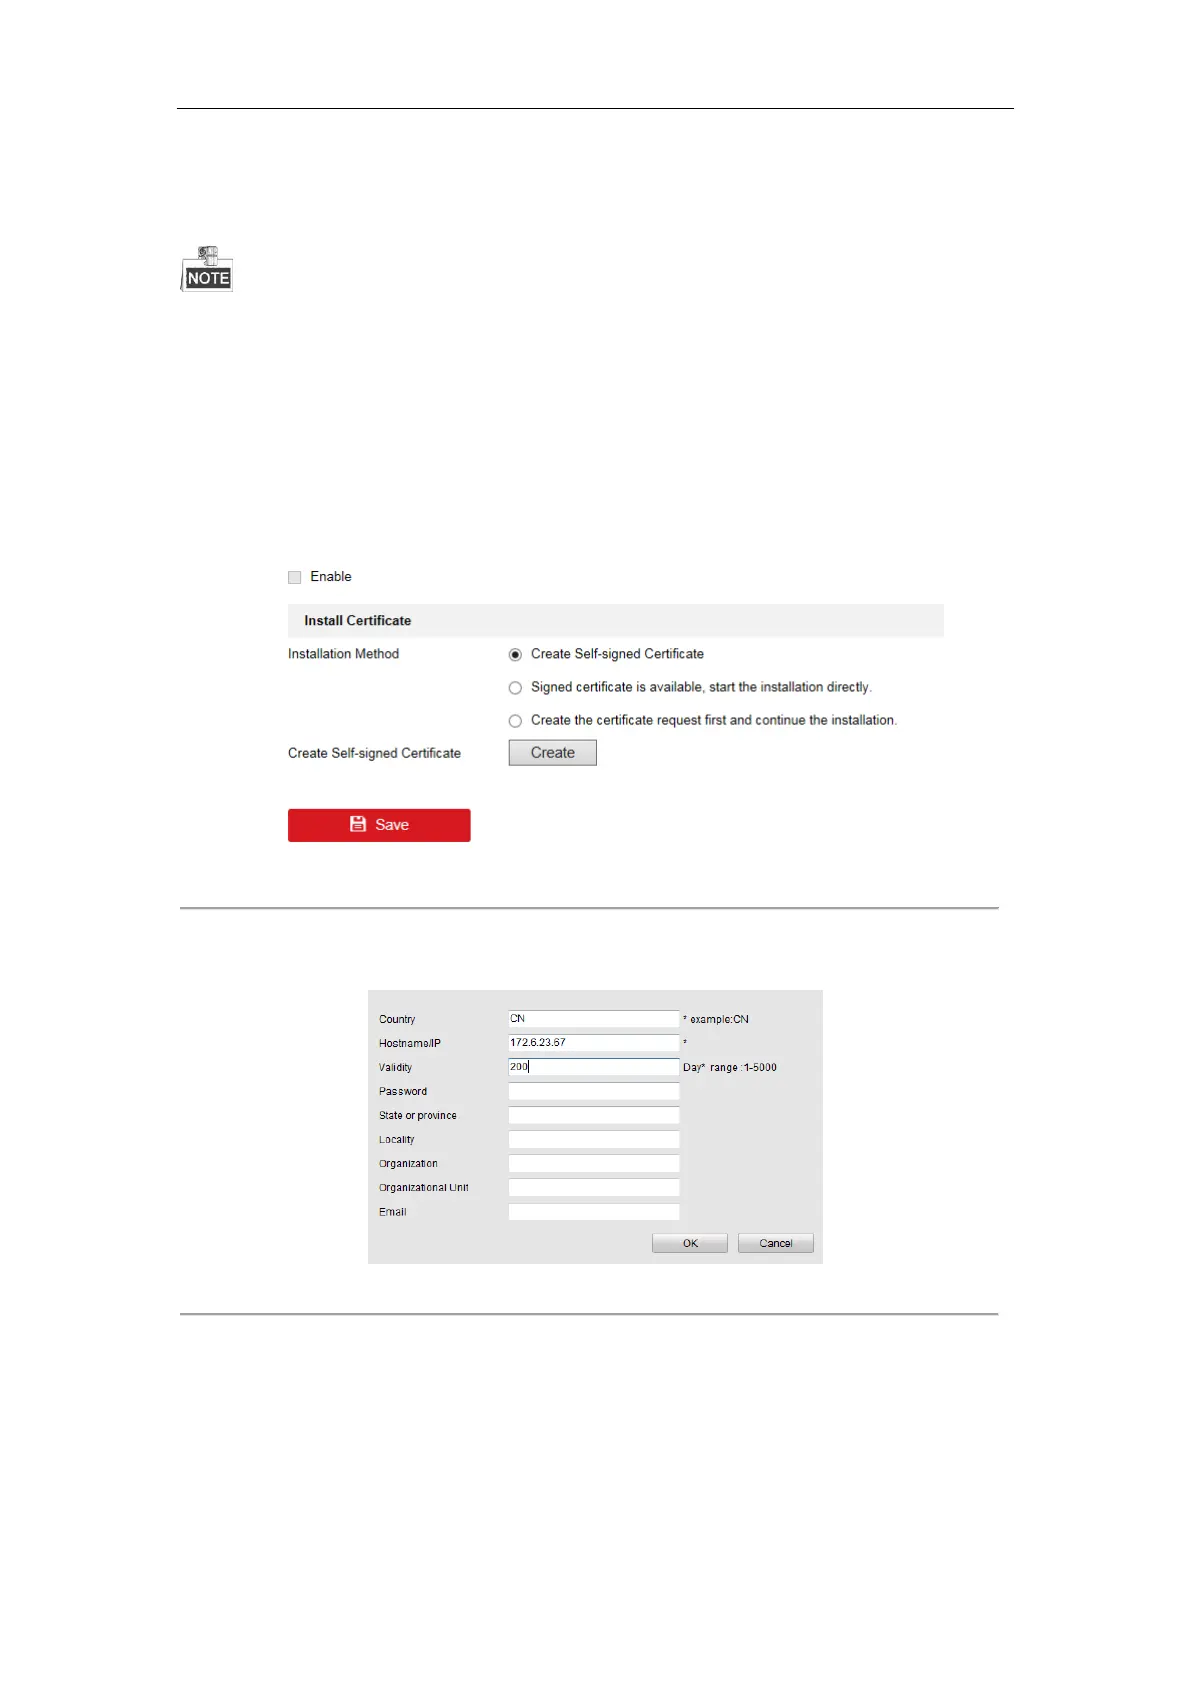
Figure 11. 16 HTTPS Settings
OPTION 1: Create the self-signed certificate
1) Click the Create button to create the following dialog box.
Figure 11. 17 Create Self-signed Certificate
2) Enter the country, host name/IP, validity and other information.
3) Click OK to save the settings.
OPTION 2: Create the authorized certificate
1) Click the Create button to create the certificate request.
2) Download the certificate request and submit it to the trusted certificate authority for signature.
3) After receiving the signed valid certificate, import the certificate to the device.
 Loading...