Quick Operation Guide of DS-A81 Series Storage System
61
9. Mount an iSCSI disk automatically.
Modify /etc/rc.local through the vi editor. Use the command Shift + G to locate the cursor at
the last line. Use the command o and then enter #mount /dev/sd1 /mnt/scsi01. After
saving the file and rebooting the Linux server, the server can mount the iSCSI disk
automatically.
7.5 Creating iSCSI Connection in Suse 10
This section introduces the procedure iSCSI connection in Suse 10.
Steps:
1. Discover the target.
# iscsiadm -m discovery -t sendtargets -p 10.192.52.166
[1b72d5] 10.192.52.166:3260,1 iqn.2004-05.storos.t-123
2. Log on the target.
# iscsiadm -m node -r 1b72d5 -l
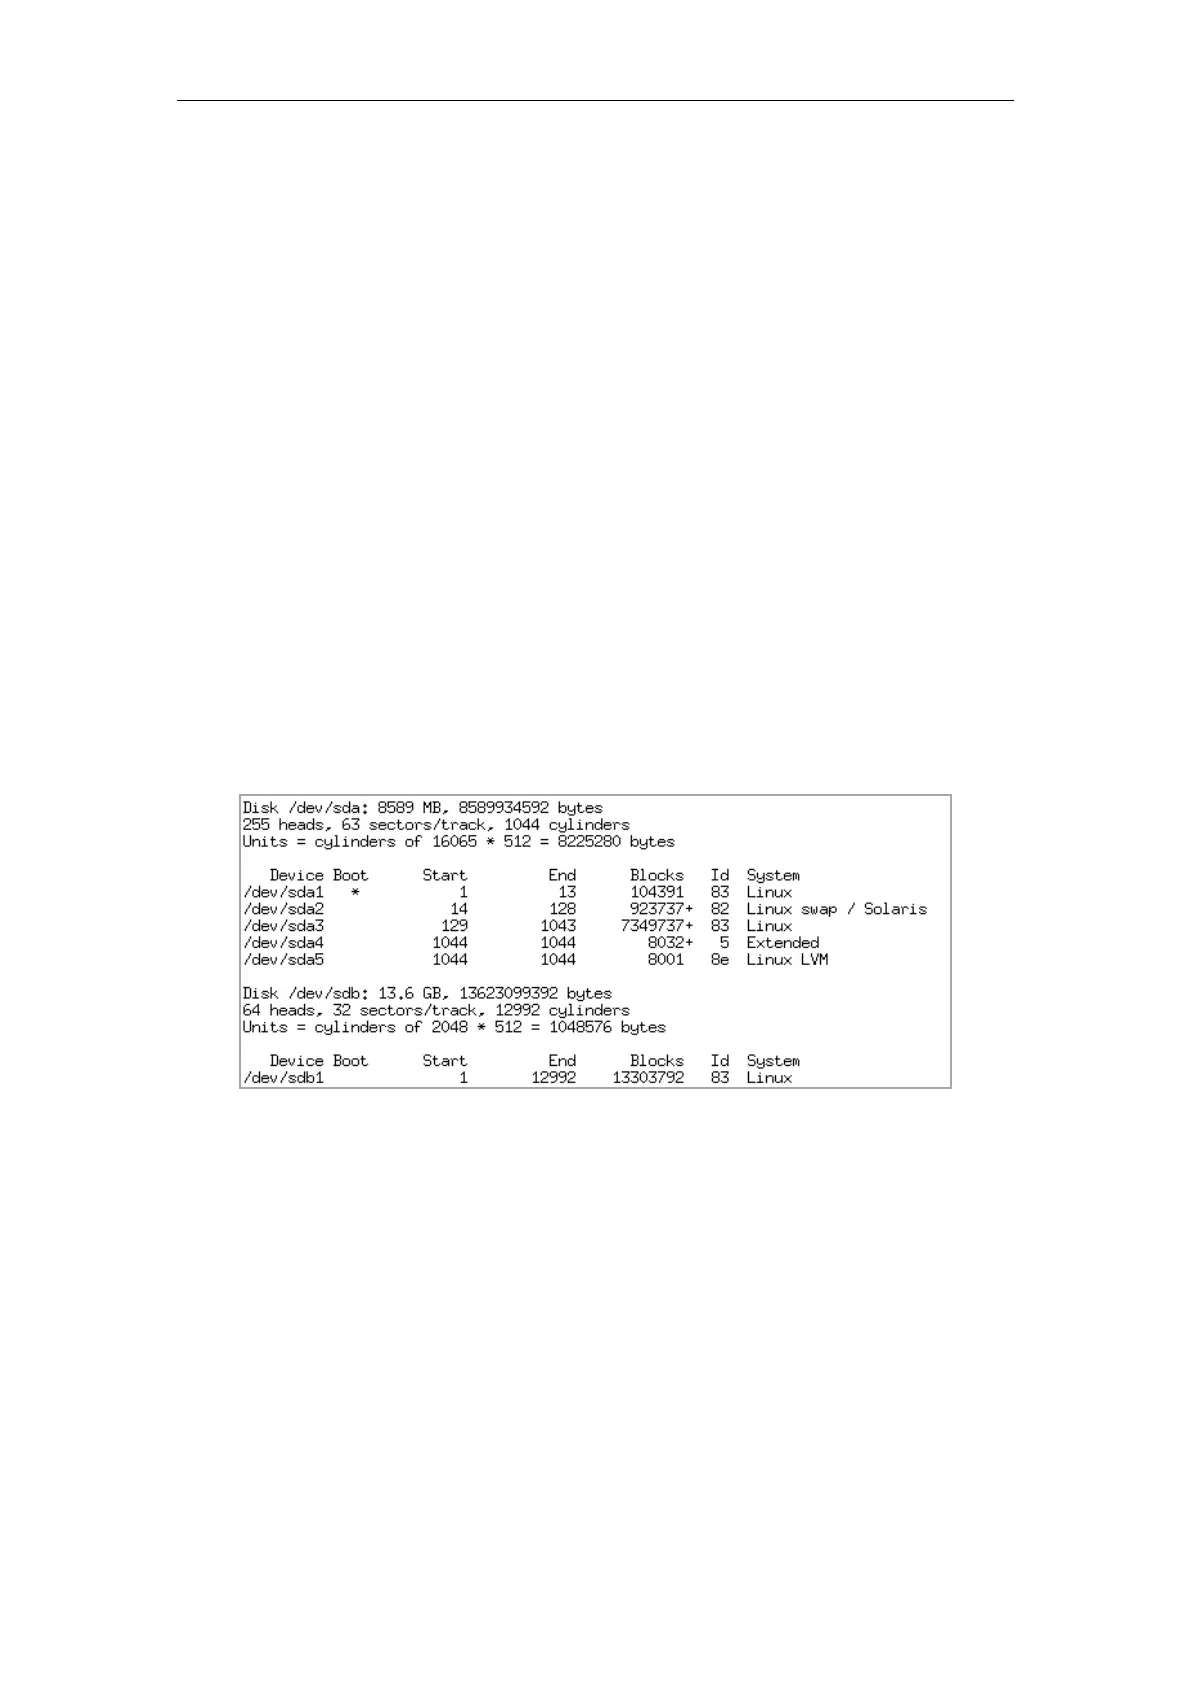
3. View the disk information.
# fdisk –l
Figure 7. 18 Disk Information
4. Use the fdisk command for disk partitioning, and then format the disk.
# fdisk /dev/sdb
# mkfs.ext3 -b 4096 /dev/sdb1
5. Set the mount point.
# mkdir /mnt/scsi01
# mount /dev/sdb1 /mnt/scsi01
Now the server has connected the iSCSI disk and you can do the same operation as the local SCSI
disk of the Linux server.
 Loading...