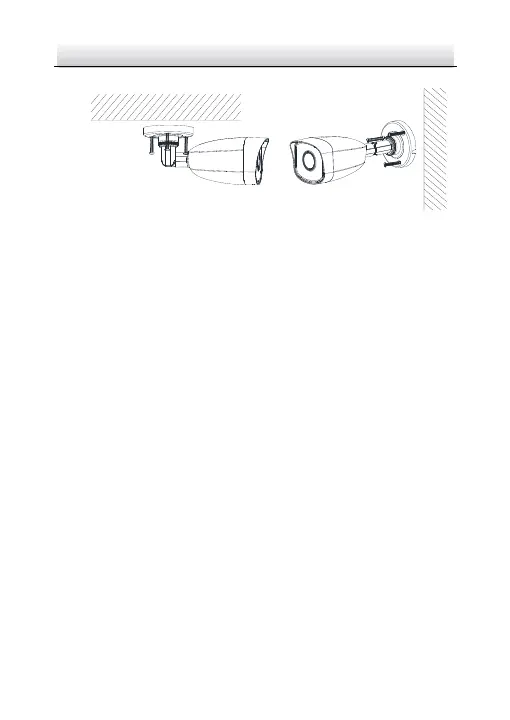
Figure 2-3 Fix the Camera on the Ceiling/Wall
Note:
In the supplied screw package, both self-tapping screws, and
expansion bolts are contained.
If the ceiling is cement, expansion bolts are required to fix the
camera. If the ceiling is wooden, self-tapping screws are required.
5. Connect the corresponding power cord, and network cable.
6. Power on the camera, and set the network configuration (for
details, refer to 3 Set the Network Camera over the LAN and 4
Access via Web Browser) to check whether the image is gotten
from the optimum angle. If not, adjust the surveillance angle.
1) Loosen the No.1 adjusting screw to adjust the rotation
position [0° to 360°].
2) Tighten the No.1 adjusting screw.
3) Loosen the No.2 adjusting screw to adjust the tilting position
[-90° to 90°].
4) Tighten the No. 2 adjusting screw.
 Loading...