EasyManuals Logo

HIKVISION HiLook User Manual

HIKVISION HiLook
32 pages
To Next Page IconTo Next Page
To Previous Page IconTo Previous Page
Page #15 background imageLoading...
Page #15 background image
Network PTZ Camera·Quick Start Guide
5
Make sure the ceiling is strong enough to withstand more than
four times the weight of the camera and its accessories.
Steps:
1. Install the installation plate.
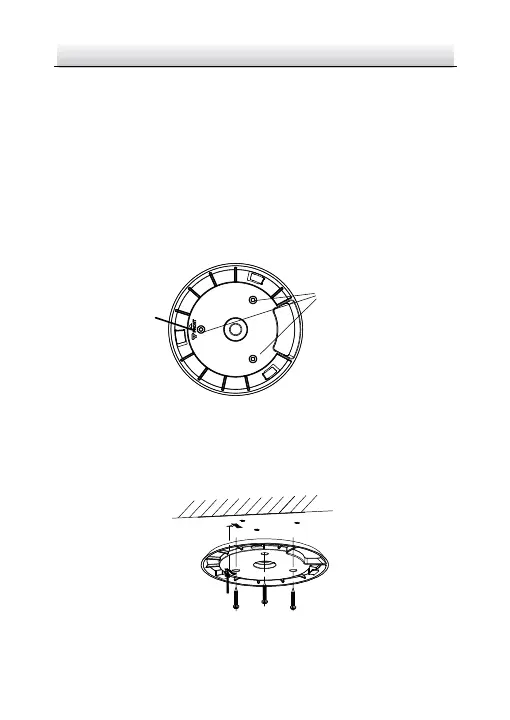
1) Rotate the i nstallation plate anticlockwise to separate it from
the camera.
2) Drill three screw holes on the ceiling according to the
installation plate as shown in Figure 2-3.
Front
Screw Holes
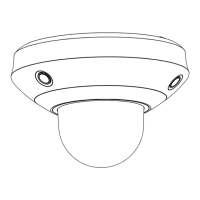
Figure 2-3 Drill Screw Holes
3) Insert three expansion screws into the screw holes.
4) Fi x the installation plate onto the ceiling with three screws.
Figure 2-4 Ins tall the Installation Plate

Questions and Answers:

Question and Answer IconNeed help?

Do you have a question about the HIKVISION HiLook and is the answer not in the manual?

HIKVISION HiLook Specifications

General IconGeneral
Image Sensor1/2.7" Progressive Scan CMOS
Ingress ProtectionIP67
Operating Temperature-30 °C to 60 °C (-22 °F to 140 °F)
Resolution1920 × 1080
IR RangeUp to 30 m
Power SupplyDC 12V ±25% / PoE (varies by model)
Weather ResistanceYes
Lens2.8mm fixed lens (varies by model)

Related product manuals