6
en
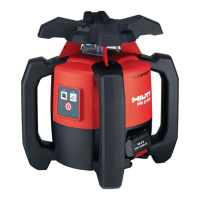
6. Before use
-NOTE-
– The tool may be powered only by the PRA 801 recharge-
able battery or by batteries manufactured in accordance
with the IEC standard.
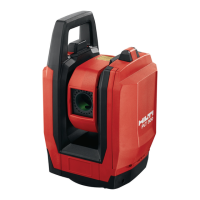
PR 801 rechargeable battery
– The performance of the battery drops at low tempera-
tures.
– Store the battery at room temperature.
– Never store the battery where it is exposed to direct
sunlight, on a radiator or heater, or behind glass (win-
dows, motor vehicle windscreens, etc).
Batteries
– Do not use damaged batteries.
– Do not mix old and new batteries. Do not mix batter-
ies of different types or batteries from various manu-
facturers.
6.1 Switching on the tool
Press the on/off key.
-NOTE-
After switching on, the tool begins the automatic level-
ing process (max. 40 seconds). Once fully leveled, the
tool activates the laser beam in the rotational plane and
in the plane perpendicular to this. The laser beam begins
to rotate at medium speed.
6.2 LED indicators
Auto leveling LED
The LED blinks rapidly.
The LED lights constantly.
Shock warning LED
All LEDs blink.
The shock warning LED lights red.
Battery voltage LED
The LED lights.
Inclination LED
The X and Y LEDs do not light.
The X LED does not light and the Y LED lights red.
The X LED lights red and the Y LED does not light.
The X LED lights red and the Y LED lights red.
The tool is leveling itself automatically.
The tool has leveled itself/is operating normally.
The tool has been bumped or brought out of level tem-
porarily.
The shock warning LED lights red after deactivation of
the shock warning.
The batteries are almost exhausted.
Operation in the horizontal plane.
The Y-direction has been aligned manually or by way
of auto alignment. X-direction is still under automatic
control.
The X-direction has been aligned manually or by way
of auto alignment. Y axis is still under automatic con-
trol.
The X- and Y-directions have been aligned manually or
by way of auto alignment. The shock warning system
is deactivated.
6.3 Inserting new batteries
1. Open the battery compartment by turning the lock-
ing button.
2. Insert the batteries in the battery compartment. Take
care to ensure correct polarity.
3. Close the battery compartment by turning the lock-
ing button.
 Loading...