5. Using a piece of insulation tape or a small soft
wedge lock the bias off switch in the ‘ON’
position.
6. Use the standard procedure test for electrical
safety. Do not exceed 1250 volt insulation test
duration of 3 seconds.
5. Record the test results.
6. Complete a functional (run) test and record
results.
FAULT FINDING
FAULT CAUSE ACTION
The machine does not run. The power cable is not Connect the power cable to the
connected to the power supply. power supply.
The motor brushes are worn. Replace the motor brushes.
The voltage is too low. Check the main power
complies with the machine's
serial plate data.
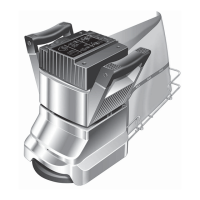
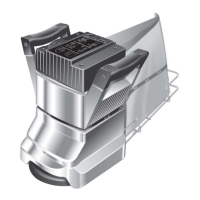
The machine will not pickup The dust bag is full. Replace the paper dust bag or
dust. empty the cloth dust bag.
There is an obstruction in the Disconnect the machine from
dust pick-up. the power supply, tip the
machine back and remove the
sanding pad, check for
obstruction.
The dust brush is worn. Replace the dust brush.
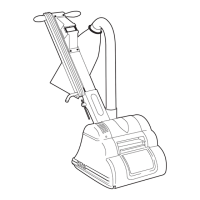
The machine does not sand The sanding pad is damaged. Check and replace the sanding
evenly. pad.
The wheels are out of Check and adjust the wheels.
adjustment.
The sander does not glide easily The machine is not being Read the instructions, do not
in a straight line. operated properly. apply pressure when sanding.
The wheels are out of Check and adjust the wheels.
adjustment.
The Abrasive Pad Replace the Abrasive Pad
The machine runs slow. The voltage is low. Check the supply voltage.
If an extension lead is being
used, is it undersize and/or
is it coiled.
A motor brush is not making Check and refit or replace
contact. the motor brushes.
is worn.
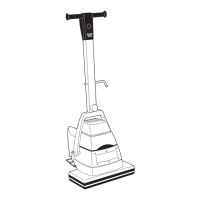
CAUTION - when undertaking a
functional (run) test make sure the
machine is secure. Remember the
sanding pad will rotate.
9