2
Identifying the Parts
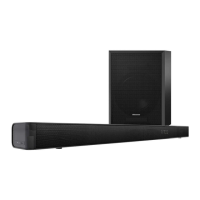
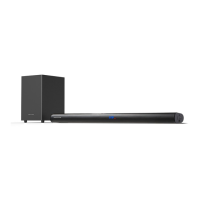
Main Unit
1 2
4
3
5 6
7
8 10 12 13
9 11
HDMI eARC
OPTICAL
AUX
COAXIAL
AC IN
USB
5V 500mA
4
3
(ON/OFF) Button
Switch the unit between ON and STANDBY mode.
5
(SOURCE) Button
Select the play mode.
6
+/-(VOL+/VOL-) Button
Increase/decrease the volume level.
1
Display Window
Show the current status.
2
Remote Control Sensor
Receive signal from the remote control.
7
Wall Mount
Install the wall mounting screws into the
wall mount of the unit.
9
USB Socket
Insert the USB device to play music.
10
OPTICAL Socket
Connect to the OPTICAL OUT socket
on an external device.
11
12
AUX
Socket
Connect to an external audio device.
COAXIAL Socket
Connect to the COAXIAL OUT socket
on an external device.
13
AC IN Socket
Connect to the power supply.
8
HDMI eARC Socket
The port for connecting a TV. The port
supports the eARC/ARC HDMI feature, which
allows the soundbar to play audio that
originates on the connected TV.
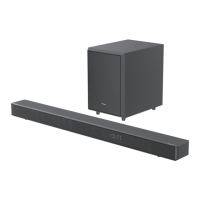
Wireless Subwoofer
1 2 3
AC IN
1
Indicator
• Fast blink The subwoofer in pairing mode
• Constant on Connected / Paired successfully
• Slow blink Connection / Pairing failed
Red Standby Indicator
• Constant on In Standby mode
• Slow blink In Auto-Wake On mode
Pair up with the Subwoofer and Rear Surround Speakers
3
AC IN Socket
Connect to power supply.
• Fast blink Rear speakers in pairing mode
• Constant on Connected / Paired successfully
• Slow blink Connection / Pairing failed
2
PAIR Button
1
PAIR Button
1
2
4
3
5
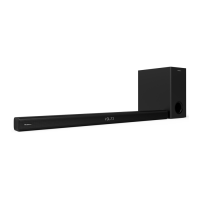
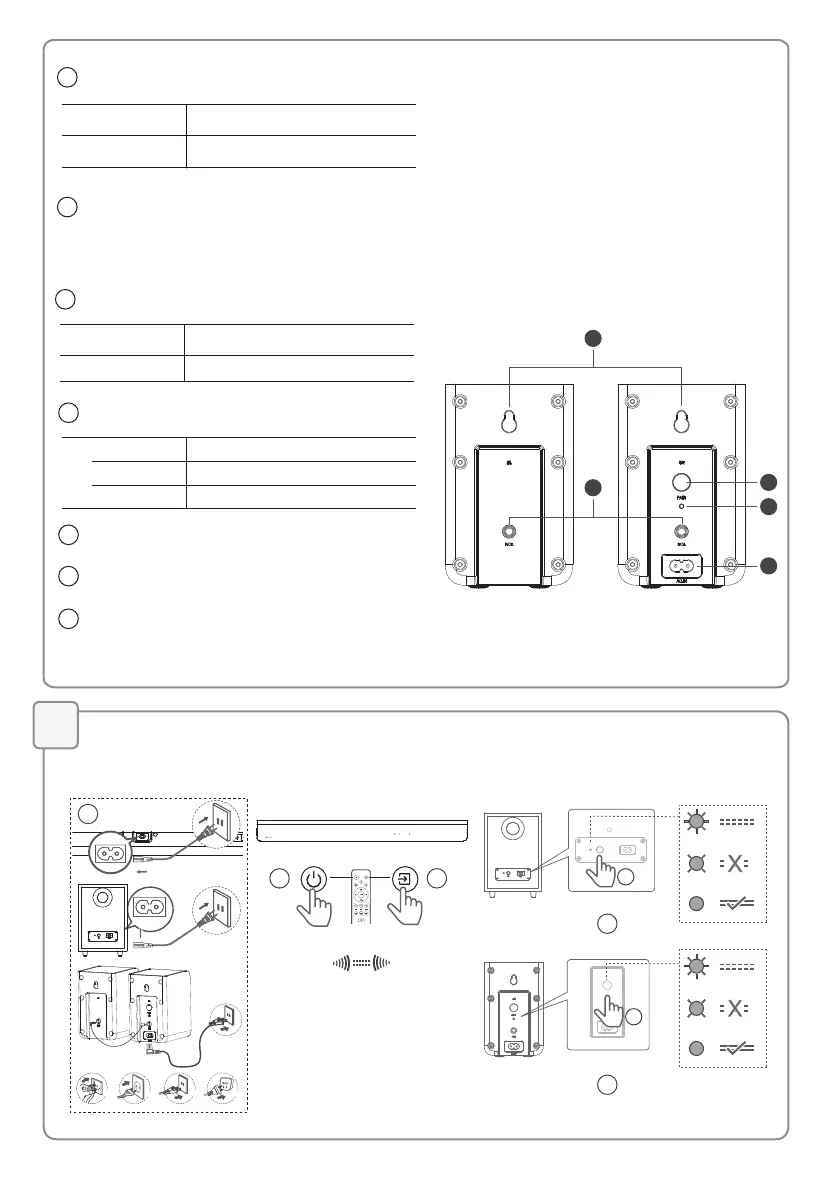
Wireless Rear Surround Speakers
2
3
RCA Socket
Connect the left and right rear surround speakers.
4
AC IN Socket
Indicator
Connect to power supply.
5
Wall Mount
Install the wall screws and brackets
into the back of the rear surround speakers.
3
For US
For EU
For UK For AUS
* Power cord quantity and plug type vary by regions.
2
1
3
5
4
<6m
* If no audio from the wireless subwoofer and the rear surround speakers can be heard, manually pair up them.
The subwoofer, rear surround speakers and soundbar will be automatically paired when they are powered on.
AC IN
!
SR
PAIR
RCA
AC IN
!
2 seconds Pairing mode
5 seconds Clear the pairing record
2 seconds Pairing mode
5 seconds
Clear the pairing record
Hold this button for 3 seconds
Hold this button for 2 seconds
Hold this button for 2 seconds
 Loading...