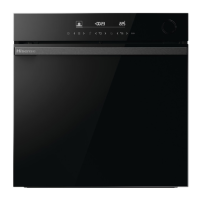
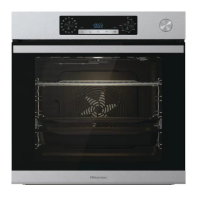
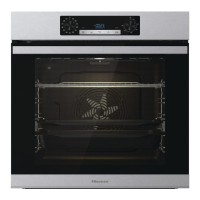
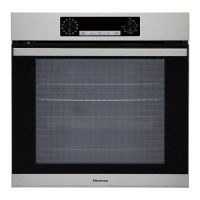
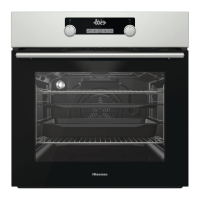
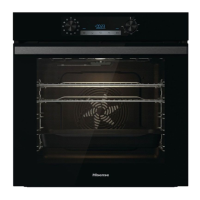
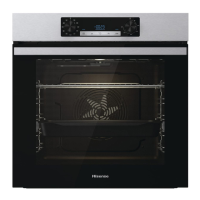
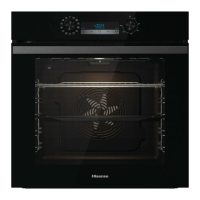
3. Appliance description
WARNING!
Appliance functions and equipment depend on the model.
1 Control panel
2 Water tank button
3 Locking the door with a
switch
4 Lighting
5 Evaporator tray
6 Temperature probe socket
7 Guides – rack levels
8 Label
9 Oven door
10 Door handle
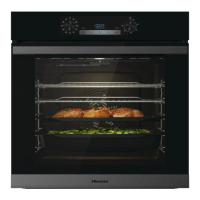
3.1 Appliance equipment
Oven door switch
The switch switches off the operation of the heaters and the ventilation in the oven room when the
oven door is opened during operation.
Guides
Wire guides – always insert the wire rack and baking tray into the guide.
Fixed pull-out guides – place the equipment on the guide. On the same guide, you can place the
rack together with the drip pan.
NOTE: Equipment insertion guides are counted from the bottom up.
Oven equipment and accessories
1. Wire rack – used for grilling/broiling or as support for a pan, baking tray or baking dish.
NOTE: When inserting the wire rack into the guide, always make sure its elevated part is at the back
and on the top side.
There is a safety latch on the wire rack. Therefore, the wire rack has to be lifted slightly at the front
when pulling it out from the oven.
2. Shallow baking tray – used for flatbreads and small cakes. It can also be used as a drip tray.
NOTE: A shallow baking tray may become deformed when heated in the oven. When it cools down,
it returns to its original state. The deformation does not affect its functionality.
3. Mesh tray Airfry – (baking tray with holes) used for cooking with systems that feature steam injection
and for air frying. The holes allow for better air flow around the food and contribute to greater crispness.
When cooking food with a higher liquid content (water, fat), insert a shallow or deep universal baking
tray one rack lower.
8
 Loading...