1、CHECK
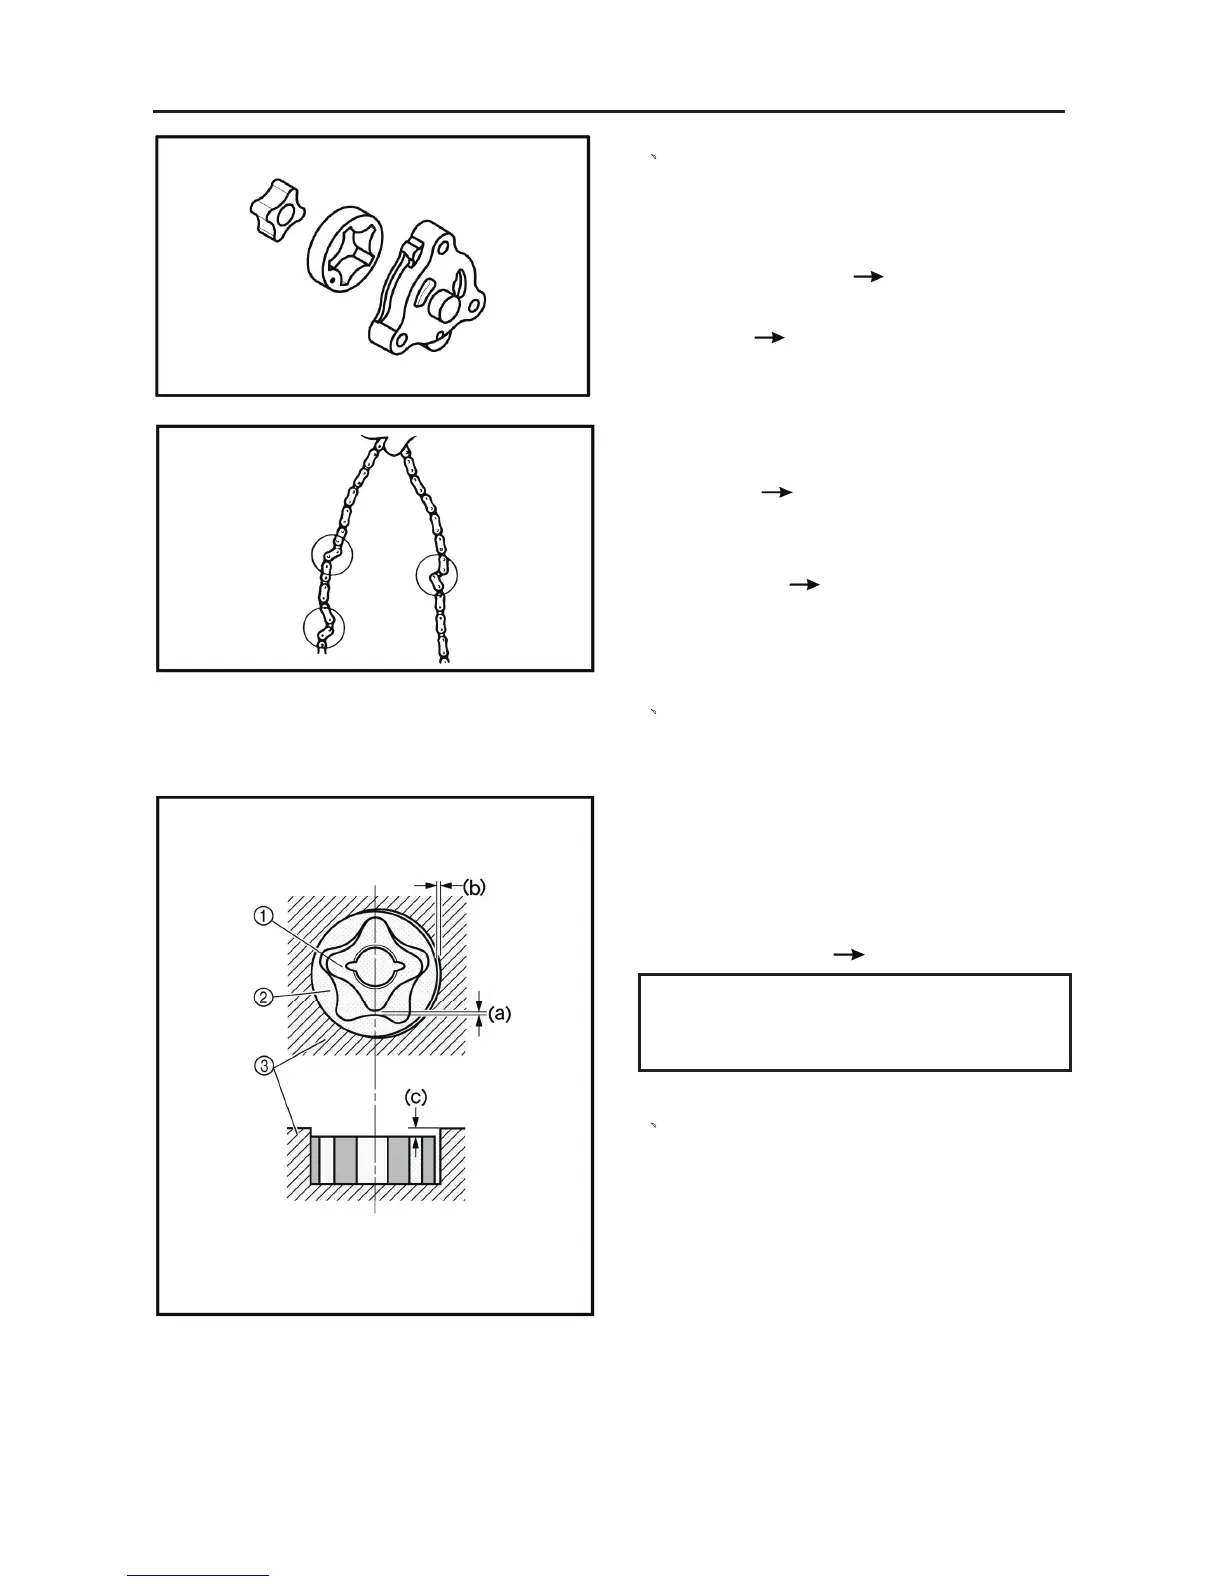
1). Checking the oil pump
• rotor housing
• rotor cover
Cracks/wear/damage
Replace.
• oil pump operation
Unsmooth
Repeat steps #1 and #2 or
replace the defective parts.
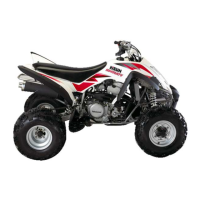
2) Checking the timing chain and guides
• timing chain
Cracks/stiff
Replace the timing chain and
camshaft sprocket as a set.
• timing chain guides
Wear/damage
Replace.
2、MEASURE
1). Measure the oil pump
• tip clearance(a) (between the
inner
rotor
①
and the out rotor ②)
• side clearance(b)(between the outer rotor ②
and the pump housing ③)
• body clearance (c) (between the outer rotor ②
and the pump housing ③)
Out of specification
Replace the oil pump.
Tip clearance Limit: 0.23 mm
Side clearance Limit: 0.25 mm
Body clearance Limit: 0.20 mm
3、INSTALL
1). Assembling the oil pump
• inner rotor
• outer rotor
• oil pump shaft (with the recommended
lubricant)
ENGINE
- 159 -
1、
MEASURE
1). Measure the crankshaft
• crank width (A)
Out of specification
Replace the crankshaft.
Crank width
54.95~ 55 mm(
2.1634~2.1654 in)
• side clearance (D)
Out of
specification
Replace the crankshaft
Big end side clearance Limit:
0.15 mm (0.0059 in)
• runout (b)(C)
Out of
specification
Replace the crankshaft.
Runout limit
(b): 0.03 mm (0.0012 in)
(C): 0.03 mm (0.0012 in)
The crankshaft ① and the crank pin ② oil
passages must be properly interconnected with
a tolerance of less than 1 mm (0.04 in).
.
CAUTION:
The buffer boss and woodruff key should be
replaced when removed from the crankshaft.
2). Assembling the crankcase
(1) Apply:
• sealant (Quick Gasket)
(to the mating surfaces of both case halves)
(2) Install:
• dowel pins
(3) Fit the left crankcase onto the right case. Tap
lightly on the case with a soft hammer
CAUTION:
Before installing and torque the crankcase
holding bolts, be sure to check whether the
transmission is functioning properly by
manually rotating the shift drum in both
directions.