7
3.1 Connection via Wired LAN
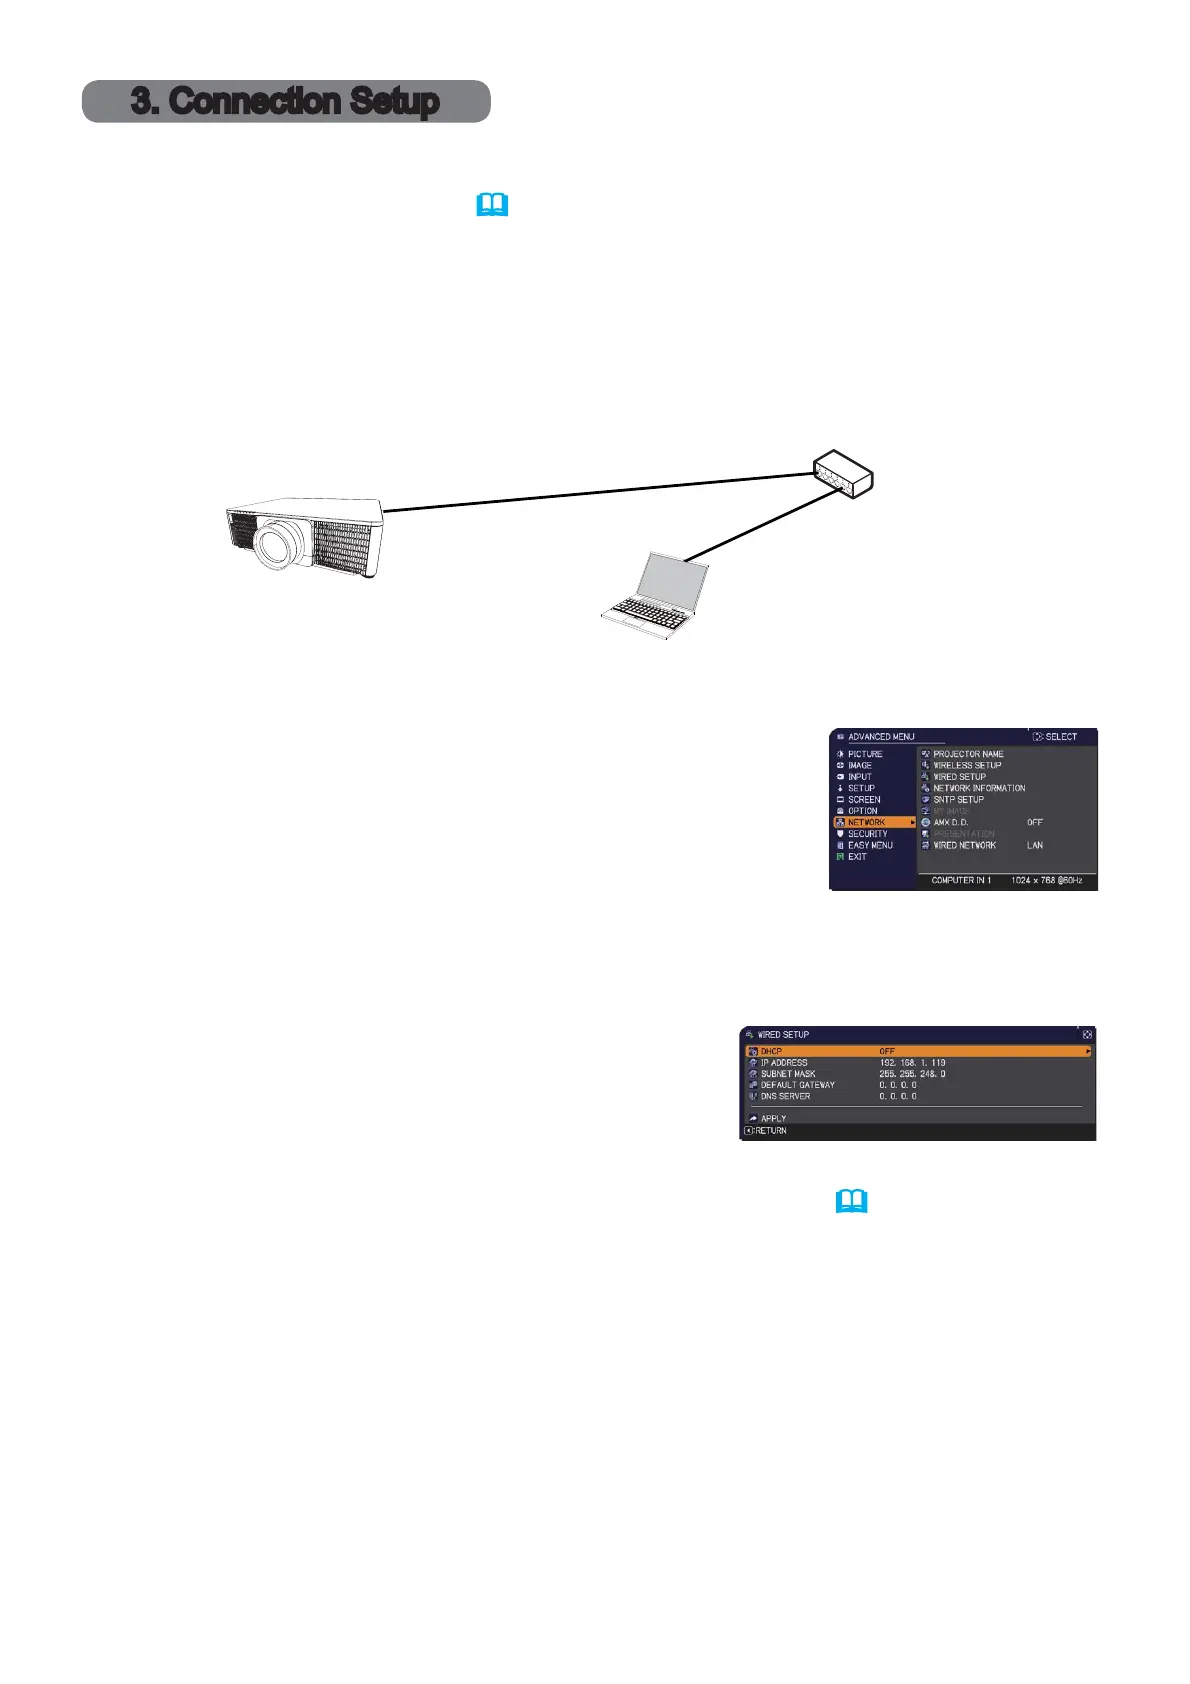
1) Connect the projector to the computer via a hub
with a LAN cable (CAT-5e or higher).
2) Press the MENU button on the remote control or the
control panel of the projector.
The MENU you last used will appear.
Use the cursor button to select the following.
EASY MENU > ADVANCED MENU > NETWORK > WIRED SETUP
3) Set the following items in WIRED SETUP.
䞉㻌DHCP
䞉 IP ADDRESS
䞉 SUBNET MASK
䞉 DEFAULT GATEWAY
䞉 DNS SERVER
As for setting an IP address, refer to “About IP address”. (
8)
Select APPLY, then press the ENTER button to reflect the settings.
The connection via wired LAN is available. Set wired LAN for the projector by
following the instructions of your network administrator when connecting to the
existing network.
3. Connection Setup
For Mac users: Mac OS does not support some applications. Refer to System
Requirements for Applications (
13) first before setting up the connection.
3.2 Connection setup of Wired LAN
hub
 Loading...