16
P5416543
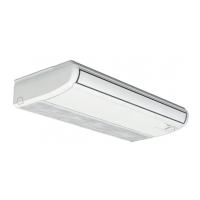
5.2 Piping Connection
5.2.1 Position of Pipe Connection
The piping connection is performed inside
the indoor unit. The pipe connection can be
performed from 3 directions, rear, right and upper.
For rear and upper pipe connection, the plastic
cap is attached at knockout hole for the refrigerant
pipe and the drain pipe. Cut out the knockout
hole of cap for piping and attach the cap again
after running the refrigerant pipe through the cap.
< Hole Position and Size >
< Position of Pipe Connection >
l
Piping from Rear Side
l
Piping from Right Side
l
Piping from Upper Side
NOTE:
When the optional drain-up mechanism is
attached, refer to the installation manual of itself.
If the liquid pipe contacts strongly to the plate,
noise caused by refrigerant flowing may increase.
Suspend the local liquid pipe by suspension band
Rear Side
Drain Pipe
Cap (Rear Side)
Gas Pipe
Liquid Pipe
Suspension Band
View from Front
120
φ130
6
Front
113
8
140
Wall
φ100
Right End
of Indoor Unit
Right End
of Indoor Unit
View from Front
6
76
147 (Drain Pipe)
94 (Gas Pipe)
146 (Liquid Pipe)
Drain Pipe Connection
(VP20, left side)
Drain Pipe Connection
(VP20, right side)
205 (Gas Pipe)
190 (Liquid Pipe)
138 (Drain Pipe)
117 (Liquid Pipe)
107 (Gas Pipe)
40 (Drain Pipe)
6
124
134
201
Cap (Rear Side)
Drain Pipe Connection
(VP20, Left Side)
76
121 62
15 142
Hole for Drain Pipe Conncetion
(Knockout hole)
120
14 154
Cap (Upper Side)
View from Bottom
Rear Side
of Indoor Unit
11
1
19 163
 Loading...

