5-3
Installation and Configuration
5.3.2 How to install
Before installing the P1-EN please refer to the
chapter 6 "Inverter Settings" and configure the
inverter.
For explanation purposes, it will be assumed that
the P1-EN is going to be installed in the SLOT1.
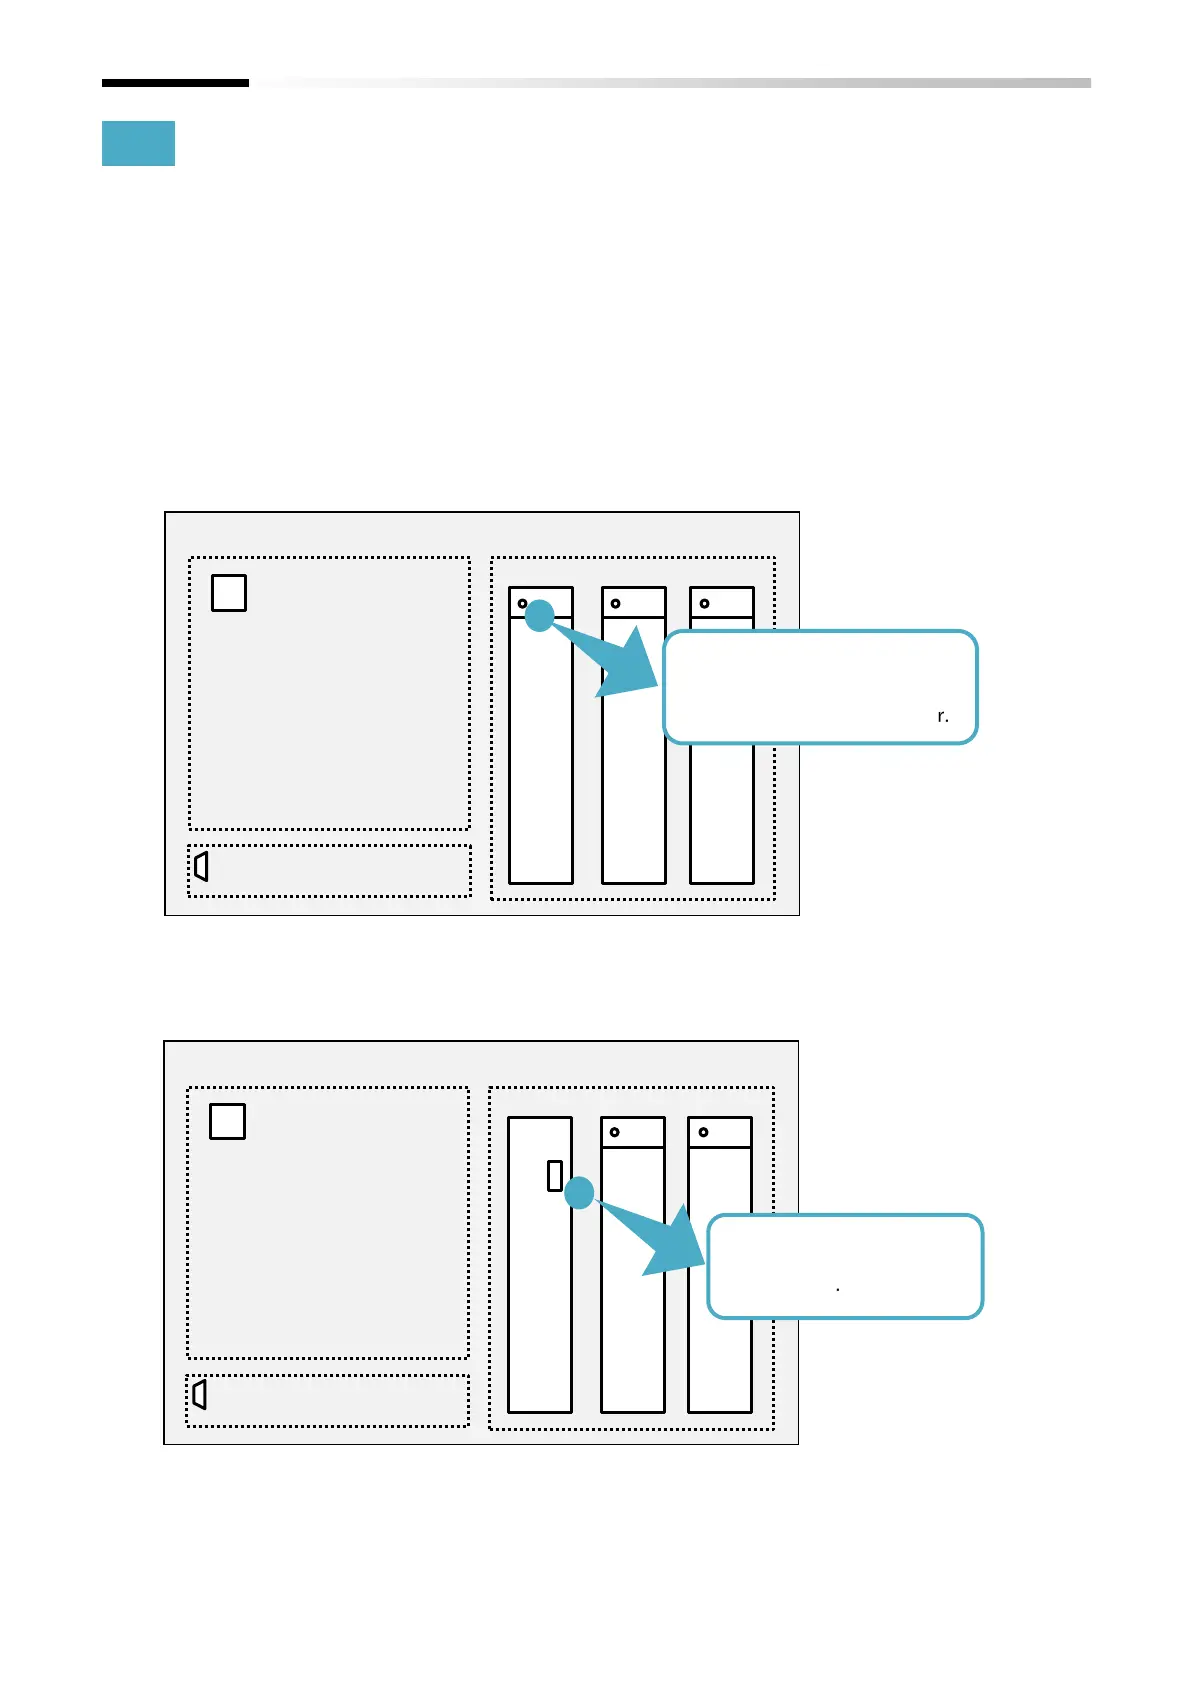
(1) Remove the cover of the option cassette
connection slot. Despite the removed cover
will no longer be needed, it is recommended
to keep it in a safe place. However the screw
that secured the cover will be used to secure
the P1-EN.
(2) Attach this device. The slots 2 and 3 have one
more connection in the lower side. However,
the P1-EN will not need that connection.
Option cassette connection slots
VOP keypad
RJ45
SLOT1
SLOT2
SLOT3
Remove the screw and then
remove the cover.
The screw will be used later.
Option cassette connection slots
VOP keypad
RJ45
USB(micro-B)
SLOT1
SLOT2
SLOT3
Attach the P1-EN to this
connection.

 Loading...