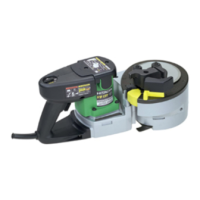
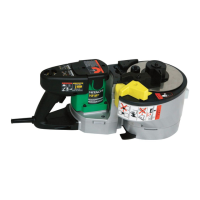
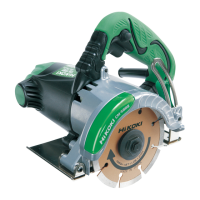
--- 13 ---
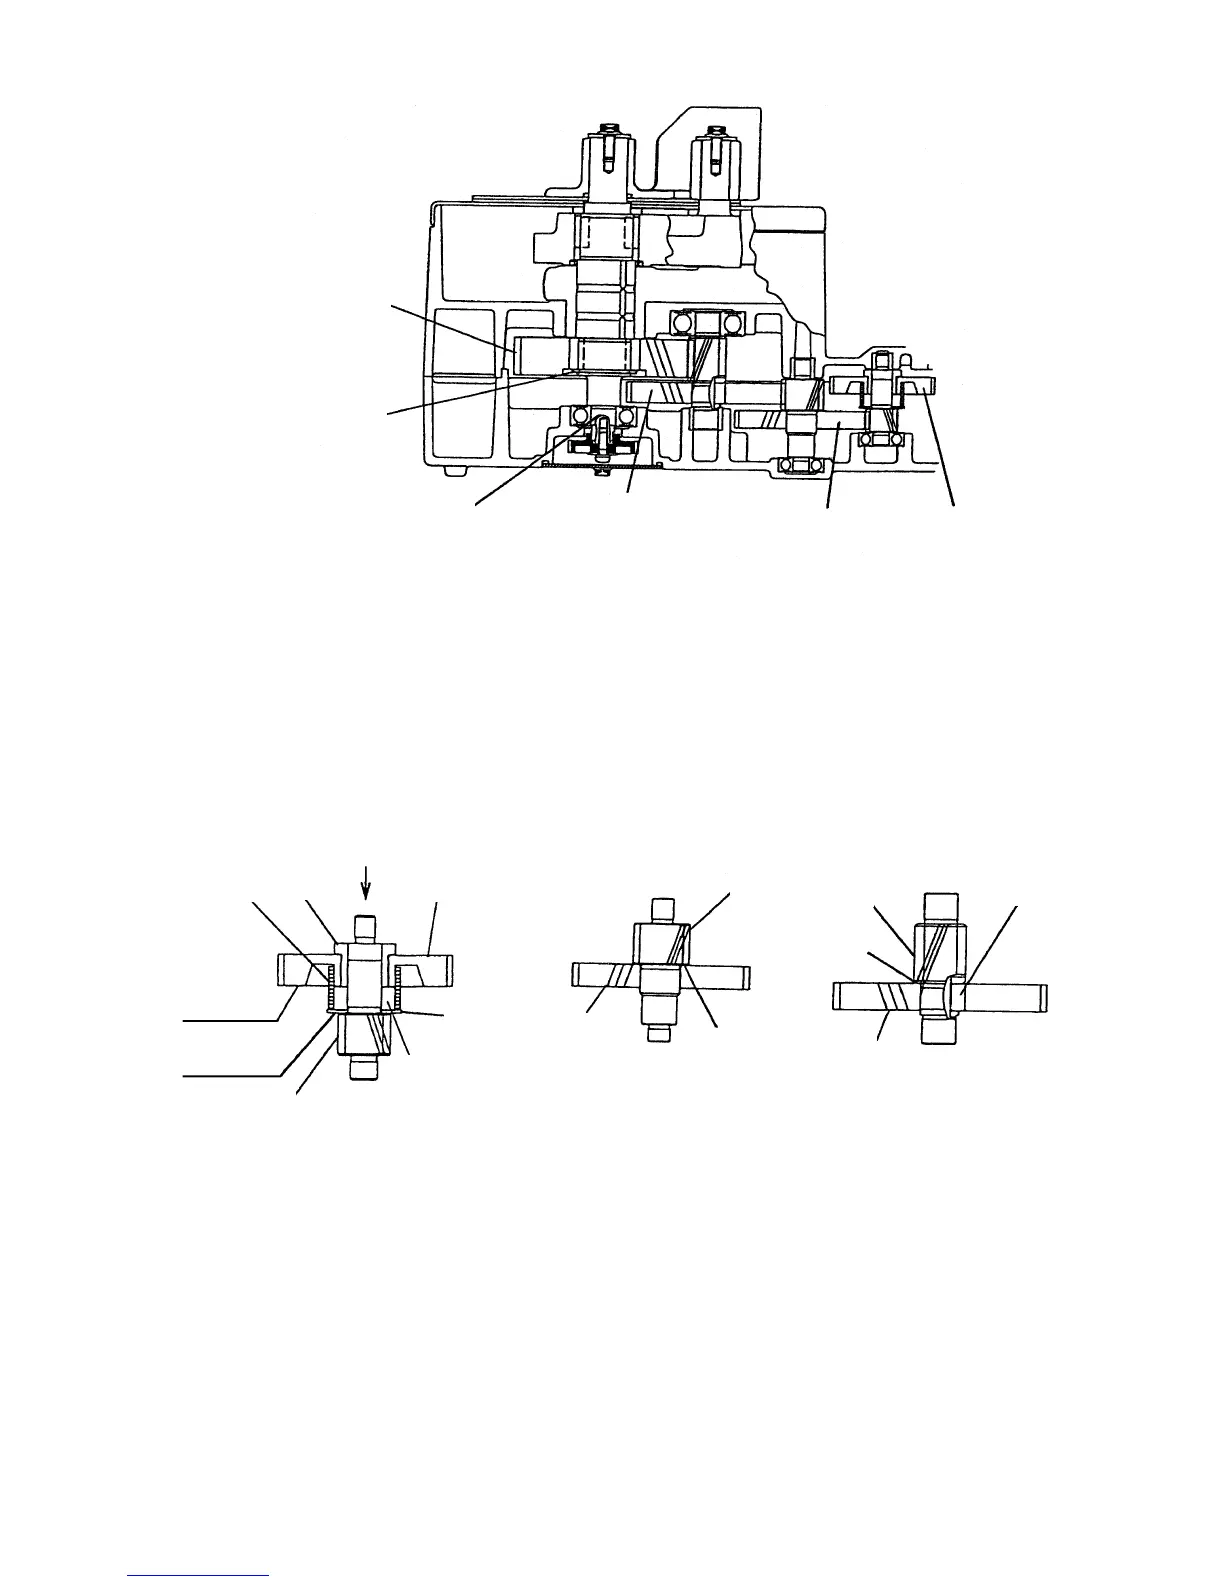
(6) Disassembly of the gear unit (Figs. 16, 17 and 18)
1) Press First Pinion (B) [55] in A direction with a hand press supporting the surfaces B and C respectively.
Then remove Sleeve (B) [50], First Gear (B) [51], Clutch Spring [52], Collar (A) [53] and Washer [54] (Fig.
16).
2) Remove the Second Pinion [47] from the Second Gear [48] by pressing with a hand press (Fig. 17).
3) Remove the Feather Key [44] and the Third Pinion [43] from the Third Gear [45] by pressing with a hand
press (Fig. 18).
Press-fitted
B surface
Fig. 16
(7) Removal of bracket (A), bracket (B) and covers (Figs. 19 and 20)
1) Remove the Seal Lock Screw (W/SP. Washer) M4 x 12 [36] and Thrust Washer [37] that fix the Return
Spring [38] from the upper surface of the Inner Cover Ass'y [13]. Then remove the Return Spring [38] from
the Inner Cover [13] (by prying it off with a flat-blade screwdriver).
2) Remove the two Hex. Socket Hd. Bolts M5 x 16 [67] and the Flange Nut M12 [39] from the inside of the
Inner Cover Ass'y [13]. Then remove Bracket (A) [68], Bracket (B) [73], Cover [63] and O-Ring (S-34) [64]
from the Inner Cover [13].
Press-fitted
Fig. 17 Fig. 18
C surface
Third Pinion
Second Pinion
First Pinion (B)
Fig. 15
[12]
[19]
[18]
[52]
[50]
[51]
[47]
[48]
[43]
[44]
[45]
[54]
[53]
[55]
A