NOTE: Remove pins (Fastener #5)
from stackers on end of run trim
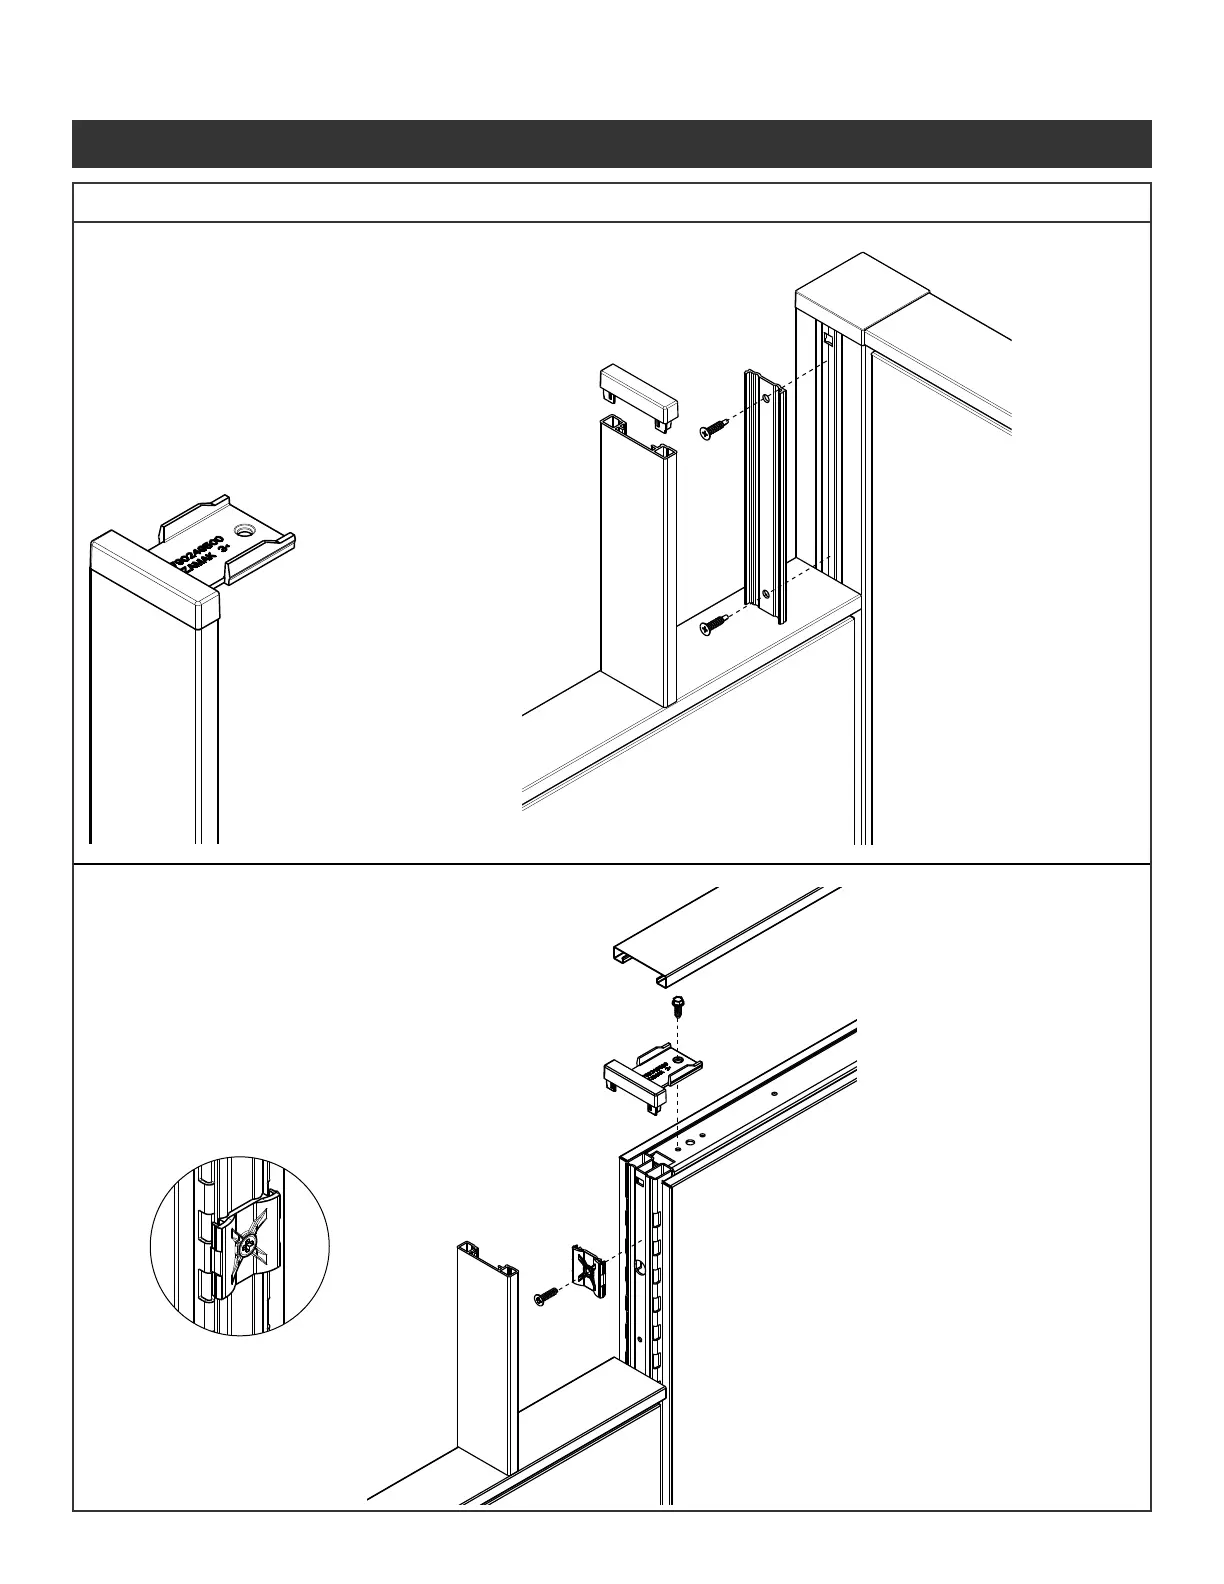
Step 1 - Install top cap on the
lower panel.
Step 2 - Mount the VH plastic
extrusion to the corner
connector post using
the alignment grooves
and self drilling screws
(Fastener #4) provided.
Step 3 - Press the end of run
transition bracket into
the VH end trim. Using
pliers, break off the
bracket portion.
Step 4 - Snap the VH end
trim over the plastic
extrusion.
Step 1 - Install top cap on the
lower panel.
Step 2 - Use the curves in
plastic end trim clip to
line up with the curves
in the vertical tube.
Attach with screws
provided (Fastener #2)
Step 3 - Snap the VH end trim
over the plastic end
trim clips.
Step 4 - Insert end of run transition
bracket into the variable
hight end trim
Step 5 - Attach top trim bracket
to panel using screw
provided ( Fastener #1).
Step 6 - The top cap ts over the
attachment connectors.
Illustration 6. Trim Installations Continued
6c. VH Panel to Corner Connection Trim
6d. VH Panel to Panel Connection Trim
Panel System Installation Packet
343-3890A
(03/17)
Page 6 of 27
 Loading...