UK. SERVICE TRAINING CENTRE
Warning this information is for HOBART STILL trained personnel only.
Reproduction of this information is prohibited without the written consent of HOBART STILL.
Page: 2
02/95
1712
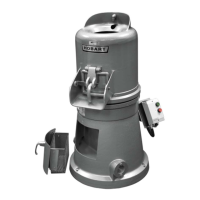
BLADE TRANSMISSION - SERVICE
WASHER
NUT
Knife shaft and hub assy
Tighten nut until washer can be rotated with finger
nails. Check to ensure end play does not exceed .001
Rotor service
Replace washers with currently used washers when servicing this assy. Ensure the shock washer retainer is installed
with the cupped side toward the worm gear. Do not intermix.
NS-32-23
WS-07-50
274760-2
(neoprene)
274760-1
(neoprene)
274759
BB-15-41
70239 (shoulder to bearing)
Torque setting
Tighten nut (NS-32-23),
then slacken until there is
side play between worm
and key, but no end play.
Handle with care!
Use 1
1
/
8
" wrench to undo
blade retaining screw.
Danger, the blade will be free
to release when this screw is
undone.
Guard safety
switch control knob
(viewed from
underneath)
Guard safety switch
control knob (viewed
from top)
Guard safety switch operation:- In order to release the blade guard, the knob
needs to be rotated to loosen, this in turn moves a rod (inside the mechanism)
which operates a micrositch to prevevnt the slicer from operating.
 Loading...