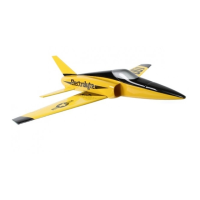
3mm
1) Before flying this model, check that the model is assembled per this manual and is
free from any damage that may have occured during transport.
2) Insert flight battery, and check for proper center of gravity. Secure battery with velcro
on the bottom of pack and velcro strap around it. If the battery shifts in flight it could
cause a loss of control.
3) Ensure that pushrods and control surfaces move freely with no binding. For best
results, disconnect pushrods and flex the hinges by hand to free up the hinges.
Reconnect control rods prior to first flight.
4) After turning on the transmitter and then connecting the flight battery, perform a full
range test, and then check control direction per the guide on previous page.
5) Conduct a full power test.
6) Inspect your flight location, making sure it is free from trees, vehicles, people, or
other obstructions before taking off.
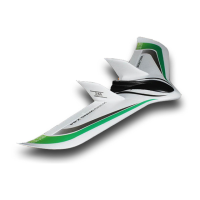
7) For bungee launching, stake bungee line into ground. Pull all slack from line, then
walk additional 17~20 paces. This provides good launching power
8) Apply about 3/4 power, nose up, about 60~75 degrees, and let go. Do not push.
Up Elevator Down Elevator
Left Roll
Right Roll
**Launch Note** Wind direction is very important for a successful
bungee launch. Cross wind launches are to be avoided at all cost.
**Setup Note** Set elevator neutral with small amount of
up elevator. Center leading edge of stabilizer with
bottom of the fuselage. This is approximately 3mm.
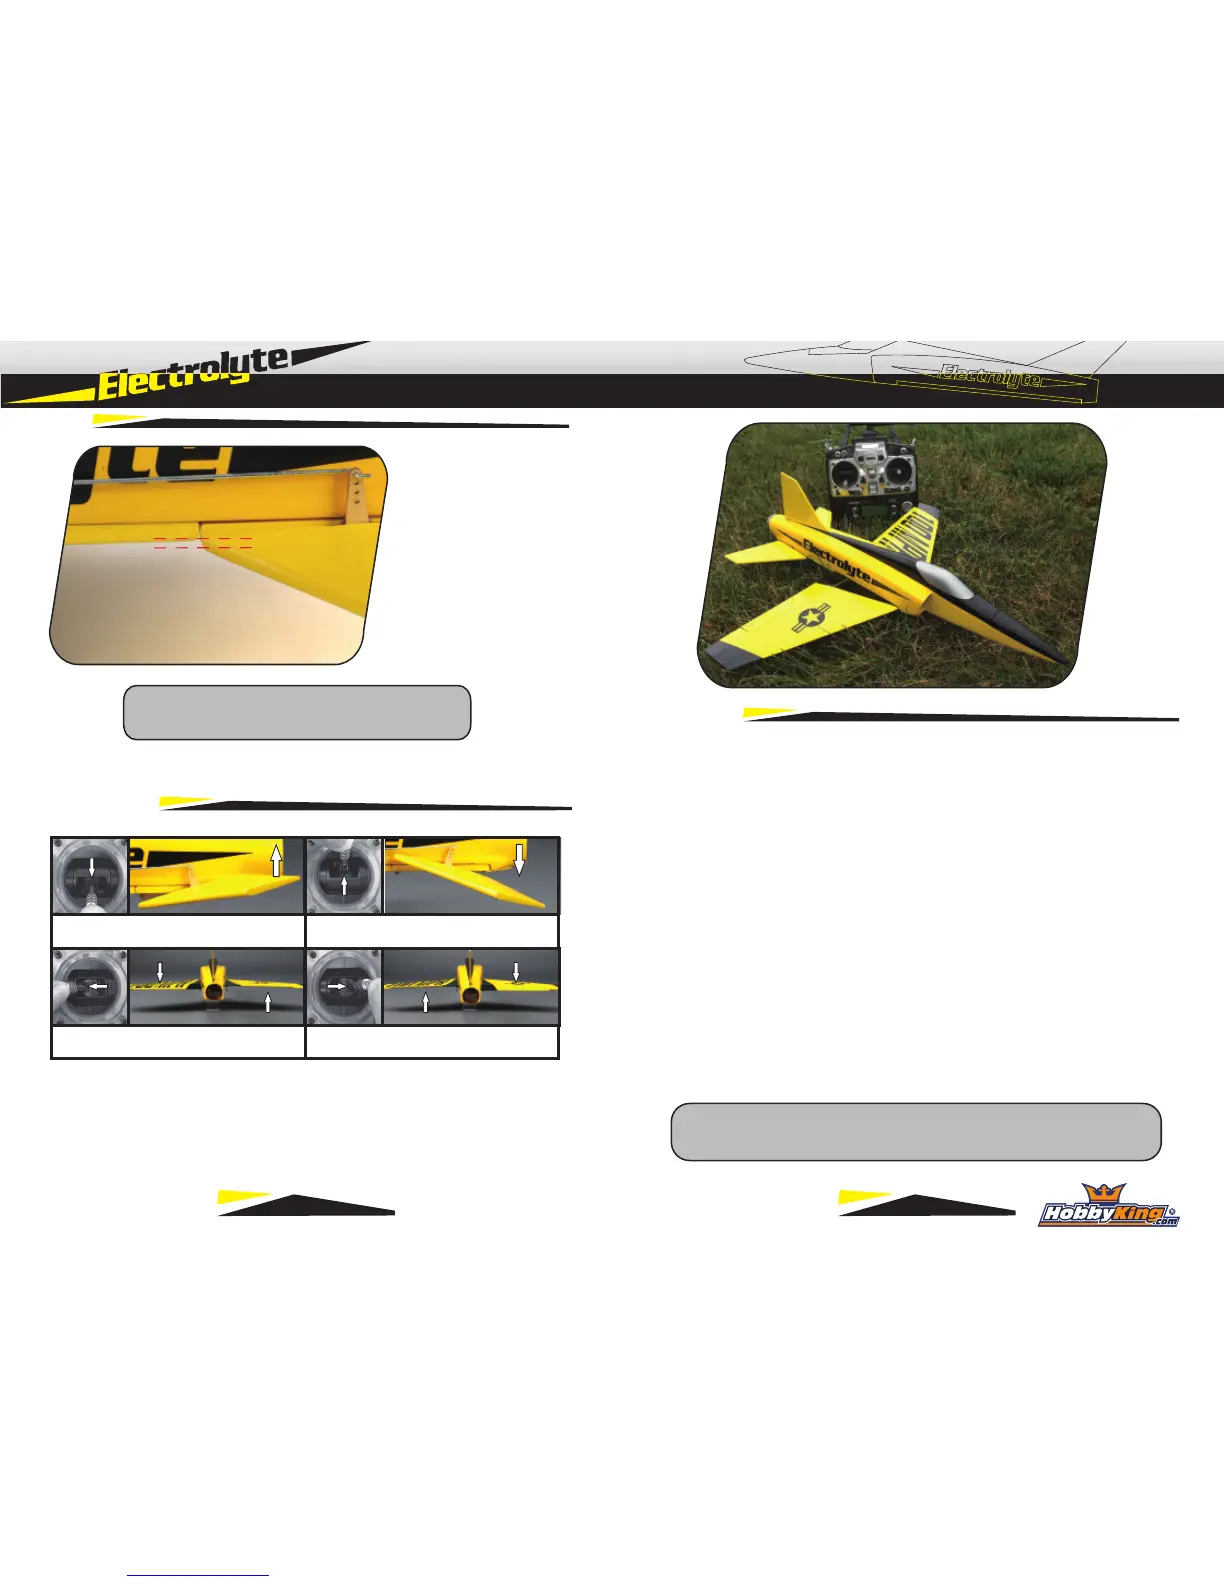
Control Check
First Flight
Setup
11 12