Remove all contents from packaging and inspect to ensure no damage was incurred during shipping.
Your Holemaker package should include the following:
QTYDESCRIPTION
METAL CARRY CASE
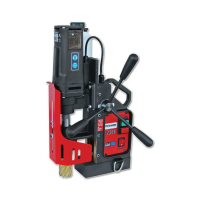
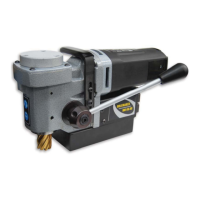
HOLEMAKER PRO40 MACHINE
1
1
SAFETY CHAIN WITH CLIP
1
SPANNER 8mm
1
HEX WRENCH 4mm
1
HEX WRENCH 2.5mm
1
1
OPERATORS MANUAL
1
SMART MAGNET BYPASS
1
COOLANT BOTTLE ASSEMBLY
3
SPOKE HANDLE WITH KNOBS
1
HEX WRENCH 3mm
8
MACHINE OPERATION (BEFORE YOU CUT)
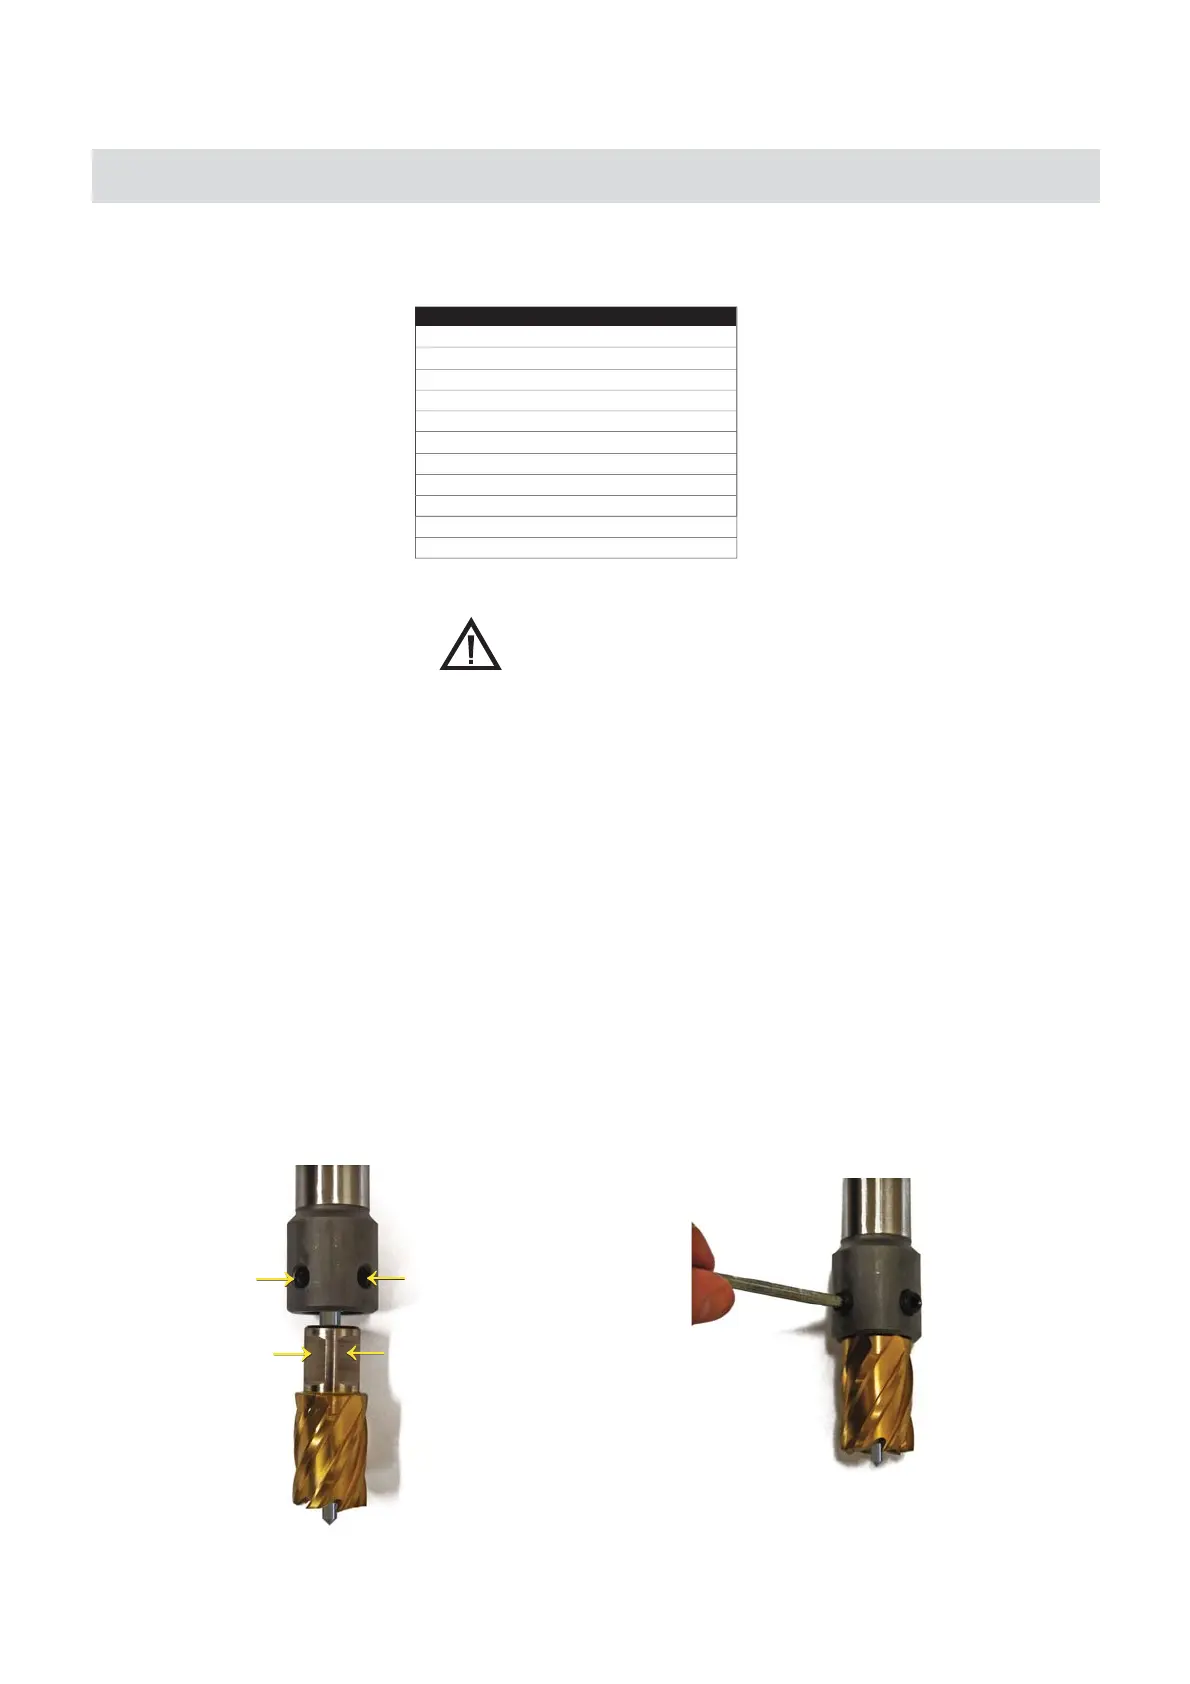
b. Loosen the grub screws
with the hex key provided & align the two flat sections
of the cutter shank with the grub screws.
a. Place the Pilot Pin into the cutter as seen below.
c. Insert the cutter shank completely into the arbor.
Retighten both grub screws, clamping the flat
sections of the shank & locking the cutter into
place.
3. USING GRUB SCREW ARBOR SYSTEM
(The Holemaker PRO 40 is also available with either a standard grub screw, or a quick grip arbor system)
CAUTION!
BE SURE YOUR HOLEMAKER MACHINE IS DISCONNECTED FROM THE POWER SOURCE BEFORE MAKING ADJUSTMENTS .
1. Assemble 3 spoke handles to the Holemaker pinion hub. NOTE: Pinion assembly is mounted on the right
side of the machine frame. If necessary, it can be reversed to operate from the left side of the frame.
Simply remove the screw from the left edge of the pinion. Remove pinion from the right side of the frame
and insert it in to the left side of the frame. Replace flat washer and screw (tighten securely).
2. To install coolant bottle, use bracket to slide coolant bottle onto the two retaining screws, located on the right
side of the drill. Install the hose connector in to the hose fitting on the side of the coolant ring.