16 KGZ Series | Version 2.02 | EN
Setting up and Installation
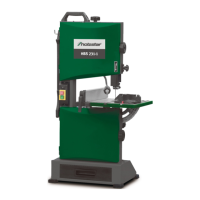
Model KGZ 210 E
Reducing the accumulation of sawdust and ensuring ma-
ximum cutting efficiency can be achieved by clipping a
dustbag to the dust extraction system. A dust bag is in-
tended for use on your miter saw. To install it, simply in-
sert the dust bag over the suction opening on the upper
blade guard.
To empty the dust bag, remove it from the dust extrac-
tion system. Empty the dust bag by opening the zipper.
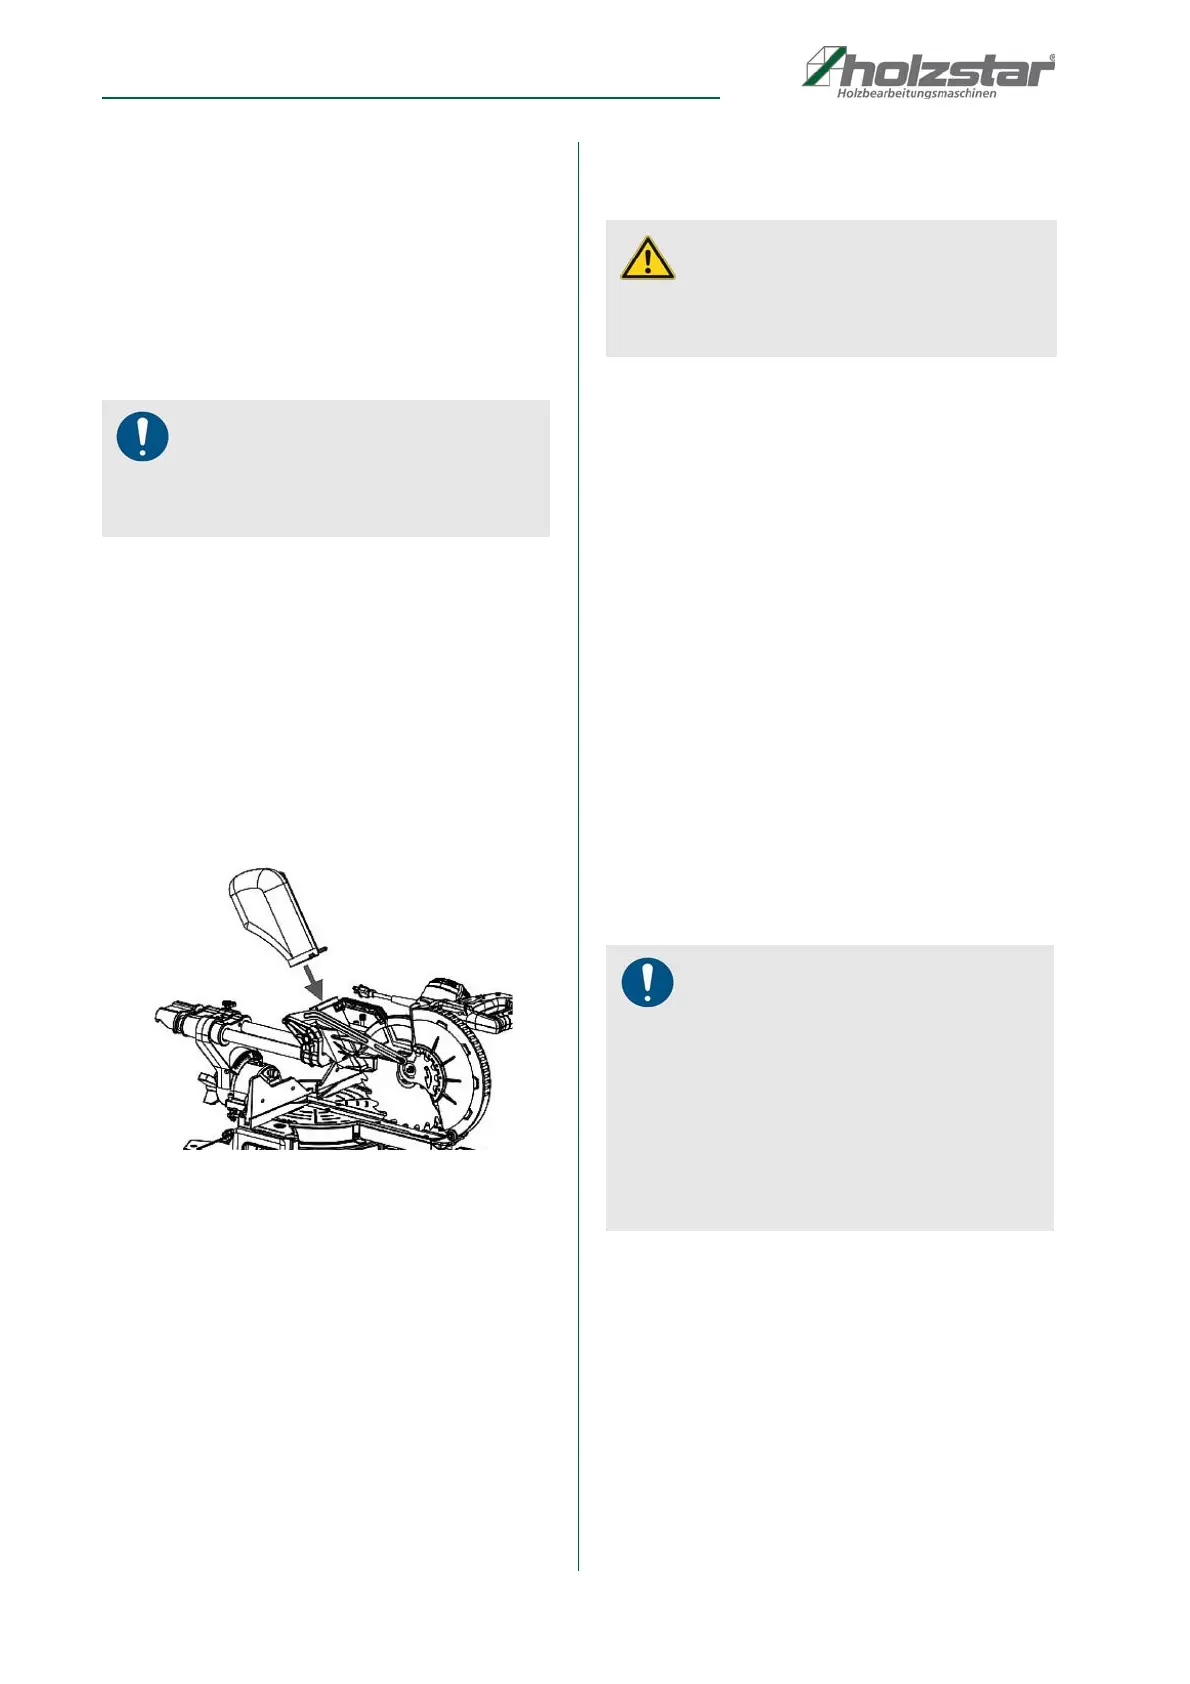
Dust extraction system Model KGZ 255 E
The saw is equipped with a dust bag for sawdust and
shavings. Slide the dust bag along the transport handle
(11) onto the plug. The dust bag can be emptied using a
zipper on the ground.
The dust bag can be removed to connect the suction ho-
ses of the dust extractor (wet and dry vacuum / suction
system). The suction system is then connected to the
same position. (Suction hose / exhaust system is not in-
cluded).
Fig. 6: Dust bag on the model KGZ 255 E
7.1.2Fastening possibility
Mounting holes Model KGZ 210 E
Before use, the chop- and mitre saw can be fixed to a
firm, level surface with the 4 mounting bolts (not sup-
plied).
Four holes are provided in the base of the saw to enable
it to be fixed to a bench, or other supporting surface.
To mount the saw, process as follows:
1. Locate and mark where the saw is to be mounted.
2. Drill 4 holes through the surface.
3. Place the chop- and mitre saw on the surface aligning
holes in base when holes drilled in the surface. Install
holes, washers and nuts.
Workpiece clamping model KGZ 210 E
When cutting workpieces, the boards should always be
clamped with a "G" clamp (supplied).
Table extension model KGZ 210 E
Attach the long workpieces to support them
Table extension and adjust the length to the size of the
workpiece to be machined. Then tighten the screw of the
table extension.
Assembly of the Model KGZ 255 E
Prevent unintentional starting. The mains plug must not
be connected to the mains supply during installation or
any work on the machine.
Remove all parts supplied from the packaging carefully.
Remove all packaging material from the machine and
the accessories supplied.
Before using the machine for the first time, check that all
parts listed in the "Scope of delivery" section have been
delivered.
KGZ 255 E
Always tighten the locking knobs (7) and (23) before
starting to saw them. Otherwise, the saw blade can be-
come wedged in the workpiece.
Stationary or flexible Mounting of the Model KGZ 255 E
To ensure safe handling, the machine must be mounted
on a level and stable surface (e.g. workbench) prior to
using.
NOTE!
To ensure optimal dust collecting, empty the dust
bag when it becomes filled to approximately 2/3 of its
capacity.
CAUTION!
Make sure that the mounting surface is not warped
as an uneven surface can cause binding and inac-
curate sawing.
NOTE!
Check the chop- and mitre saw for possible damage.
Before using the machine, check that all guards are
fully functional.
Parts that are slightly damaged must be carefully
inspected to ensure proper operation of the tool.
Defective guards and parts must be replaced imme-
diately by an authorised service centre.
All parts must be properly assembled and all conditi-
ons must be met to ensure correct operation.