
M
Miguel NguyenAug 5, 2025
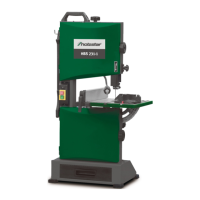
Why does my Holzstar Saw vibrate and the saw blade hammers?
- KKenneth WelchAug 5, 2025
If your Holzstar Saw vibrates or the saw blade hammers, first, ensure the saw blade conforms to the specifications. Second, tighten the fixing screw to properly fasten the saw blade. Finally, inspect the saw blade for any mechanical damage and replace it if necessary.