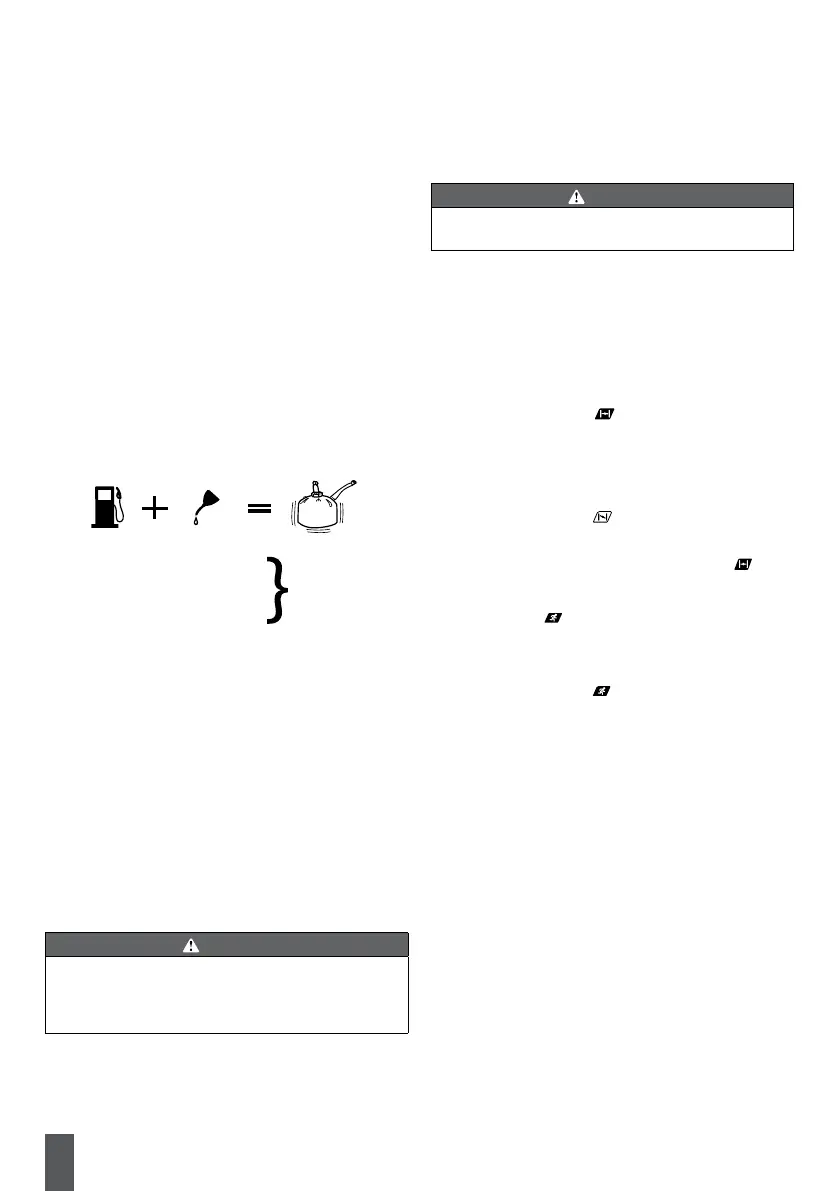
requires pre-mixing petrol and 2-stroke oil. Store pre-
mix unleaded petrol and 2-stroke engine oil in a clean
container approved for petrol.
■ This engine is certified to operate on unleaded petrol
intended for automotive use with an octane rating of 91
or higher.
■ Do not use any type of pre-mixed petrol / oil from fuel
service stations, this includes the pre-mixed petrol / oil
intended for use in mopeds, motorcycles, etc.
■ Use synthetic 2-stroke oil only. Do not use automotive
oil or 2-stroke outboard oil.
■ Mix 2% synthetic 2-stroke oil into the petrol. This is a
50:1 ratio.
■ Mix the fuel thoroughly and also each time before
fuelling.
■ Mix in small quantities. Do not mix quantities larger
than usable in a 30 day period. Synthetic 2-stroke oil
containing a fuel stabilizer is recommended.
1 Litre + 20 ml =
2 Litres + 40 ml =
3 Litres + 60 ml = 50:1 (2%)
4 Litres + 80 ml =
5 Litres + 100 ml =
Filling the tank
■ Clean the surface around the fuel cap to prevent
contamination.
■ Loosen the fuel cap slowly to release pressure and to
keep fuel from escaping around the cap.
■ Carefully pour the fuel mixture into the tank. Avoid
spillage.
■ Prior to replacing the fuel cap, clean and inspect the
gasket.
■ Immediately replace fuel cap and hand tighten. Wipe
up any fuel spillage. Move 9 m away from refueling site
before starting engine.
NOTE: It is normal for smoke to be emitted from a new
engine during and after rst use.
WARNING
Always shut off the engine before fueling. Never add fuel
to a machine with a running or hot engine. Move at least
9 m from refueling site before starting engine. Do not
smoke!
STARTING THE PRODUCT
Starting the product differs depending on whether the
engine is cold (not yet started today) or warm (has been
running in the last hour). Always refer to the Starting
Instructions label on the air lter when starting the engine.
Refer below for full instructions.
WARNING
Never start or run the engine inside a closed or poorly
ventilated area; breathing exhaust fumes can kill.
NOTE: Before starting the product, make sure the trimmer
is lying on a flat and bare surface.
Starting a cold engine:
1. Ensure the switch is in the "I" (ON) position.
2. Press the primer bulb 10 times.
NOTE: After the 7th press, the fuel should be visible in
the primer bulb. If not, continue pressing until the fuel
is visible.
3. Set the choke lever to
choke position.
4. Squeeze the throttle lock and throttle trigger completely
and pull the starter grip until the engine attempts to
start. Do not pull the starter grip more than 4 times.
NOTE: Keep the throttle lock and throttle trigger
squeezed completely through steps 4 to 7.
5. Set the choke lever to choke position.
6. Pull the starter grip until the engine starts. Do not pull
the starter grip for more than 6 times.
NOTE: If the engine does not start, return to choke
position and repeat the process beginning at step 2.
7. Allow the engine to run for 10 seconds, then set the
choke lever to position.
Starting a warm engine:
1. Ensure the switch is in the "I" (ON) position.
2. Press the primer bulb 10 times.
3. Set the choke lever to
position.
4. Pull the starter grip until the engine starts. Do not pull
the starter grip for more than 6 times.
NOTE: If the engine does not start, return to step 2
under "To starting a cold engine".
Stopping the engine:
1. Release the throttle trigger
2. Hold the engine switch in the "STOP" (OFF) position.
OPERATING THE TRIMMER
Follow these steps to operate the trimmer.
■ Start the trimmer.
■ Hold the trimmer at waist level with your right hand on
the rear handle and your left hand on the front handle.
■ Place the product on the right side of your body with the
engine behind and away from your body.
■ Trim the grass and weeds with the line parallel to the
ground.
NOTE: Always operate the trimmer at full throttle.
Prolonged cutting at partial throttle will result in oil dripping
from the silencer.
Original instructions | English
6
 Loading...