J
Jocelyn HaleJul 28, 2025
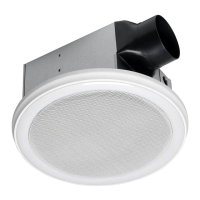
Why is my Homewerks 299650 so loud?
- MMichelle MelendezJul 28, 2025
There are several reasons why your Homewerks Fan might be louder than expected. It could be due to: * The CFM rating being too high for the room size. Ensure the CFM rating matches the room's dimensions. * A damaged or malfunctioning damper. Check the damper's operation, and if damaged, contact Customer Service. * Sharp bends in the duct close to the fan discharge. Ensure there are no sharp bends within 18 inches of the fan discharge. * Reduced fan discharge due to smaller ducting. Use the recommended duct size to minimize noise. * Insecure attachment of the fan body. Ensure the fan is securely attached to the ceiling joists.