EasyManua.ls Logo

Honda 08L96-TA0-100 User Manual

Honda 08L96-TA0-100
7 pages
To Next Page IconTo Next Page
Page #1 background imageLoading...
Page #1 background image
Publications No.
Issue Date
INSTALLATION
INSTRUCTIONS
Accessory Application
© 2009 American Honda Motor Co., Inc. – All Rights Reserved. AII 42259 (0908) 1 of 7
08L96-TA0-1000-91
AII 42259
CARGO NET
P/N: 08L96-TA0-100
2010 ACCORD
4-DOOR
AUG 2009
PARTS LIST
Cargo net
2 Large anchors
8 Small anchors
4 Stud bolts
4 Rivet nuts
6 Hex bolts, 6 x 16 mm
2 Flange nuts, 6 mm
8 Plain washers, 6 mm
4 Spring washers, 6 mm
2 Spacers
4-Door Template A
2-Door Template B (Not used)
2-Door Template C (Not used)
Accessory User’s Information Manual
TOOLS AND SUPPLIES REQUIRED
Clip remover
Rivet nut tool (T/N: 07AAE-000A100)
Hex wrench
27 mm wrench
Drill
3 mm, 6.5 mm, 8 mm, 9 mm, and 11 mm Drill bits
Eye protection
Pushpin
Round file
Center punch
Masking tape
Tape
Touch-up paint
Torque wrench
Question and Answer IconNeed help?

Do you have a question about the Honda 08L96-TA0-100 and is the answer not in the manual?

Honda 08L96-TA0-100 Specifications

General IconGeneral
BrandHonda
Model08L96-TA0-100
CategoryAutomobile Accessories
LanguageEnglish

Summary

Product Information and Preparation

Parts List for Cargo Net

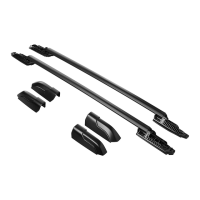
List of all components included in the cargo net kit, such as anchors, bolts, and washers.

Required Tools and Supplies

List of tools and supplies needed for installation, including drill bits, wrenches, and tape.

Installation Procedure

Customer Safety and Usage Information

Important safety notes and usage guidelines intended for skilled technicians performing the installation.

Trunk Trim Panel Removal

Steps to safely remove the trunk floor mat, rear trim panel, and left/right side trim panels.

Prepare Side Panels for Drilling

Enlarge clip holes on the left and right trunk side trim panels to 9 mm using a drill and file.

Install Rivet Nuts in Side Panels

Insert and collapse two rivet nuts into the pre-drilled holes on the left trunk side panel.

Install Hardware on Trunk Side Panels

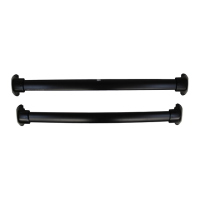
Secure anchors to the left and right trunk side panels using hex bolts, washers, and flange nuts.

Mark and Drill Rear Trim Panel Holes

Pierce and drill holes in the trunk side trim panels using templates for anchor placement.

Assemble and Prepare Cargo Net Anchors

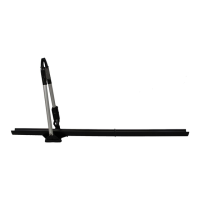
Assemble the small anchors with spacers and prepare them for attachment to the side panels.

Reinstall Trunk Side Trim Panels

Reattach the left and right trunk side trim panels to the vehicle after anchor installation.

Mount Anchors to Trunk Side Panels

Attach small and large anchors to the trunk side panels using the specified bolts and nuts.

Template Marking for Rear Trim Panel

Use provided templates to mark the correct positions for drilling on the trunk rear trim panel.

Install Anchors on Trunk Rear Trim Panel

Drill holes in the rear trim panel and install the four small anchors using bolts and washers.

Reinstall Trunk Rear Trim Panel

Reinstall the trunk rear trim panel, ensuring all clips and hooks are properly secured.

Final Cargo Net Attachment

Attach Fasteners to Cargo Net

Secure the magic-fasteners to the cargo net as illustrated in the installation guide.

Connect Cargo Net to Anchors

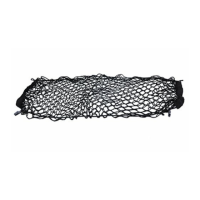
Hook the cargo net loops around the large anchors, ensuring reflective tape is visible.

Related product manuals