Options
24
Boiler feedback
Connecting the boiler feedback via an analog output
(only HCE80/HCC80) to external controllers
The analog output voltage changes
depending on the valve position.
1
Strip the connections 5.5 mm (see
fold-out page, Fig. 5).
2
Connect the boiler feedback (see fold-
out page, Fig.4 (9)).
Boiler feedback is possible with the controllers
MCR200, MCR40, ZG252N, Panther and Smile.
3
Connect the inputs in accordance with the enclosed
instructions to the underfloor heating controller (earth
input to Terminal 6, temperature- input to Terminal 5).
Implementing a boiler feedback via a
wireless connection (with BDR91)
The relay is switched on and off
depending on the valve setting.
Implementing a boiler feedback with an integrated relay
42 V AC, floating contact (only HCE80R/HCC80R)
The relay is switched on and off
depending on the valve setting.
1
Strip the connections 5.5 mm (see
fold-out page, Fig. 5).
2
Connect the boiler feedback (see fold-
out page, Fig.4 (9)).
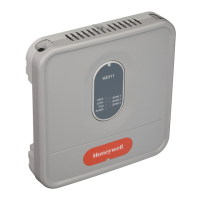
Allocating relay modules for controlling
the heat generator
Depending on the heat requirement of the installed
rooms the relay module BDR91 controls the heat
generator as a function of the valve setting.
Binding the boiler feedback BDR91
1
Keep the button at the relay module
BDR91 pressed for 5 seconds to
activate the binding mode.
The red LED at the relay module flashes
in the rhythm 0.5s on/0.5s off.
2
Press the installation button at
the underfloor heating controller.
After successful allocation the red LED
of the relay module extinguishes.
3
To exit the device display press
the installation button at the
underfloor heating controller again.
Options

 Loading...

