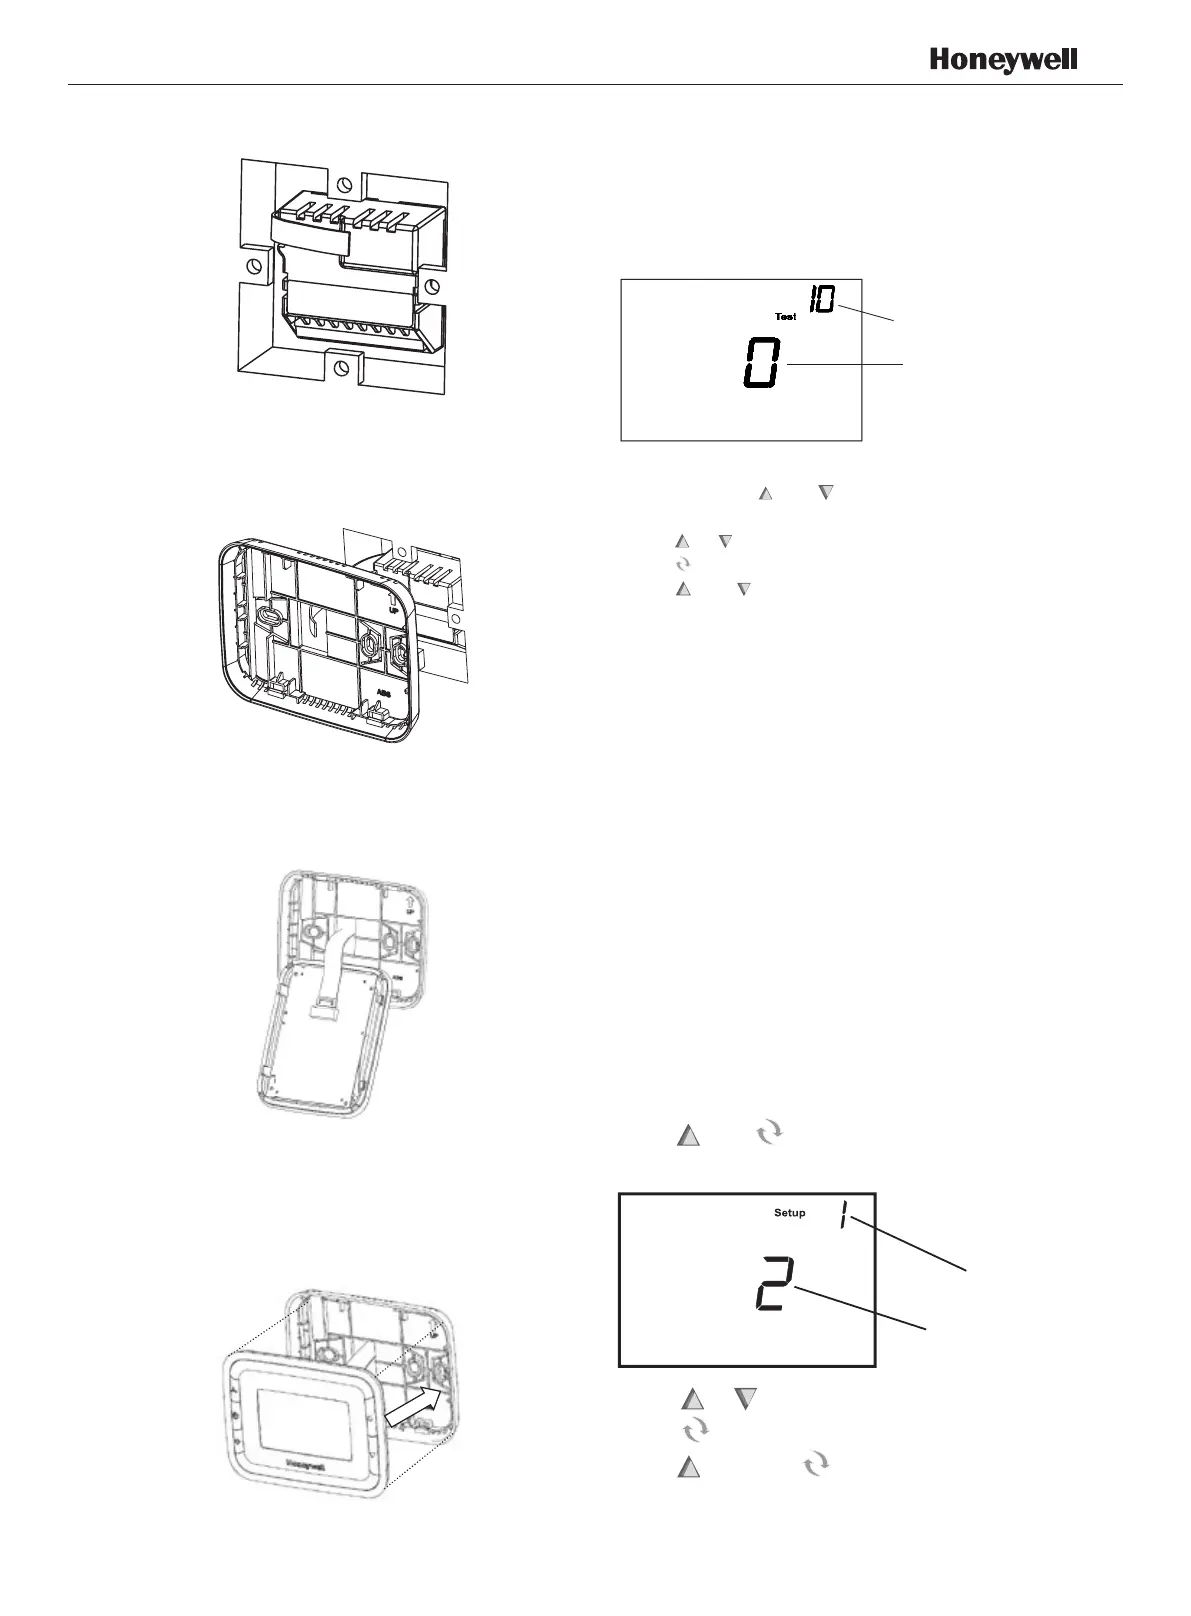
2 Push the Power box into the junction box.
5 Align the 4 tabs on the Back cover with corresponding
slots on the back of the thermostat, and then push it
until the thermostat snaps in place.
4 Insert the cable into connector on circuit board of
thermostat.
3 Place Back cover over junction box, insert and
tighten mounting screws.
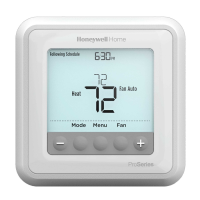
Installer system test
After completing the installer setup above, press the
button again to begin a system test
Follow the procedure below to test the heating and
cooling and fan system.
System
System test No.
Press and hold and buttons 3 seconds to enter
test mode.
Press or button to change system status.
Press button to advance to next test number.
Press and button hold to terminate system test
at any time.
System Test System Status
10 Valve open degree
0 Stop
1 Open
2 Close
40 Fan 0 Fan off
1 Low speed Fan on
2 Medium speed Fan on
3 High speed Fan on
70 Thermostat information (for reference only)
71 Software revision number (major revisions)
72 Software revision number (minor revisions)
73 Conguration identication code (major)
74 Conguration identication code (minor)
75 Production conguration date code (week)
76 Production conguration date code (year)
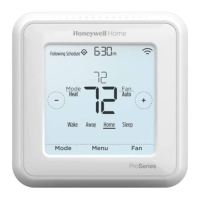
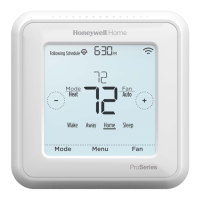
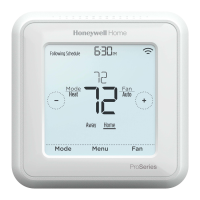
Installer Set-Up (ISU) setting
Press and simultaneously for 3 seconds to
enter ISU as below:
Press
or to change settings
Press to advance to next function
Press and hold and buttons 3 seconds to
exit and save settings
Number
Setting
 Loading...