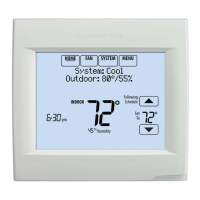
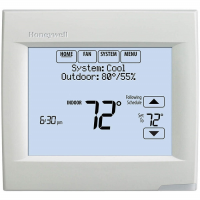
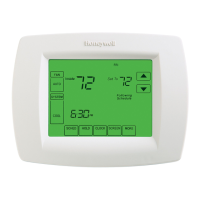
VISIONPRO® 8000 SMART THERMOSTAT
9 33-00096—04
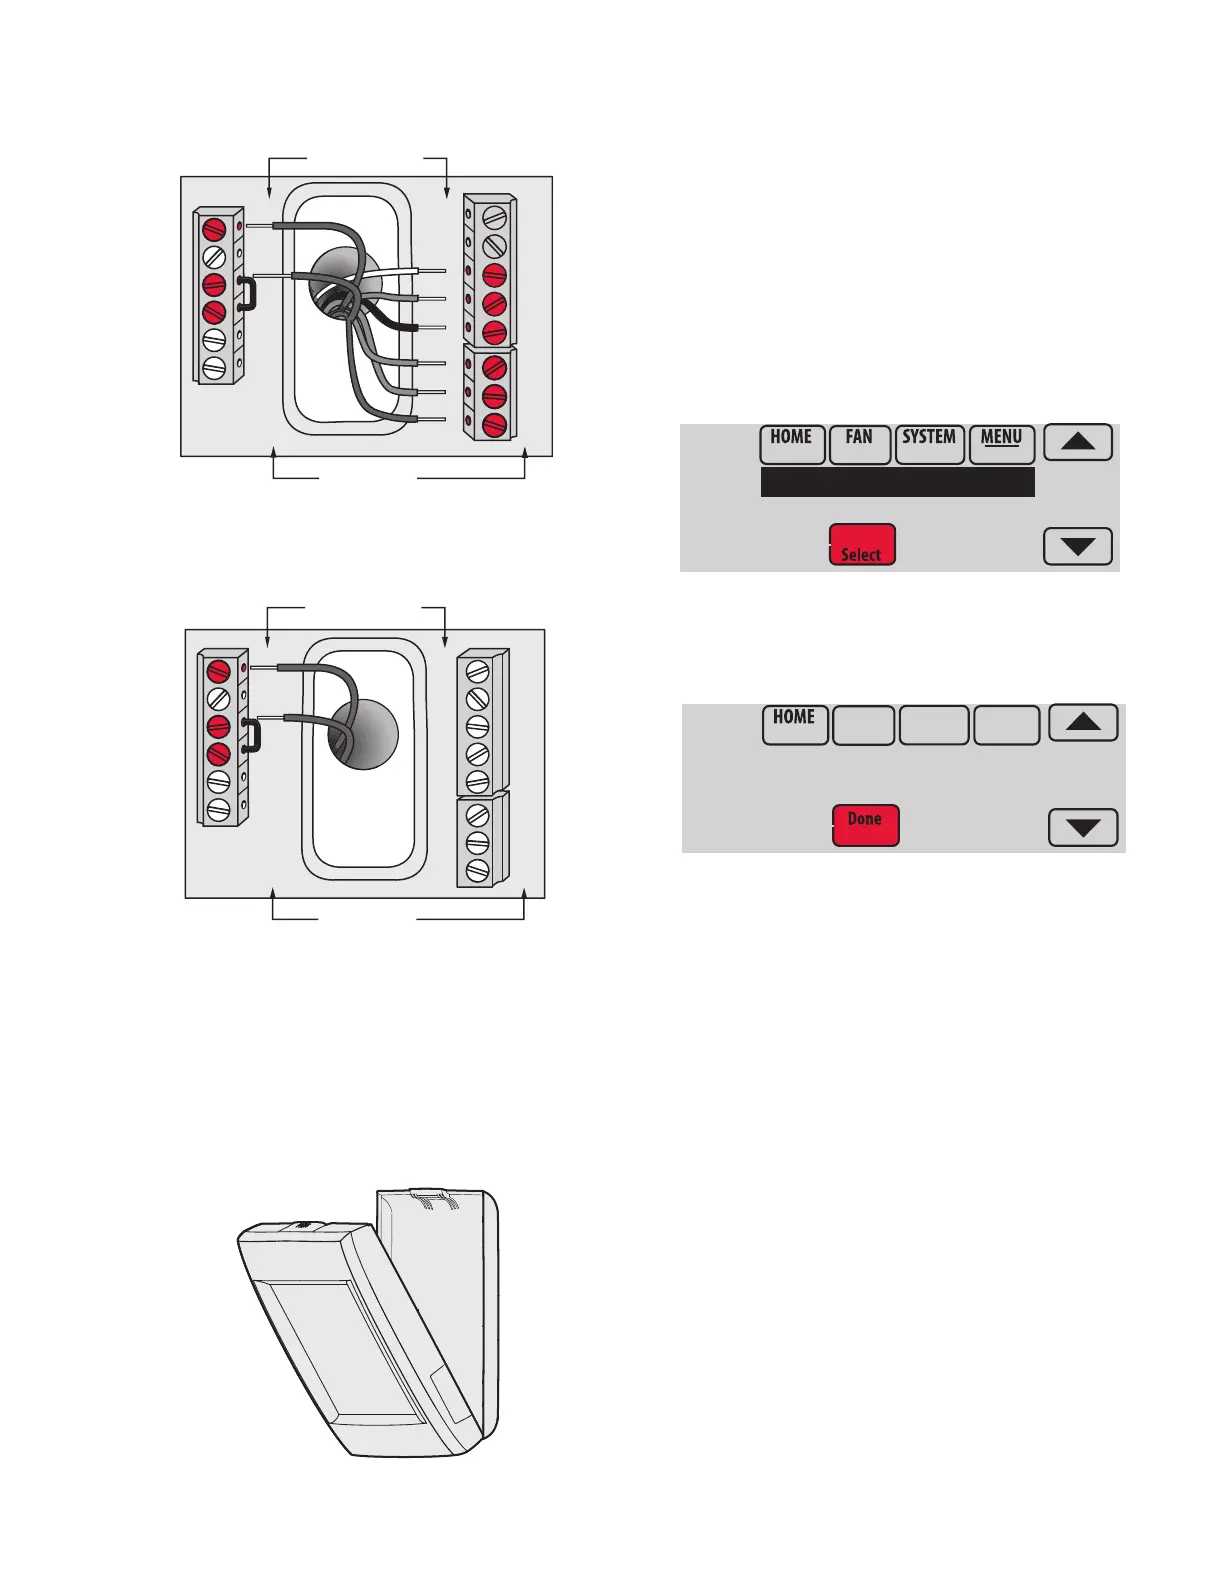
Fig. 13. Thermostat wired directly to equipment.
1. Power the thermostat using Rc and C terminals. Refer
to Fig. 14.
Fig. 14. Inserting wires in thermostat terminal block.
Mounting Thermostat on Wallplate
1. If your thermostat has hinges along the bottom and a
button on the top, align the thermostat at the bottom
and snap into place as shown. If you have the
updated model without hinges, line the thermostat
up evenly with the wallplate and push the thermostat
evenly along the sides and bottom to snap it into
place.
Fig. 15. Mount thermostat.
Finding Your Password (Date Code)
to Access Installer Options
You need a password (Date Code) to access Installer
Options. Installer Options allow you to:
• Make changes to the Installer Setup.
• Perform an Installer Test.
• Reset the thermostat to Factory Default settings.
The password (Date Code) is located on the back of the
thermostat. It can also be found by following these steps:
1. Touch Menu.
2. Select Dealer Information.
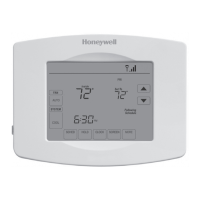
Fig. 16.
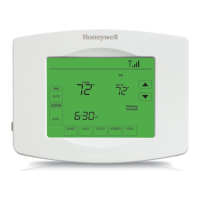
3. Scroll down to see the Date Code.
Fig. 17.
S1
S1
W
Y
G
W2
Y2
A
S1
S1
O/B
Y
G
AUX
-E
Y2
L/A
K
RC
R
U1
U1
U2
U2
C
CONVENTIONAL
HEAT PUMP
S1
S1
W
Y
G
W2
Y2
A
S1
S1
O/B
Y
G
AUX
-E
Y2
L/A
K
RC
R
U1
U1
U2
U2
C
CONVENTIONAL
HEAT PUMP
MCR34022
Dealer Information
Installer Options
MCR35348
TH8321WF1001
Date Code: 1524