17
Mounting and Wiring
Mounting
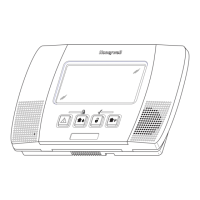
Tuxedo is for indoor use within the protected area only and should be mounted at a comfortable
viewing level. Avoid mounting in areas of high condensation such as bathrooms or in locations where
bright light or sunlight shines directly on the screen.
Tuxedo can be mounted with or without the mounting plate. Use the center securing screw for
European installations.
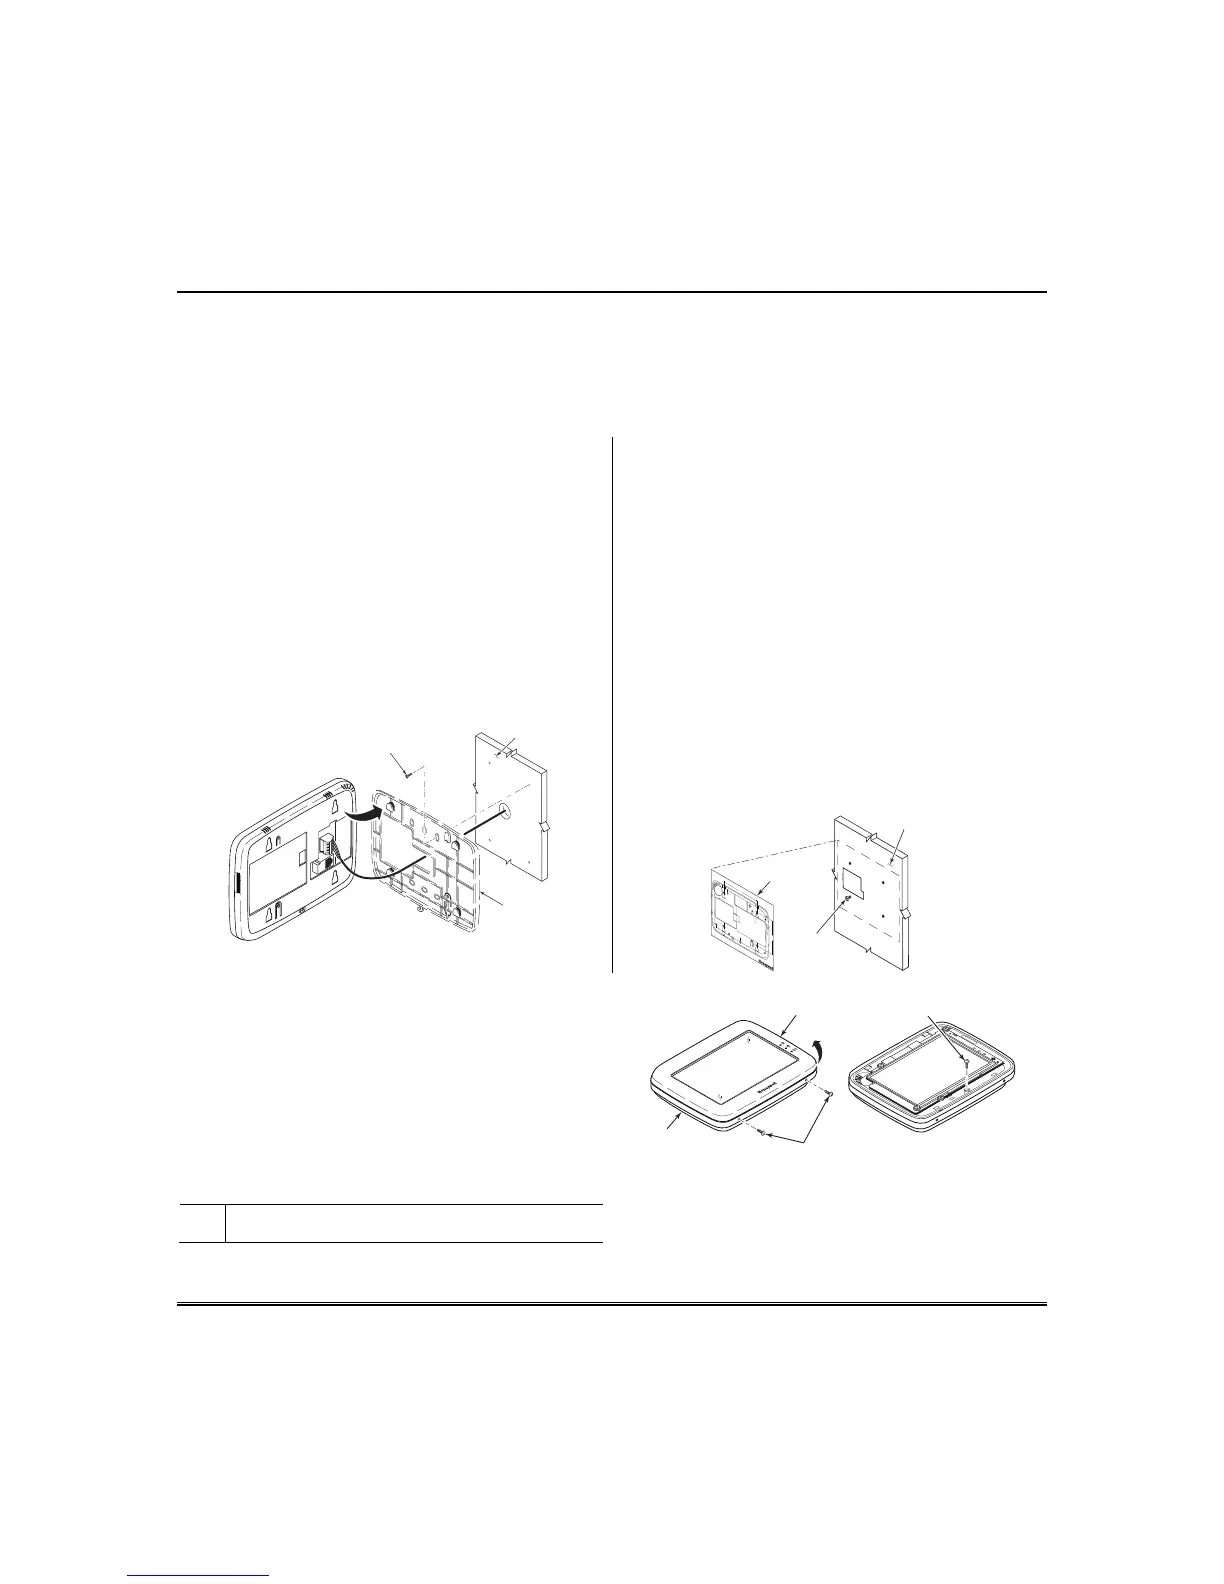
Standard Mounting with mounting plate:
1. Select a mounting location.
2. Detach the mounting plate by sliding downward.
3. Use the mounting plate to mark the location of the
mounting holes on the mounting surface and
check for level.
4. Locate the mounting plate over the mounting
surface such that the wire/cable access openings
are aligned while passing the wires/cable through
the case back.
**Go to “Wiring” (next page) and complete wiring.
5. Secure the mounting plate to mounting surface
using 4 screws (supplied).
6. Slide keypad onto mounting plate.
6280WiFi-006-V1
WALL
SURFACE
WALL
MOUNTING
PLATE
(OPTIONAL)
MOUNTING
SCREWS (4)
(TYP)
1. Select a mounting location.
2. Detach the mounting plate by sliding downward
and discard.
3. Use the template (provided in the carton) to mark
the location of the mounting screws and the cut-
out for the keypad assembly on the mounting
location. Check for level.
4. Install 4 screws (supplied) in the mounting
surface leaving screw heads 1/8” above the
mounting surface.
5. Locate the case back over the mounting surface
such that the opening is aligned with the
wire/cable access opening on the mounting
surface while passing the wires/cable through
the opening in the case back.
Go to “Wiring” (next page) and complete wiring.
6. Mount keypad by sliding onto the screw heads
.
4 - 3/4"
3 - 9/16"
800-08831 5/11 Rev.A
CUT-OUT LOCATION
DRILL 3/16" DIA. HOLES
4 PLACES
Ê800-00831uŠ
6280 SERIES CASE BACK MOUNTING TEMPLATE
DRILL 3/16" DIA. HOLE
6280-016-V0
MOUNTING
SCREWS
INSTALLED
1/8” ABOVE
SURFACE
TEMPLATE
WALL
SURFACE
Mounting (European Installations) using a
center securing screw:
1. Detach case front by removing the two bottom
screws. Gently pull up using a screwdriver if
necessary and pry apart. Lift off cover.
2. Mount Tuxedo in its final location, (see “Standard
Mounting” or “Mounting without the mounting
plate”) install center securing screw (supplied) and
tighten to mounting surface.
3. Replace the case front and secure using the two
bottom screws.
U
L
The European mounting procedure has not been
evaluated by UL.
6280-015-V0
INSTALL CENTER
SECURING SCREW
DETACH CASE FRONT
BY REMOVING SCREWS (2)
AND LIFT UP
CASE
FRONT
CASE
BACK
 Loading...