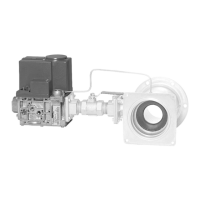
VPI PRESSURE INDEPENDENT CONTROL VALVES & ACTUATORS
3 31-00383-01
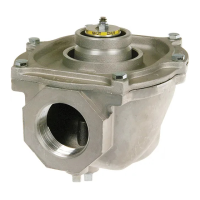
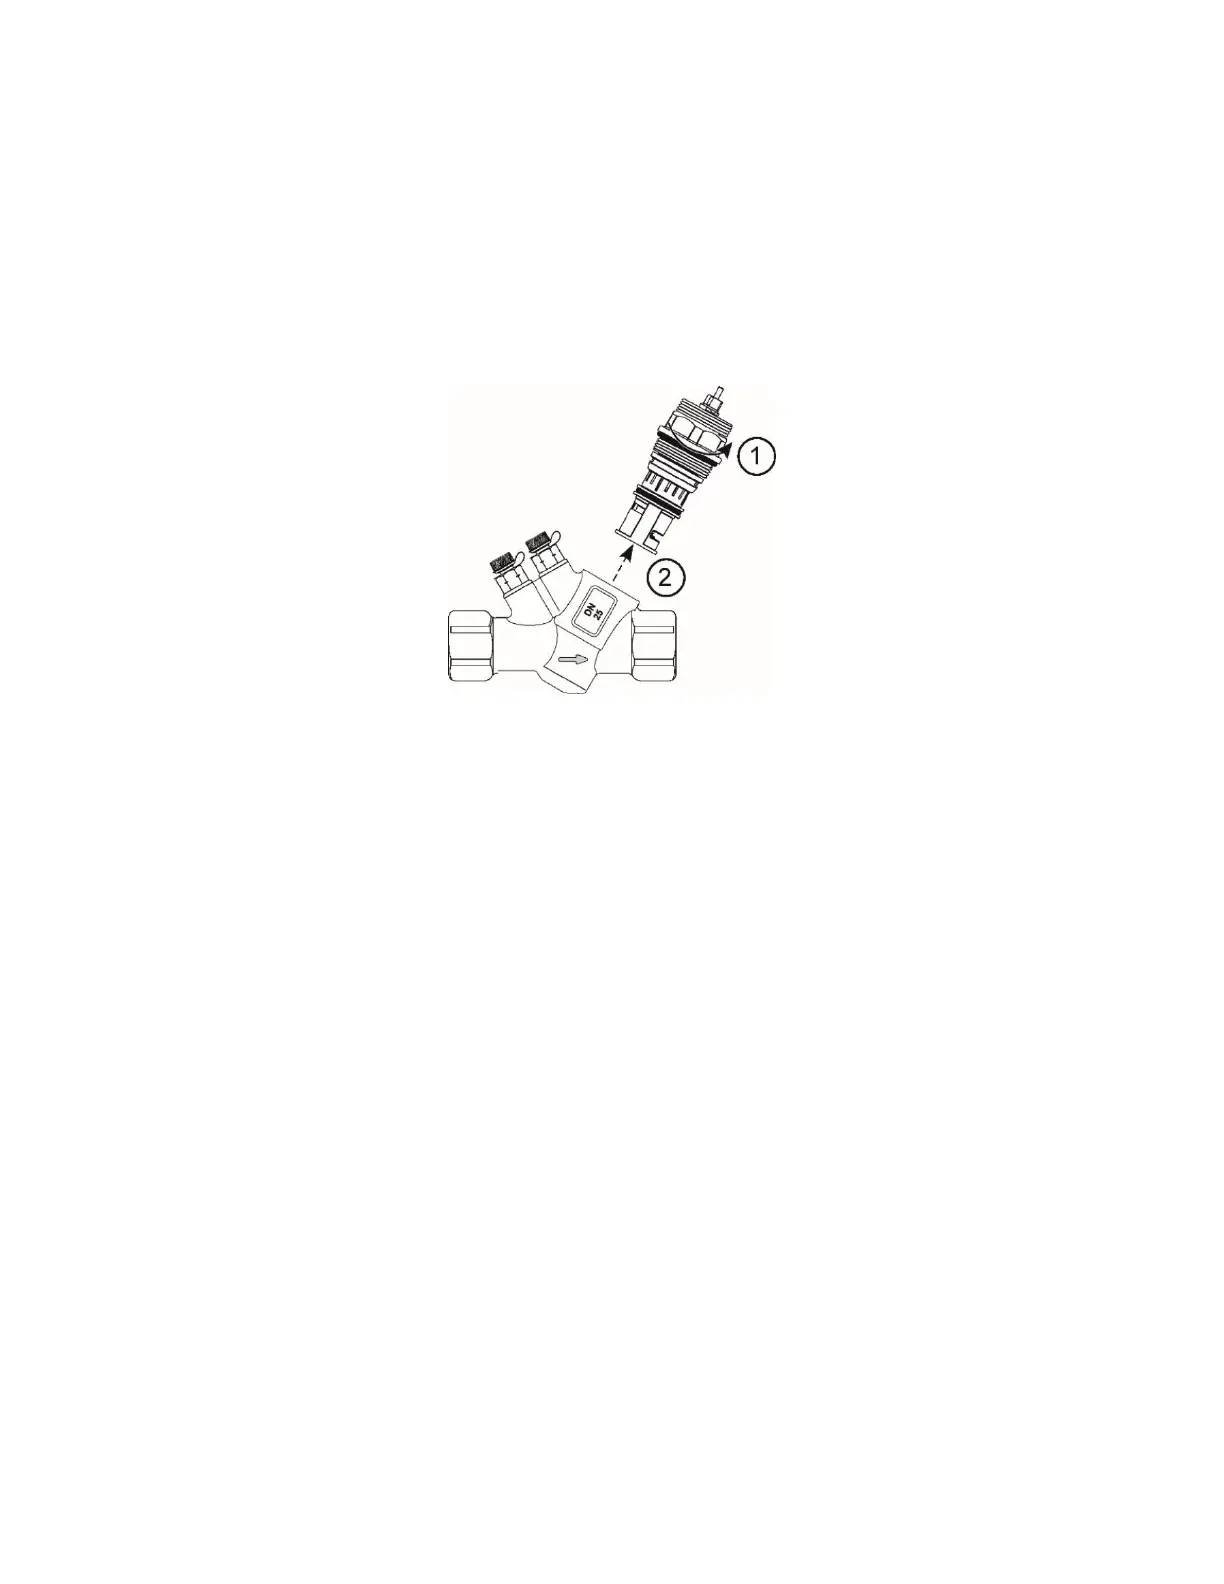
Replacement of Flow regulator
The Flow regulator are engineered and designed with more life span. Follow below procedures in case if the old flow
regulator needs replacement with the new one.
Procedure to remove the Flow Regulator
The procedure to remove Flow Regulator is as follows:
1. Remove the installed actuator (if any) as stated in Procedure to remove the Actuator.
2. Isolate the valve.
3. Use the pipe wrench or appropriate tool to rotate Flow Regulator in counterclockwise direction to remove from the
valve body. See Figure 5.
Figure 5. Removing Flow regulator from Valve body
Procedure to install the Flow Regulator
The procedure to install Flow Regulator is as follows:
1. Prior to installing the Flow regulator, the system should be properly flushed.
2. Insert the Flow Regulator in valve body and rotate with the pipe wrench or appropriate tool in Clockwise direction
to fit flow regulator in valve body. Follow the reverse sequence of steps shown in Figure above.
3. Open isolation valves slowly. Fast opening of isolation valves under high pressure may cause damage to the seat
or diaphragm of the Flow regulator.
4. Set the desired flow rate by adjusting the Flow Regulator with special adjustment key.
5. Install the actuator as stated in Procedure to install the Actuator.
 Loading...