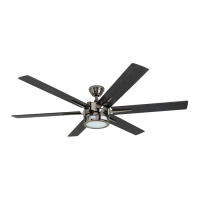
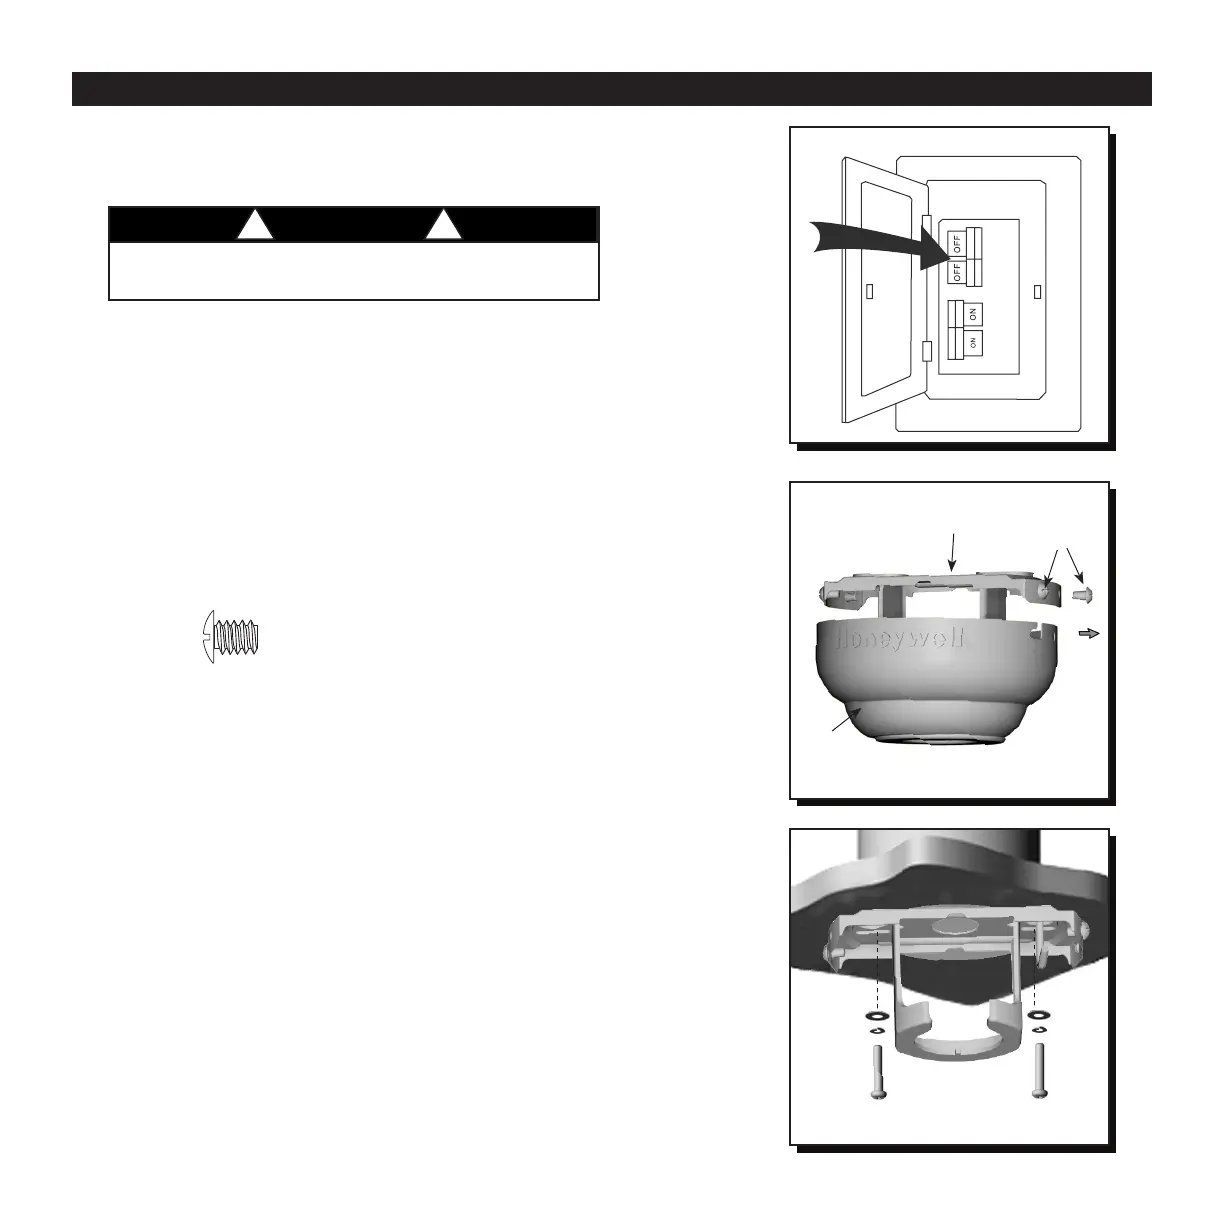
4. Loosen all four mounting bracket screws and
completely remove the two mounting bracket
screws from the round holes of canopy. Set aside
for later use. Detach mounting bracket from canopy
(Fig. 4).
Fig. 5
Fig. 4
Mounting
Bracket
Screws
Mounting
Bracket
Canopy
5. Secure the mounting bracket to the outlet box using
screws, spring washers, and at washers provided
with the outlet box (not included) (Fig. 5).
Note: It is very important to use proper hardware
when installing the mounting bracket, as it supports
the fan.
Important: If using angle mount, ensure the open
end of the mounting bracket is installed facing the
peak of the ceiling.
Mounting Bracket
Screw
Fig. 3
3. Turn off the circuit breakers and wall switch leading
to the fan wire leads (Fig. 3).
WARNING
Failure to disconnect the power supply prior to
installation may result in serious injury or death.
! !
6
MOUNTING BRACKET INSTALLATION
 Loading...