* Certain Models Only
** May vary according to model
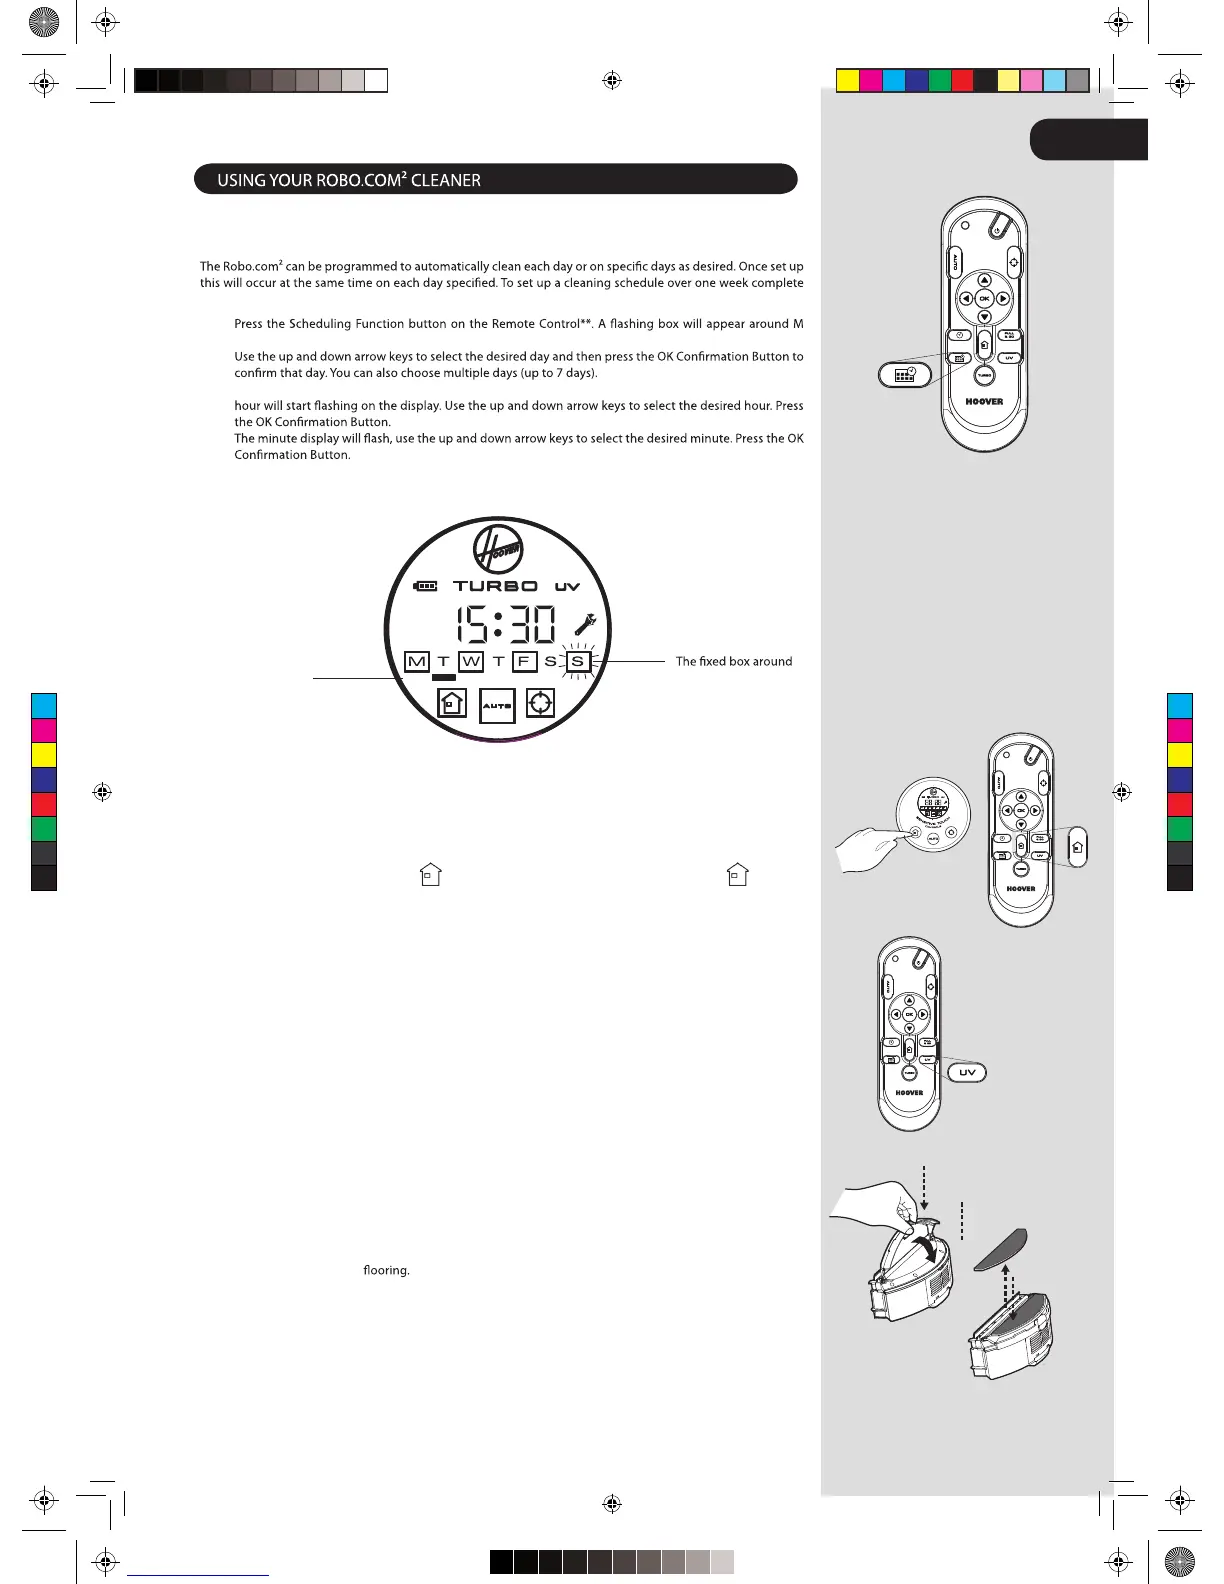
Setting up the Cleaning Schedule*
the following:
1.
(Monday).
2.
Once each day of the week have been selected, you can decided the hour of the cleaning schedule: the 3.
4.
The cleaning schedule for the days has been selected.5.
This bar below
the letter of the
day indicates the
‘Current day’
the letter of the
day indicates that
day has a cleaning
schedule set.
GB
NOTE: The cleaning hour will be the same each day scheduled for cleaning.
Additional Features
UV Lamp*: Press the UV button on the remote control** to activate the UV lamp* for more
hygienic cleaning. The UV indicator will light on in the LCD display. To deactivate
the UV lamp*, just repress the UV button on the remote control**.
Floor Polisher Pad*: Attached via the Floor Polisher Pad Holder * to the underside of the cleaner, the
Floor Polisher Pad* is used to polish marble, parquet, wooden and other delicate
NOTE: Do not use on a carpeted Surface.
Automatic Return to the
Charger Base Station:
Press the
Sensitive touch control on the robot or press the button on
the remote control, this will activate the Automatic Return to the Charger Base
Station
RoboCom2Manual2011__GB.indd 9 14/07/2011 13.40.07
C
M
Y
CM
MY
CY
CMY
K
RoboCom2Manual2011__GBprint - Copy.pdf 1 7/14/2011 4:00:13 PM