5
Fig. 13
This priming procedure should be repeated after every change of the water tank. For standard
priming10secondsisusuallysufcient.
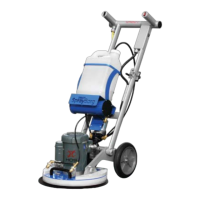
• Byadjustingtheyellowleveryoucanvarythespraypressure.Thefurtheryoumovethelever
counter-clockwiseupwards,thehigherthewaterpressure.Ahorizontalpositionmeansmaximum
wateroutputatmaximumpressure(Fig.16)
Fig. 14 Fig. 15 Fig. 16
• Adjustthesprayjetsonthemachinebasetothedesiredposition.Formostoorcleaning
applications adjust the spray jets so that they spray about 6 inches (15 cm) in front of the base.
Fig. 17
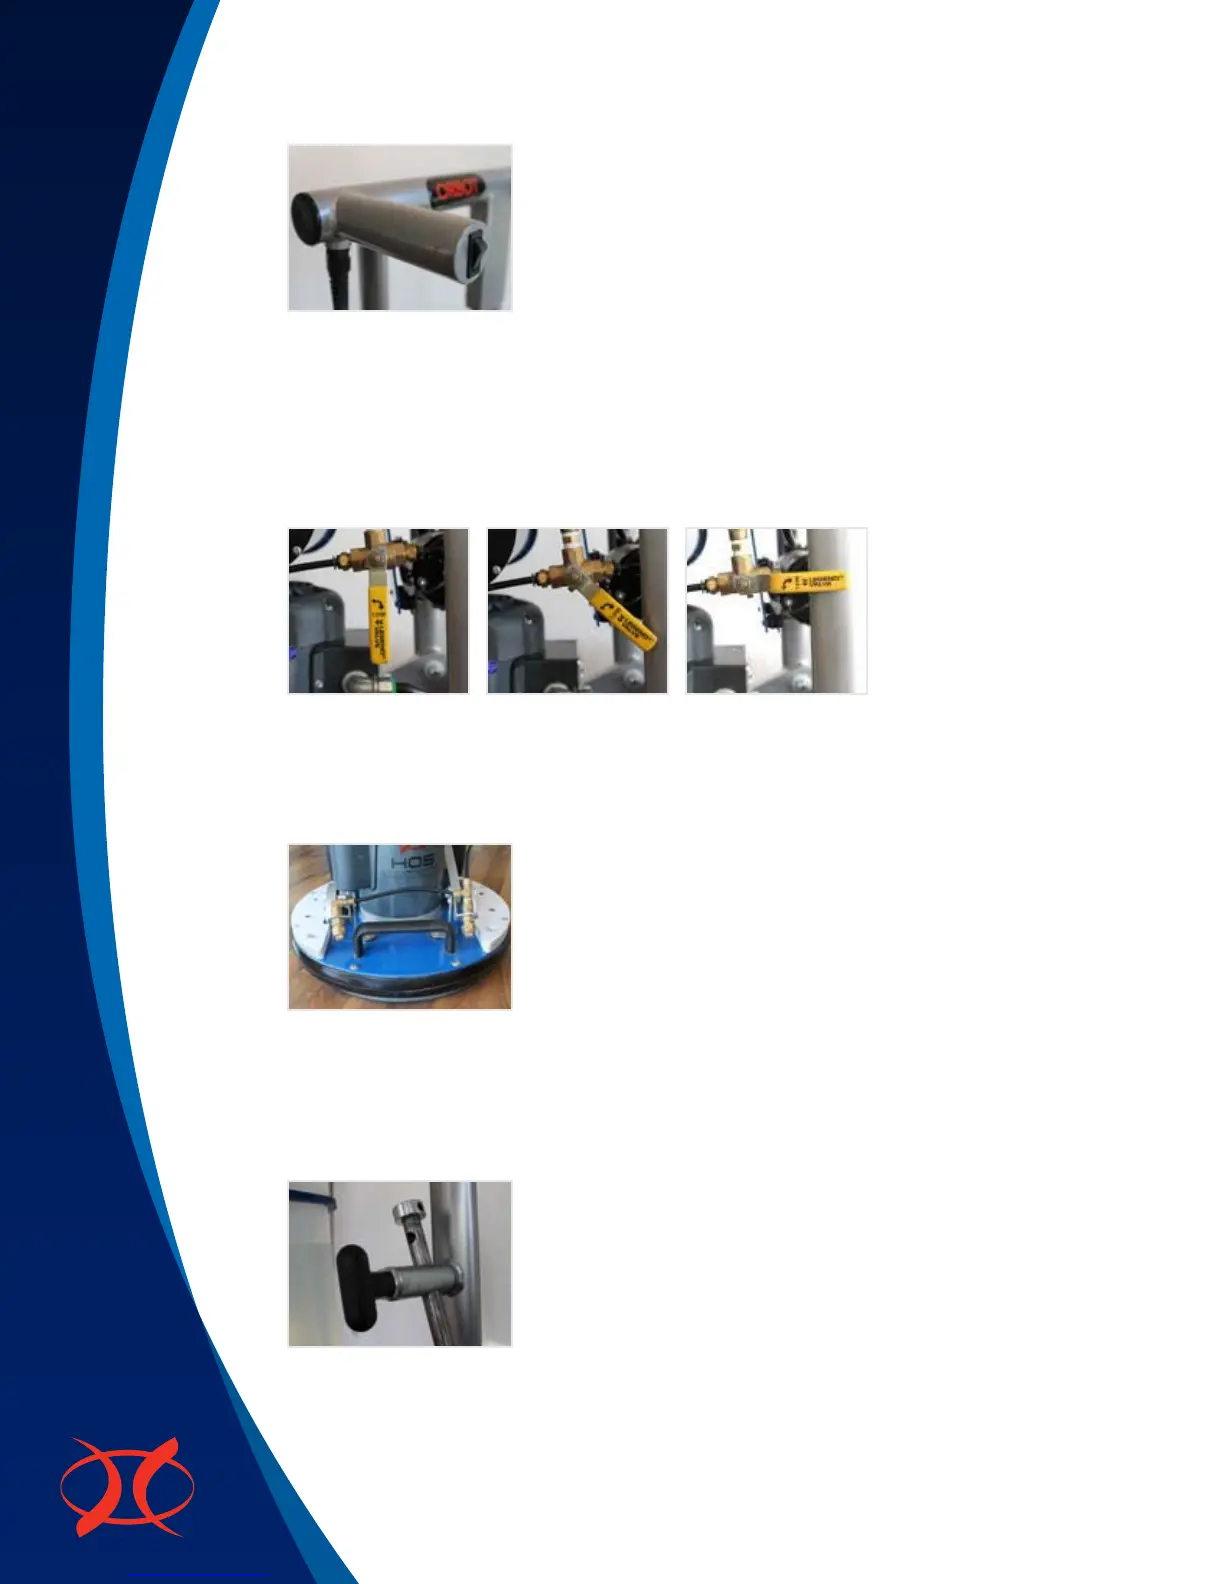
• Setthehandlepositiontothedesiredheightbypullingandreleasingtheblackknob(Fig.18)with
the left hand. While holding the black knob out, raise or lower the handle frame with your right
hand.Toxthehandleframeintoplace,releasetheblackknobsothatitlocksrmlyintooneofthe
holes provided.
Fig. 18
• NOTE:AdetaileddescriptionoftheORBOTWeightKitformaintaininghardoorscanbefoundon
page 9.
• Toturnthemachineon,presstheredpowerbutton(powerbuttonmayalsobeblackincolor)on
the left end of the handle. Position “0” is off and position “I” is on (Fig. 19).
 Loading...