4
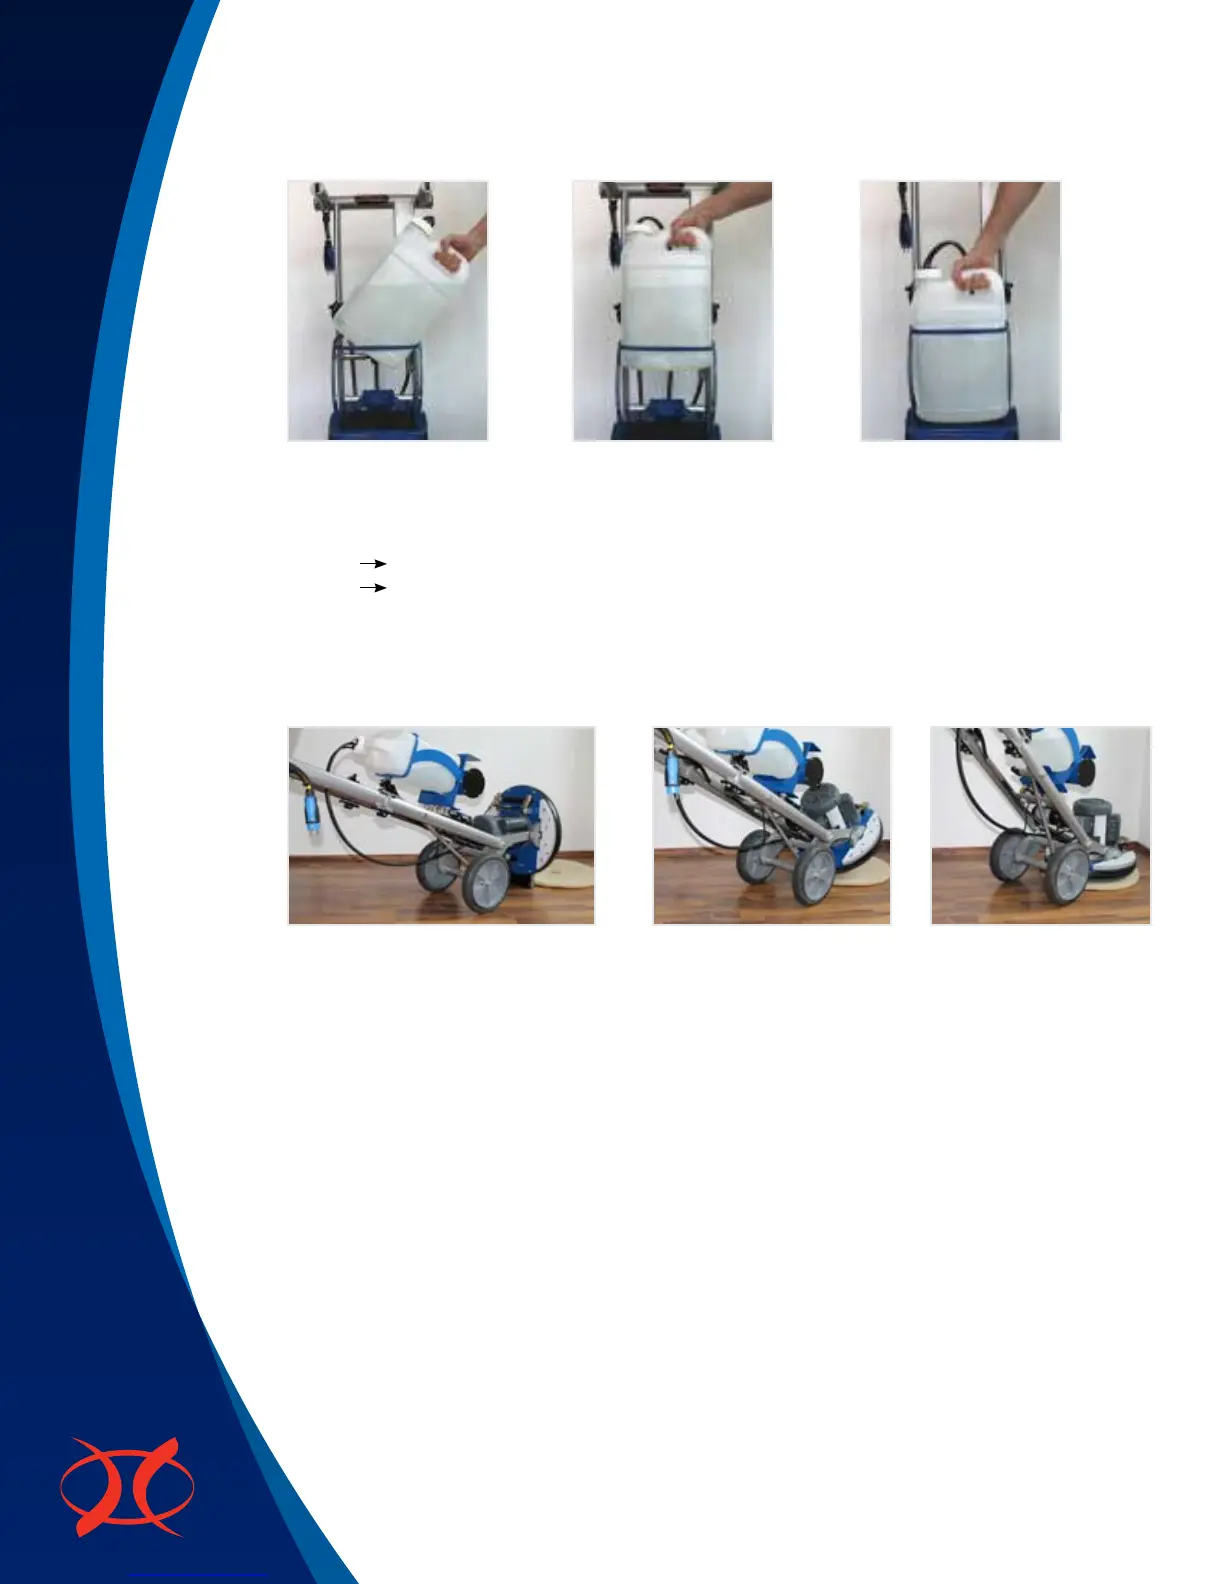
Fig. 7 Fig. 8 Fig. 9
• Chooseapadfortheappropriateapplication.Placethepadinfrontofthemachineontheoorand
center the driver plate on the pad.
For more information about our pads see page 13.
For the attachment of the HOS brush see page 9.
• Toplacethedriverplateonthepad,positionthehandleinalowerposition(Fig.10).Liftthe
machine until the wheels slightly come off the ground and push slowly forward until the machine
base tilts towards the ground. (Figure 11).
Fig. 10 Fig. 11 Fig. 12
WARNING: Make sure you put the wheels back on the ground in time, to avoid the base from
falling on the ground. This might cause damage!
Now you are able to control the base and place it carefully on the pad (Fig. 12).
NOTE:It’snotnecessarytocenterthepadexactly.Visualjudgmentisenough.
• Takethepowercablethatcomeswiththemachine;connectittoitscounterpartwhichislocated
on the upper handle. USA version power cables simply push and twist lock together, clockwise.
European power cables connect by holding back the lid of the coupler with your thumb and
pressingtheplugandfemalecouplertogetheruntiltheyarermlylinked.Firmlyinsertsothatthe
blackrubberringdisappearsintothefemalecoupler.Youcannowplugthepowercordpluginto
the outlet.
• IMPORTANTSAFETYADVICE:Neverplugthepowercordintotheoutletbeforeyouplugthe
power cable to the Orbot!
• Forprimingthepumpsystemforthersttime,puttheyellowlever,whichislocatedontheleftside
of the machine in a vertical position (see Figure 14, p.5). Hold down the black spray button on the
right end of the handle (Fig. 13) for about 30 seconds until the pump is working at its full capacity.
 Loading...