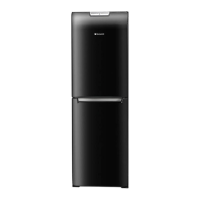
24 of 36
Indesit Company
Service Manual UK English
SERVICING & DISMANTLING INSTRUCTIONS
Important Notes for Guidance:
Before commencing any work refer to the Safety Notes at the beginning of this manual.
A. Removing the Fridge Door
1. Remove the contents, food and furniture.
2. Remove the top hinge blanking plug from the top of the fridge door and unclip the door hinge cover
magnet strip.
3. While supporting the fridge door, unscrew and remove the top hinge pin and lift the door from the
centre hinge.
B. Removing the Freezer Door
1. Remove the fridge door as in A1 to A3.
2. While supporting the freezer door, remove the centre hinge assembly.
3. Lift the freezer door enough to release it from the lower hinge pin.
C. Control Panel (housing the Power / Control module)
1. Remove the fridge door as in A1 & A3.
2. Unclip and remove the top hinge cover and the left hand blanking cover from the control panel.
3. Remove the two screws securing the control panel to the cabinet.
4. Pull the control panel forward enough to gain access to the module and wiring harness.
5. Release the wiring from the module.
D. POWER / CONTROL Module
NOTE: - Assemble in the same order starting at position ‘A’ then ‘B’ aligning the control knobs to
the potentiometers mounted on the module and ending with position ‘C’. When assembled check
that the temperature selectors can rotate through all the settings.
E. Door Seals (replaceable)
NOTE: - There is a moulding at the rear of the door seal that locates into a groove in the door liner to
secure it.
1. To replace, ease the seal away from the door liner starting at the middle of one of the sides then work
around the door to release completely. If the seal is a tight fit into the liner, the liner must be supported
to prevent any damage.
F. Interior Lamps
1. Unclip the lamp cover/s.
2. Unscrew the relevant lamp; the replacement lamp must be of the same rating as the power range
indicated on the cover (e.g. 10W).
G. Fridge Multi-Flow Unit
1. Remove the contents, food and furniture from the fridge compartment.
1. Remove the fridge door and control panel
as in C1 to C5.
2. Set the temperature control knobs to the
“I Care” position.
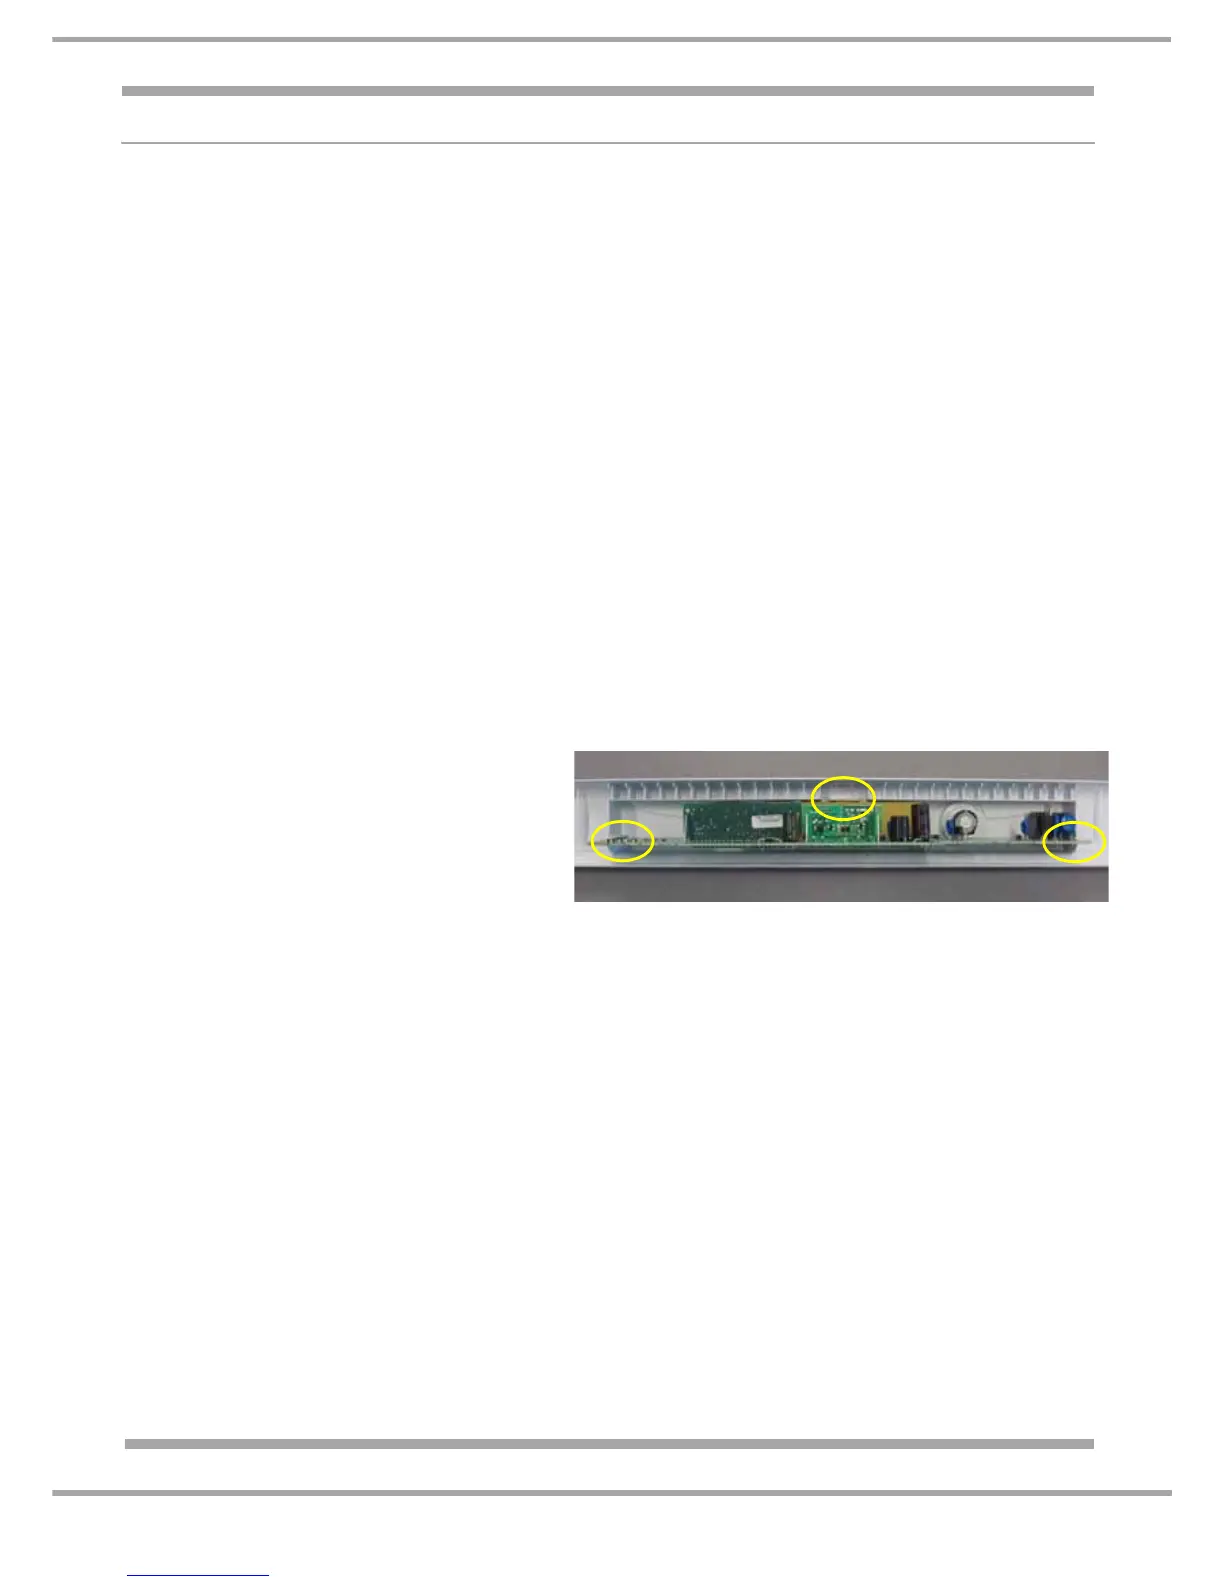
Unclip the module from the panel.
Start with position
‘A’ then ‘B’ and ending with position ‘C’.
See photo on the right for clip positions.
A
B
C