© 2019 Hoymiles Converter Technology Co., Ltd. All rights reserved. 7
3.7 DTU Installation Procedure
(1) Install the PV Modules and microinverters
Please refer to the Microinverter’s Manual or Quick Installation Guide for the detail installation steps.
(2) Locate the DTU
The maximum communication distance of Hoymiles DTU is 150m in open space. The walls, roofs, or
other obstacles in between will affect the signal and reduce the communication distance in the real
installation.
The range of signal reduction for possible obstacles at the site has been shown below:
Relative signal range reductions
Reinforced concrete (reduction increases with the
amount of reinforcement)
Therefore, the DTU shall be placed as close to the microinverters as possible at the site to ensure
good communication between DTU and microinverters.
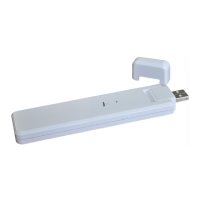
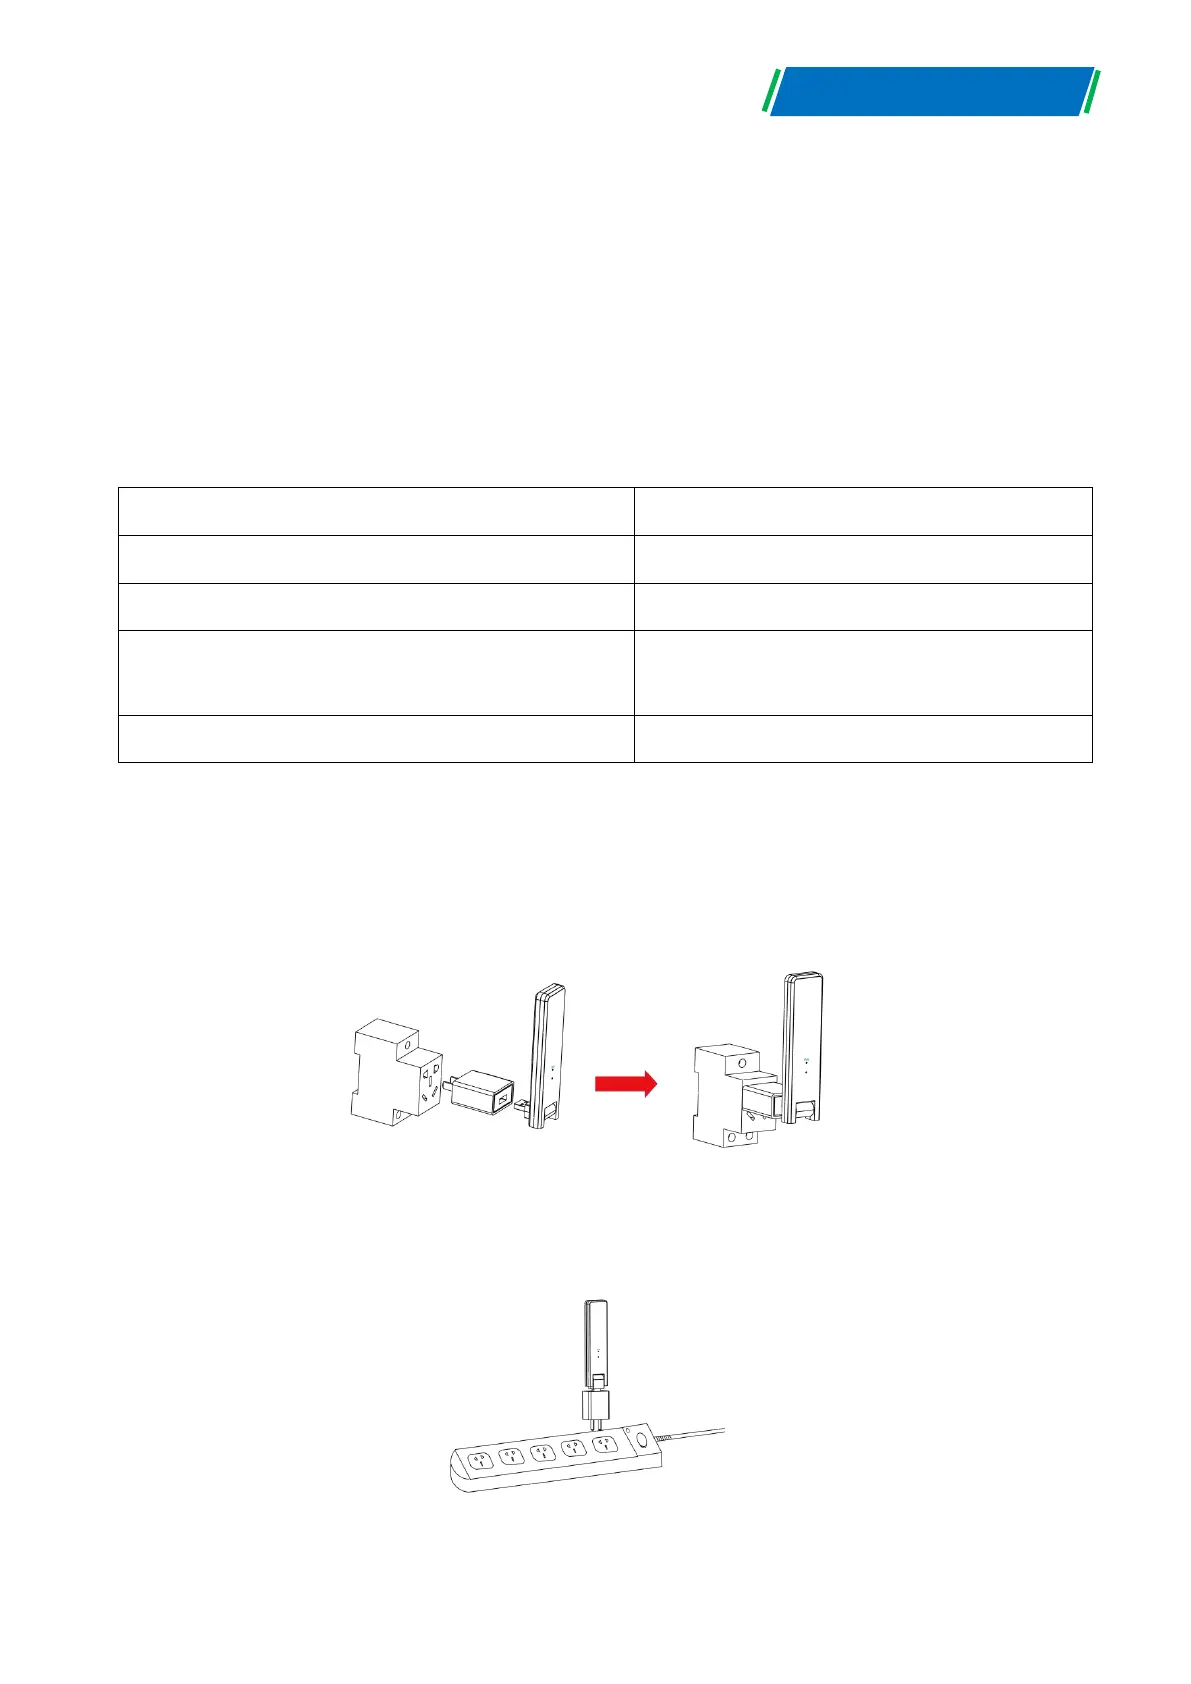
(3) DTU Installation
a. Connect the DTU to the adapter and plug it into the wall socket. (Figure 1)
Figure 1
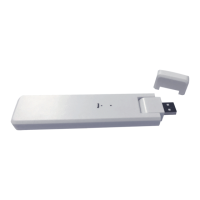
b. If using Power Strip, please make sure it is placed at least 1 meter above the ground and try to
install the DTU 90 degrees vertical to the ground as much as possible (figure 2).
Figure 2
 Loading...