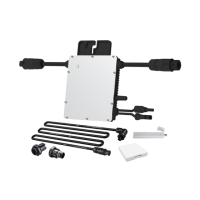
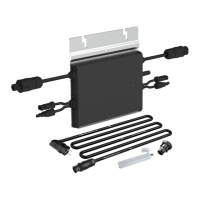
1. Accessories
① ② ③ ④
⑤ ⑥ ⑦ ⑧ ⑨
① AC Extension Cable
② AC End Cable (Female) ,2m 12 AWG cable
③ AC Female Connector
④ AC Male Connector
⑤ AC Male End Cap, IP67
⑥ AC Female End Cap, IP67
⑦ Screw, 2 pcs of M8*25 screws to tighten
microinverter on the frame
⑧ AC/DC Connector Unlock Tool
⑨ DC Extension Cable(optional)
Note: all accessories above is optional, please
contact our sales to purchase base on the
quantity required on actual installation.
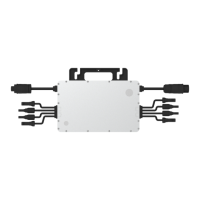
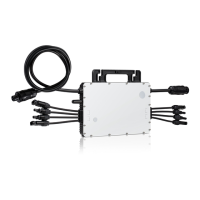
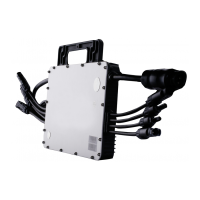
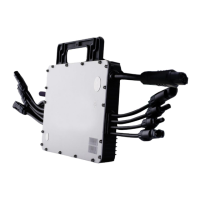
2. Installation Steps
Step 1. Install Microinverter
A) Mark the approximate center of each panel
on the frame.
B) Install the Microinverter shown as. The
silver cover side should be up.
(Step1 B)
Step 2. Connect AC Cables of Microinverter
A) Plug the AC connector of the first
Microinverter into the connector of the
second Microinverter, and so for the rest,
to form a continuous AC branch circuit.
(Step2 A)
B) Install the AC End Cap on the open AC
connector of the last Microinverter in the
AC branch circuit.
(Step2 B)
Step 3. Connect AC End Cable
A) Connect the AC Female connector on the
side of AC End cable to the adjacent
Microinverter’s AC Male connector.
B) Connect the other side of the AC End
Cable to the distribution box, and wire it to
the local grid network. Close the junction
box after the wiring is completed.
Note: N: blue wire L: brown wire
G: yellow/green wire
(Step 3)