11
4. Connect one end of the AC power cord to the AC power receptacle on the switch.
5. Connect the other end of the AC power cord to the AC power outlet.
6. Examine the power LED. If it is ON, the power connection is correct.
Figure 15 Connecting the AC power cord to the AC power receptacle
Connecting the DC power cord
IMPORTANT:
Make sure the DC power cord is shorter than 3 m (9.84 ft).
The HP 1920-24G-PoE+ (370W) and HP 1920-48G-PoE+ (370W) support DC RPS power.
If only the DC power cord is connected, the switch operates correctly when the DC input voltage is in the
range of –47 VDC to –57 VDC. If both AC and DC power cords are connected, the switch chooses the
power supply based on the DC input voltage, as shown in Table 4.
Table 4 Power supply selection criteria
DC in
–54 VDC to –57 VDC DC
< –54 VDC AC
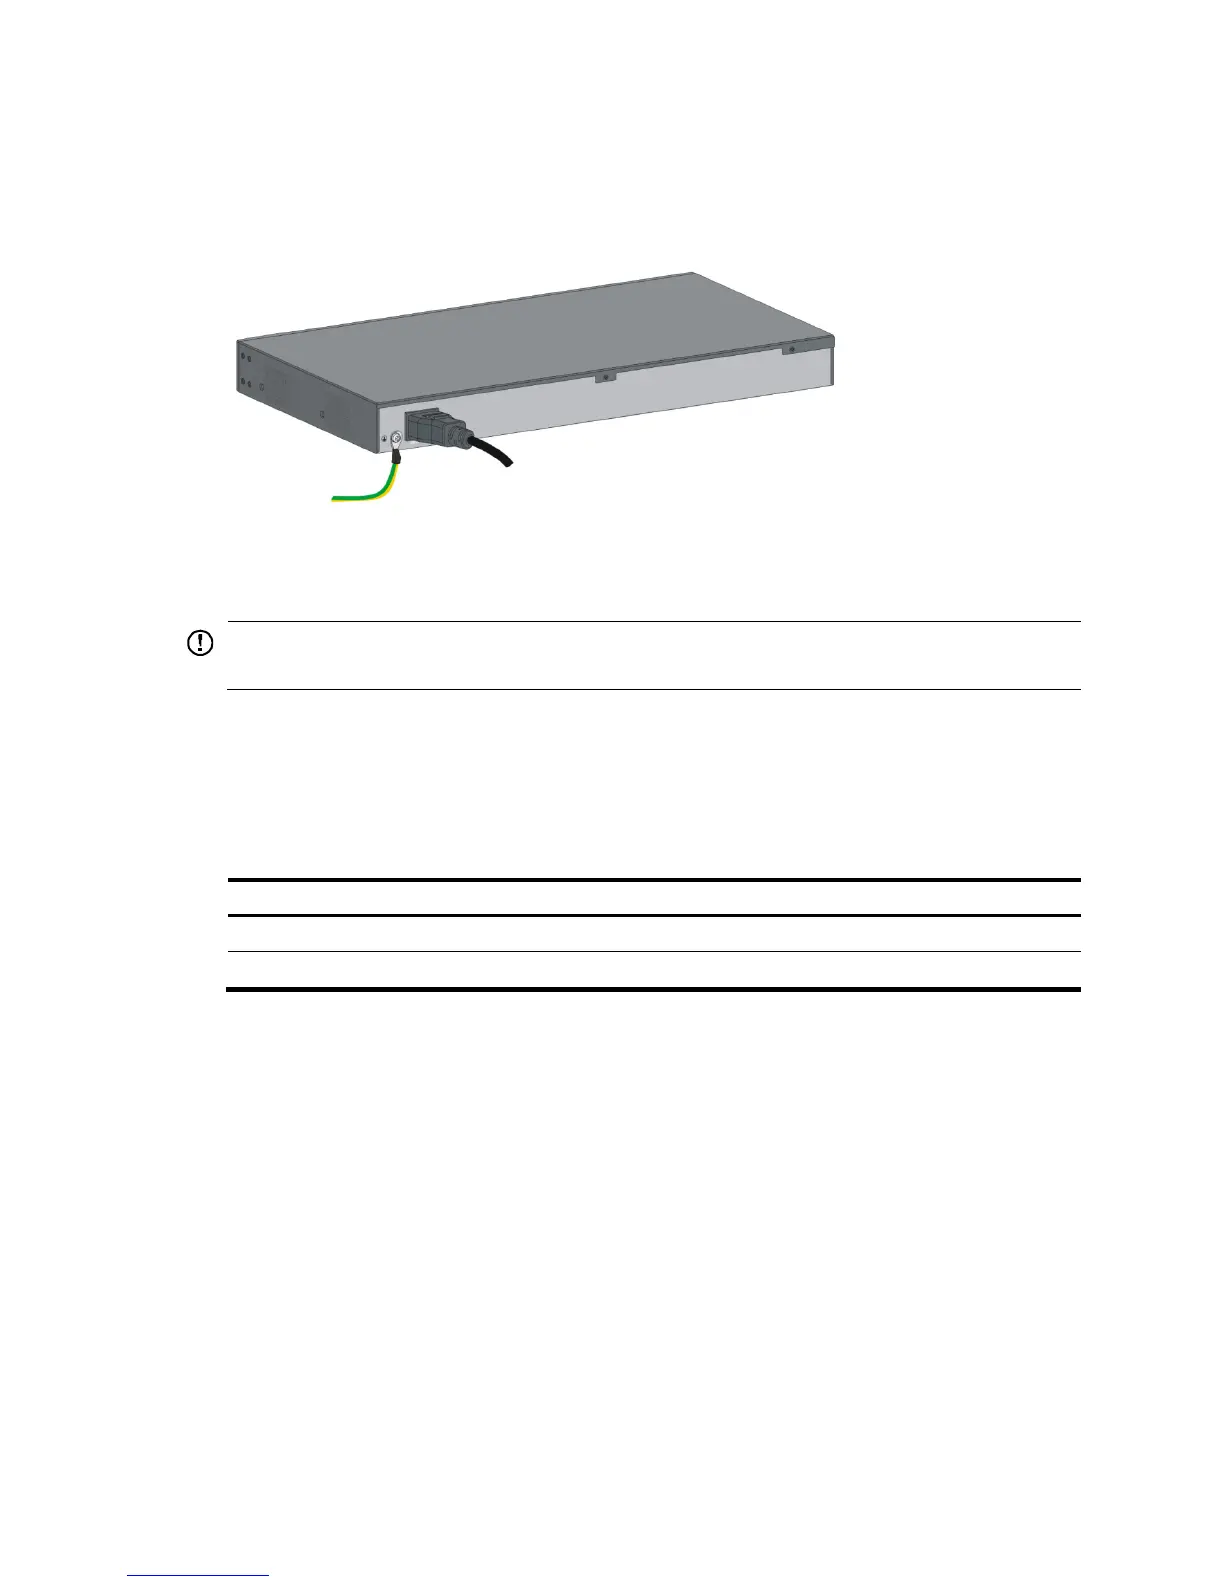
To connect the DC power cord:
1. Wear an ESD wrist strap and make sure it makes good skin contact and is reliably grounded.
2. Connect one end of the grounding cable to the grounding screw on the rear panel, and connect
the other end to the ground.
3. Insert the DC connector to the DC power receptacle.
If you cannot insert the connector into the receptacle, do not force it. Re-orient the connector and
try to insert it again.
4. Use a flathead screwdriver to fasten screws on both sides of the connector.
5. Connect the other end of the DC power cord to the RPS. Make sure the RPS is supplying a minimum
of 876 W power.
6. View the RPS LED to verify that the DC power cord is installed correctly.
 Loading...