7
Mounting the switch on a workbench
IMPORTANT:
• Reserve a clearance of 10 cm (3.9 in) around the chassis for heat dissipation.
• Do not place heavy objects on the switch.
To mount the switch on a workbench:
1. Verify that the workbench is sturdy and reliably grounded.
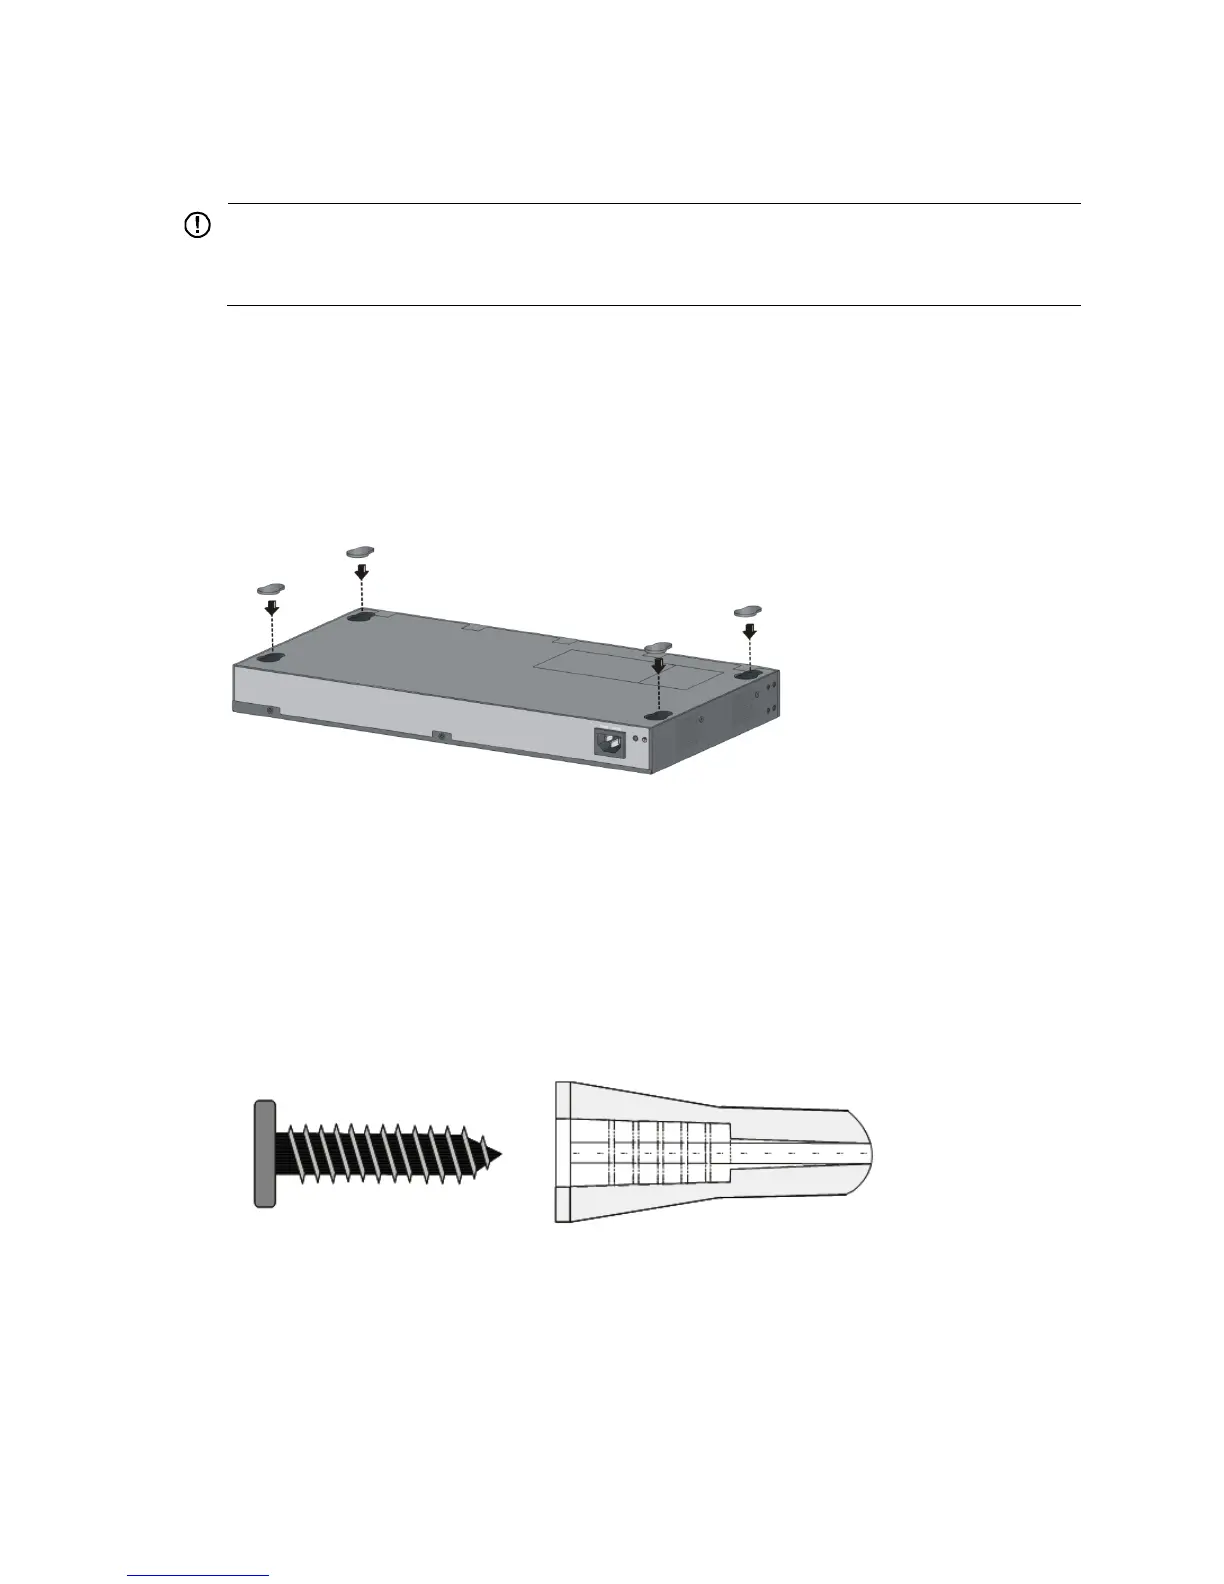
2. Place the switch bottom up, and clean the round holes in the chassis bottom with a dry cloth.
3. Attach the rubber feet to the four round holes in the chassis bottom.
4. Place the switch upside up on the workbench.
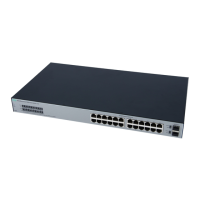
Figure 7 Attaching rubber feet (HP 1920-24G-PoE+ Switch)
Mounting the switch on a wall
Only the HP 1920-8G switch can be installed on a wall. The type of screws used to mount the switch on
the wall depends on the wall type. This section uses a concrete wall as an example.
Wall-mounting anchor kits are user supplied. The screws must be a minimum of 3 mm (0.12 in) in
diameter, and the screw head must be a minimum of 6 mm (0.24 in) in diameter.
Figure 8 Wall-mounting anchor kit
To install the switch on a concrete wall:
1. Drill two holes at the same height. Make sure the spacing in between is 160 mm (6.30 in), as
shown in Figure 9.
T
he hole depth and diameter depend on the wall anchors and screws you use. Make sure you can
push the anchors to their full depth in the holes.
 Loading...