32 Getting Started
Getting Started32
Setting time
and date
1. To change the time and date, press
@ followed by 9 (TIME).
2. Using the cursor keys, higlight Set time, date..., or press
3. Note: you may also set and browse alarms, and use
Time tools from this menu. For a complete list of Time tools, see Chapter 25 of the HP 50g Graphing Calculator
User’s Guide.
3. Press the OK menu key.
4. Using the keyboard, key in number(s) for the current hour followed by ENTER.
5. With the last field to the right highlighted, press the
W to scroll through options for AM, PM, or 24-hour clock.
The option displayed option will become the active setting. Press the DOWN cursor key to highlight date format.
6. With the field highlighted, press W to select either M/D/Y (month-day-year) or D.M.Y (day-month-year) formats.
The displayed option will become the active setting.
7. Using the cursor keys, highlight the fields for day, month, and year.
8. Key in the numbers, followed by ENTER.
9. Once you have set the date and time fields, press the OK menu key or ENTER to exit the menu and save your
settings, or CANCL to cancel. For more information, see Chapter 1 of the HP 50g Graphing Calculator User’s
Manual or the HP 50g Graphing Calculator User’s Guide.
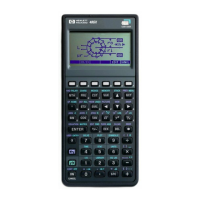
Table 1-2 Basic Features, Customizing the Calculator, and Setting the Internal Clock
Functions Display/Description

 Loading...