EasyManua.ls Logo

HP 8753D Option 011

HP 8753D Option 011
398 pages
To Next Page IconTo Next Page
To Previous Page IconTo Previous Page
Loading...
Rear
P
anel
Assembly
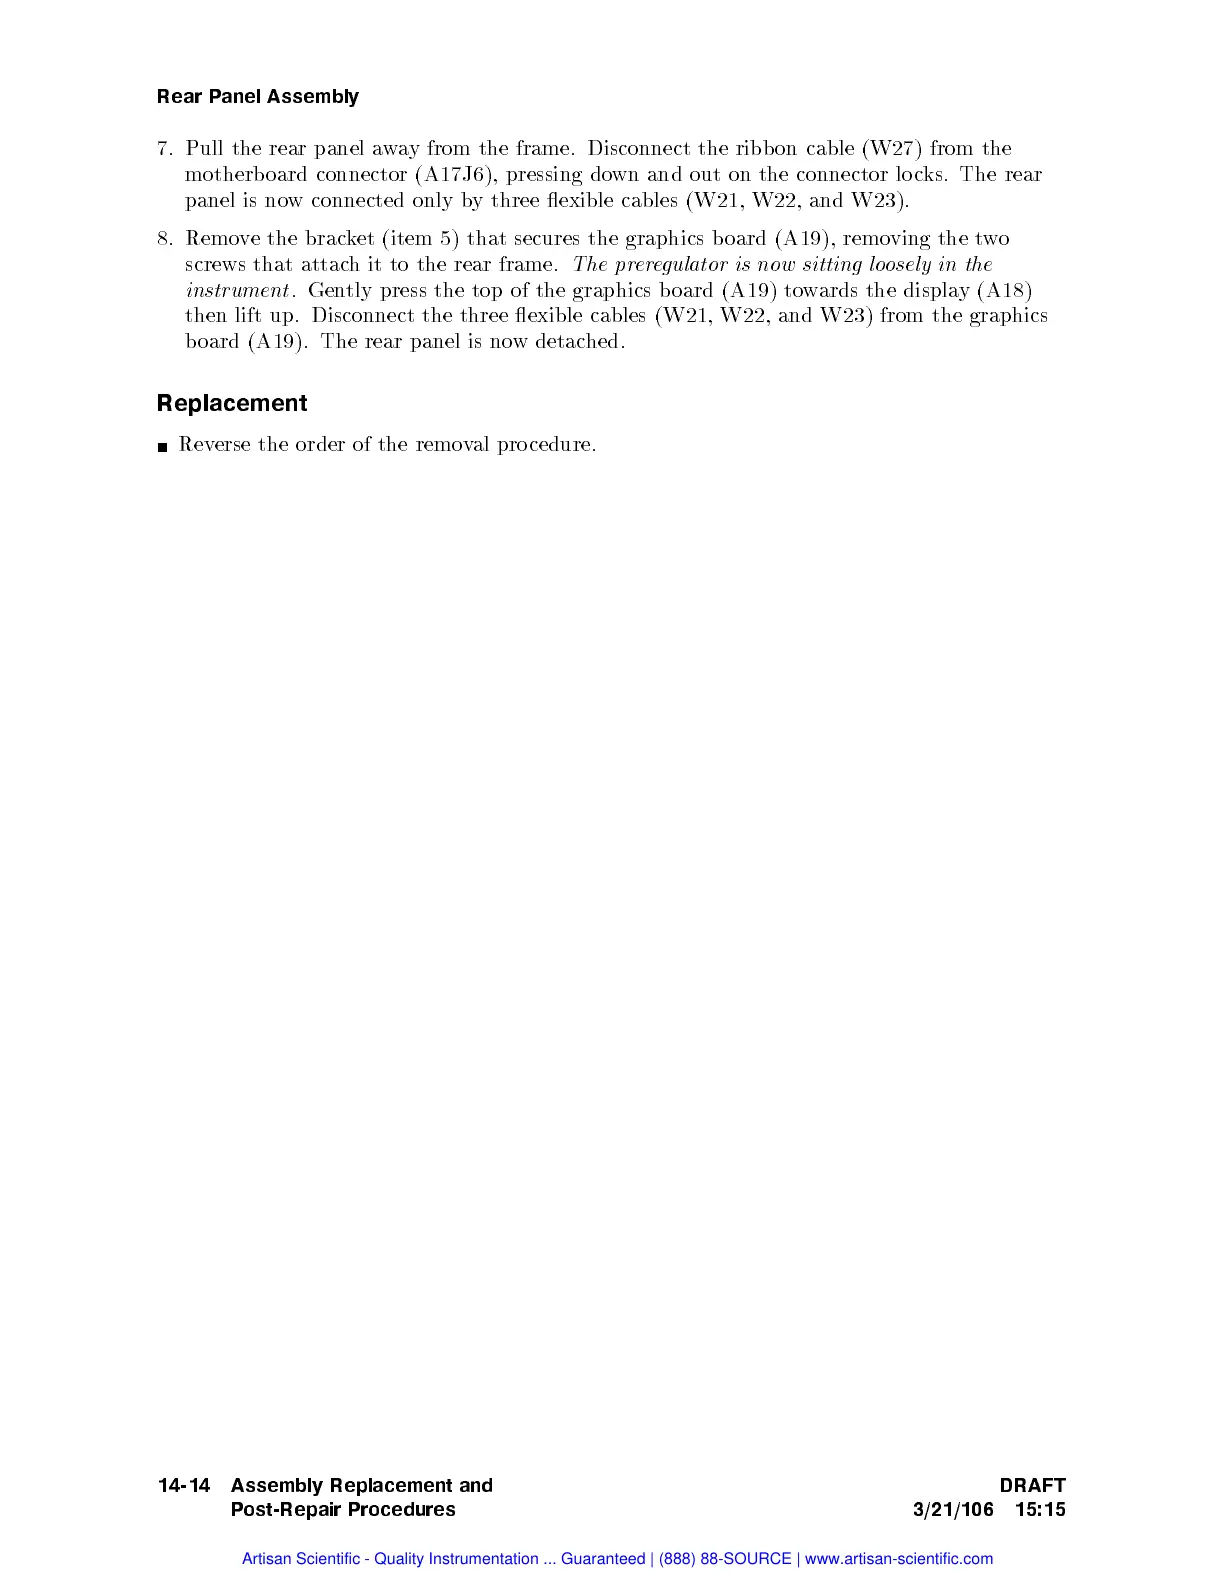
7.
Pull
the
rear
panel
a
w
a
y
from
the frame.
Disconnect the
ribb on
cable (W27)
from the
motherb
oard connector
(A17J6), pressing
down
and out
on the
connector lo
cks.
The
rear
panel is
now
connected only
b
y
three
exible
cables
(W21,
W22,
and
W23).
8.
Remo
v
e
the
brac
k
et
(item 5)
that secures
the graphics
board
(A19), remo
ving the
tw
o
screws
that attac
hit
to the
rear frame.
The pr
ere
gulator
is
now
sitting
lo
osely
in
the
instrument
.
Gen
tly
press
the
top
of
the
graphics
b
oard
(A19)
to
w
ards
the
displa
y
(A18)
then
lift
up.
Disconnect
the
three
exible cables
(W21, W22,
and W23)
from the
graphics
b
oard (A19).
The rear
panel
is
no
w
detac
hed.
Replacement
Rev
erse
the
order
of
the
remo
v
al
pro cedure.
14-14 Assembly Replacement and
Post-Repair Procedures
DRAFT
3/21/106 15:15
Artisan Scientific - Quality Instrumentation ... Guaranteed | (888) 88-SOURCE | www.artisan-scientific.com

Table of Contents

Related product manuals