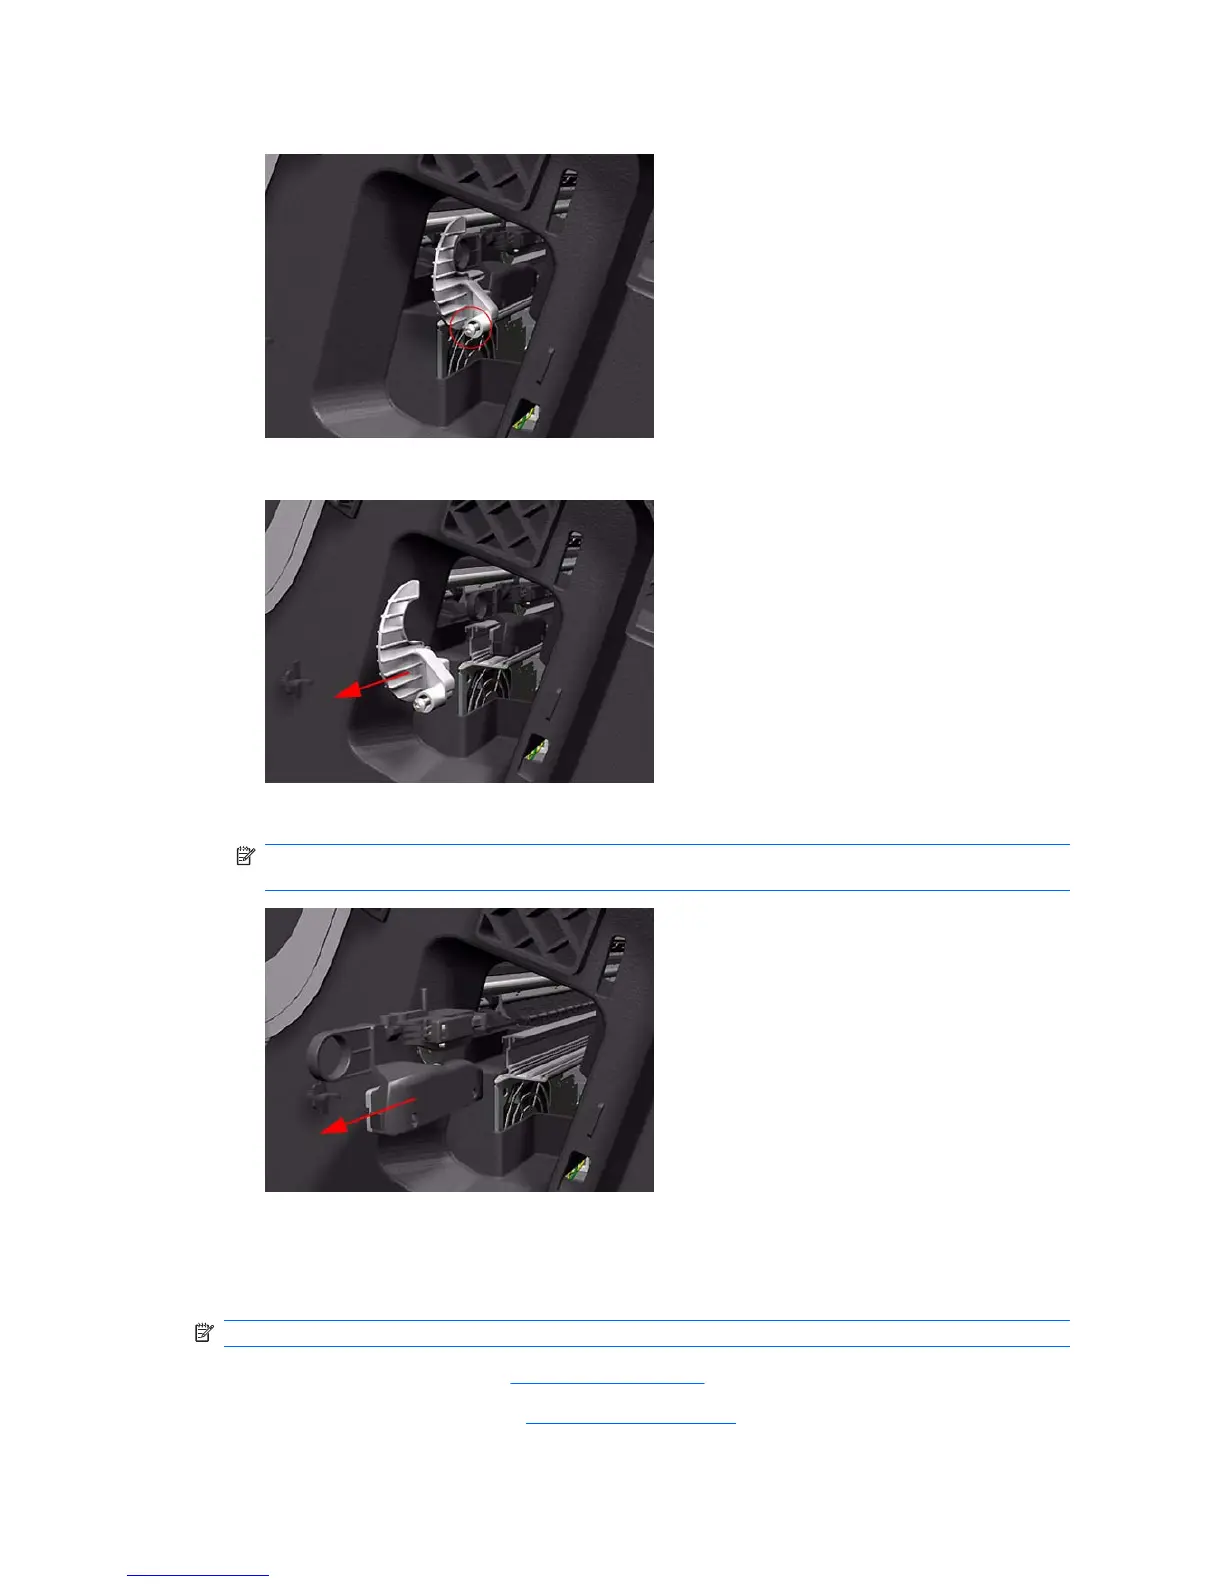
2. Fully loosen the cutter rail end cap attachment screw.
3. Remove the cutter rail end cap.
4. Slide the Cutter Assembly out of the printer.
NOTE: When you install the new Cutter Assembly, follow the installation instructions provided
with the new Cutter Assembly.
Right Rear Tray Support
Removal
NOTE: Switch off the printer and remove the power cable.
1. Remove the Rear Tray (refer Rear Tray on page 194).
2. Remove the Right Cover (refer
Right Cover on page 185).
200 Chapter 6 Removal and Installation ENWW
 Loading...