9. Remove the Encoder Strip (with spring and attachment nut) (refer Encoder Strip (with spring and
attachment nut) on page 231).
10. Remove the Carriage Assembly (with or without Trailing Cable) (refer
Carriage Assembly (with or
without Trailing Cable) on page 244).
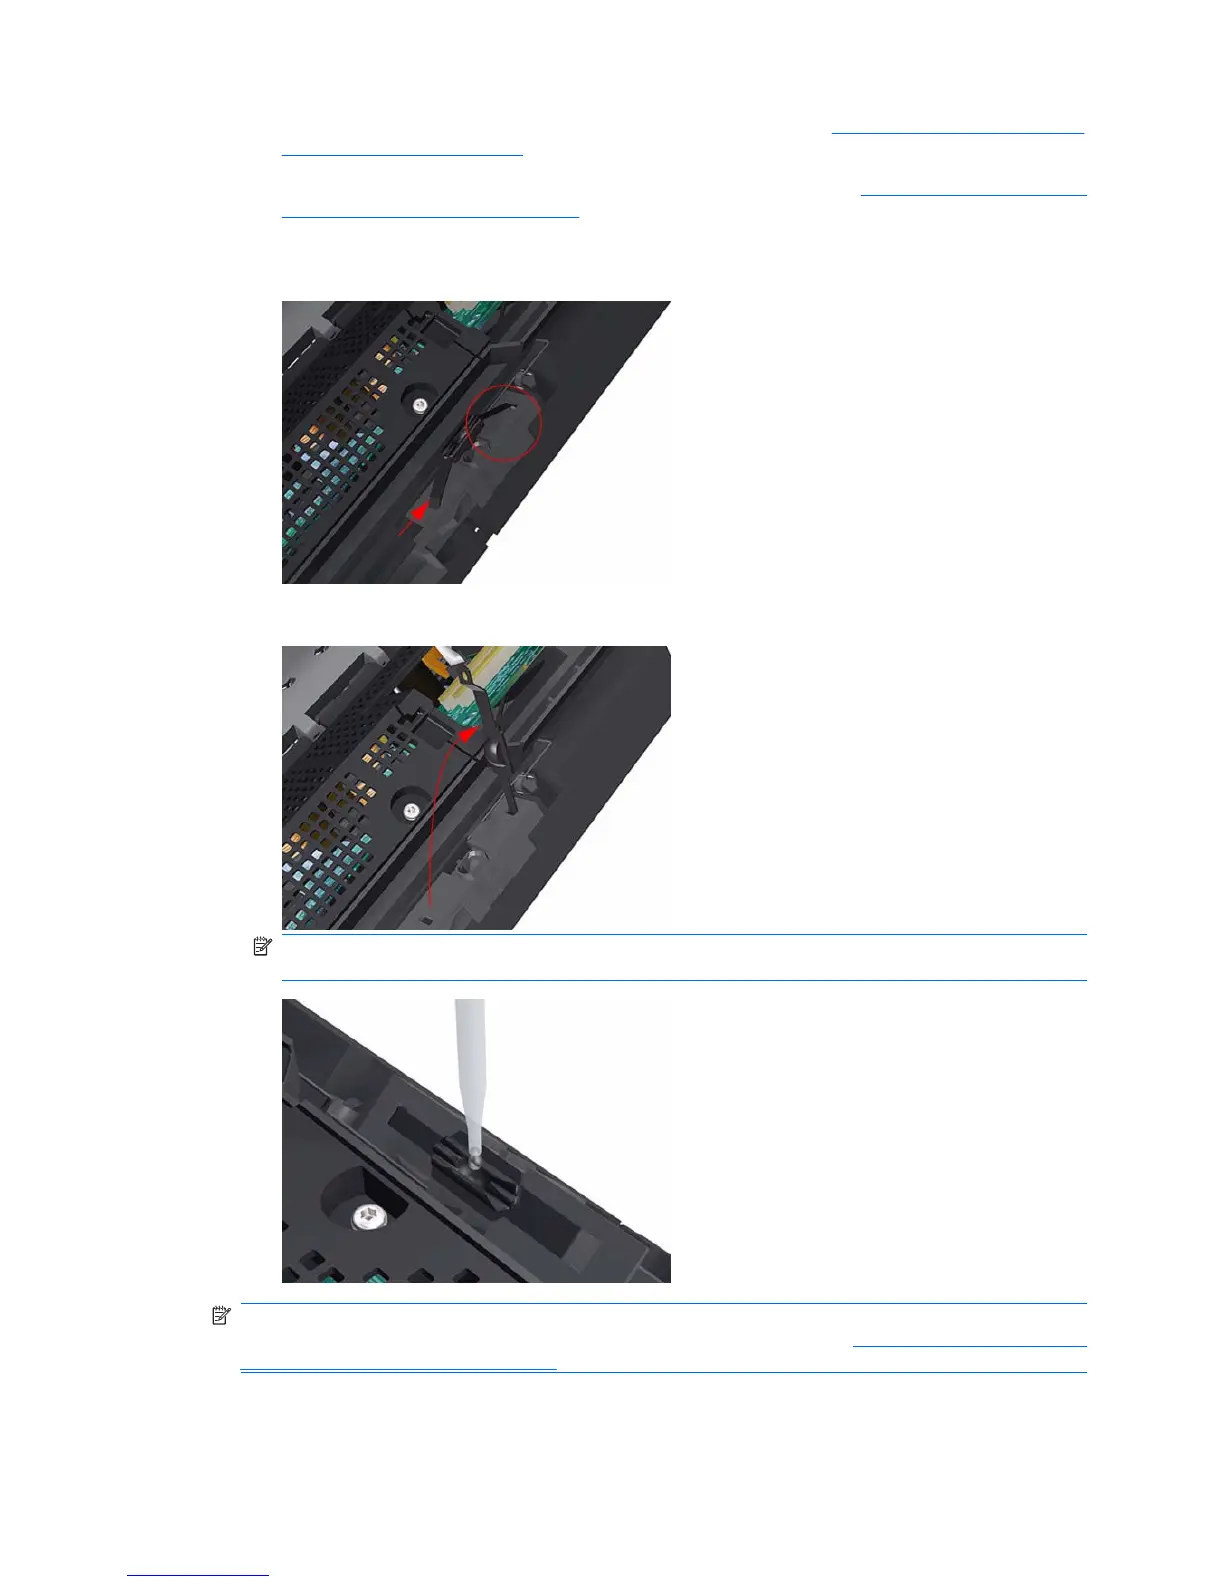
11. Squeeze the left hand clip of the Carriage Rear Bushing sufficiently to be able to release it from
the Carriage Assembly.
12. Rotate the Carriage Rear Bushing vertically and remove it from the Carriage Assembly.
NOTE: When you reinstall the Carriage Rear Bushing, use the Oil and Oil Dispenser from the
Lubrication Kit to add 2-3 drops of oil to the small depression in it.
NOTE: When you finish installing or replacing this component, you must perform the necessary
Service Calibrations. To find which calibrations you must perform, refer to
Service Calibration Guide to
Removal and Installation on page 170.
ENWW Carriage Rear Bushing 255
 Loading...