Belt Assembly
Removal
NOTE: Switch off the printer and remove the power cable.
1. Remove the Carriage Assembly (with or without Trailing Cable) (refer Carriage Assembly (with or
without Trailing Cable) on page 244.
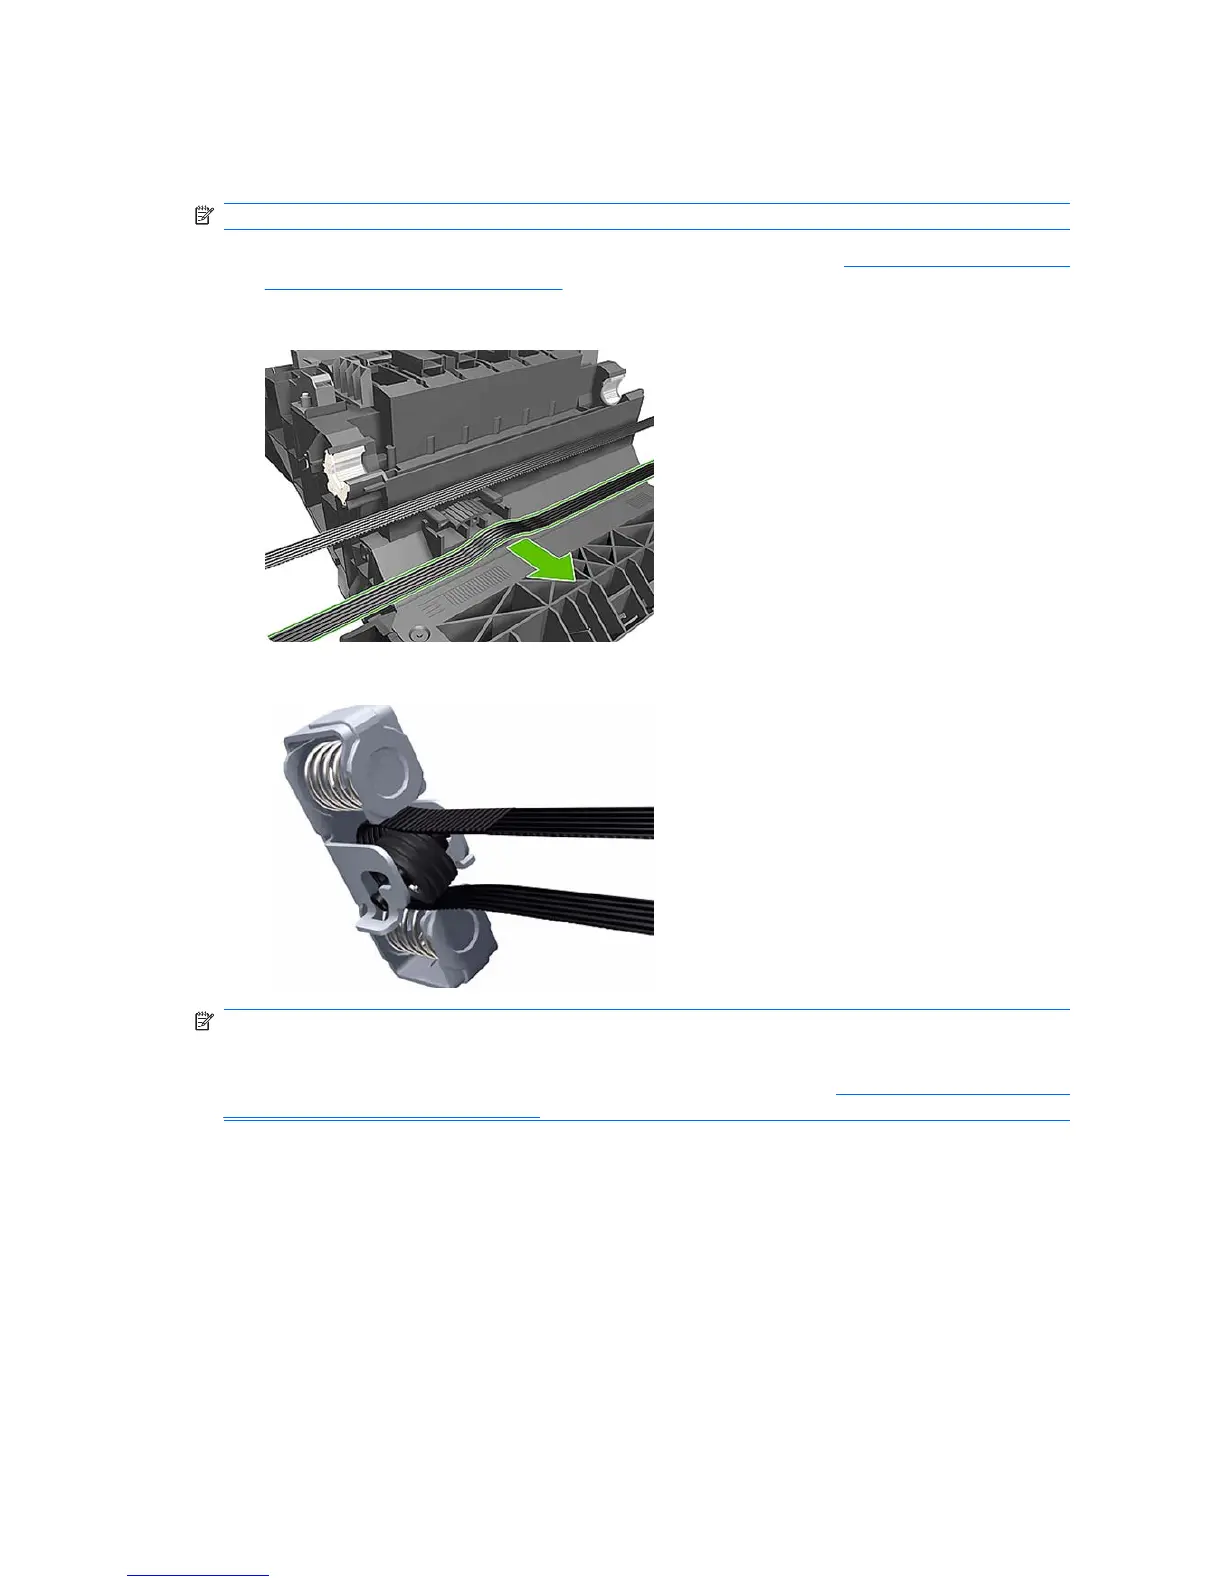
2. Slide the Belt Assembly out of the attachment on the Carriage Assembly.
3. Remove the pulley to release the Belt Assembly from the Belt Tensioner.
NOTE: There is a spacer between the right end plate and the tensioner.
NOTE: When you finish installing or replacing this component, you must perform the necessary
Service Calibrations. To find which calibrations you must perform, refer to
Service Calibration Guide to
Removal and Installation on page 170.
Installation
256 Chapter 6 Removal and Installation ENWW
 Loading...