2-7
Installing the switch
Installation procedure
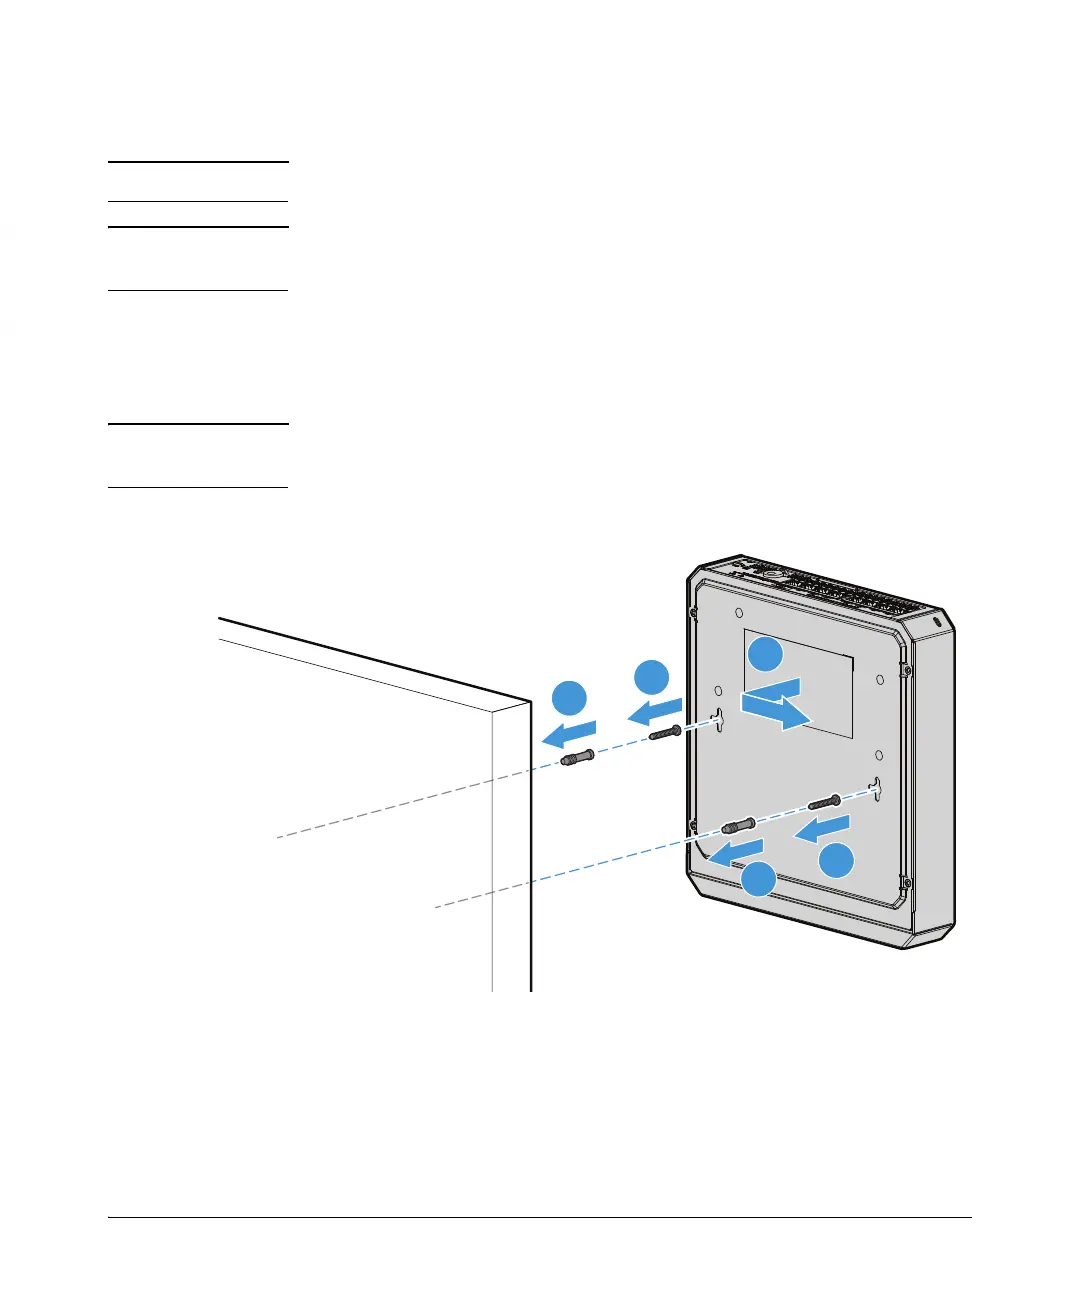
Mounting to a wall.
Important
Wall mount the switch with the network ports facing up or down.
Caution Mount the switch only to a wall or wood surface that is at least 3/4-inch (19 mm)
plywood or its equivalent.
1. Install two 3/4-inch (19 mm) M4 screws (included) into the mounting surface.
The base of the screw head should be distanced approximately 2 mm from the
wall face. Position the screws 6.3 inches (160 mm) apart for the PS1810-8G
Switch. Use the wall anchors if necessary.
Note The mounting holes on the PS1810-8G are not aligned horizontally (as shown in the
illustration). They are offset from each other by 20 mm.
2. Position the switch over the screws, and then slide it down to lock it in place.