2-10
Installing the switch
Installation procedure
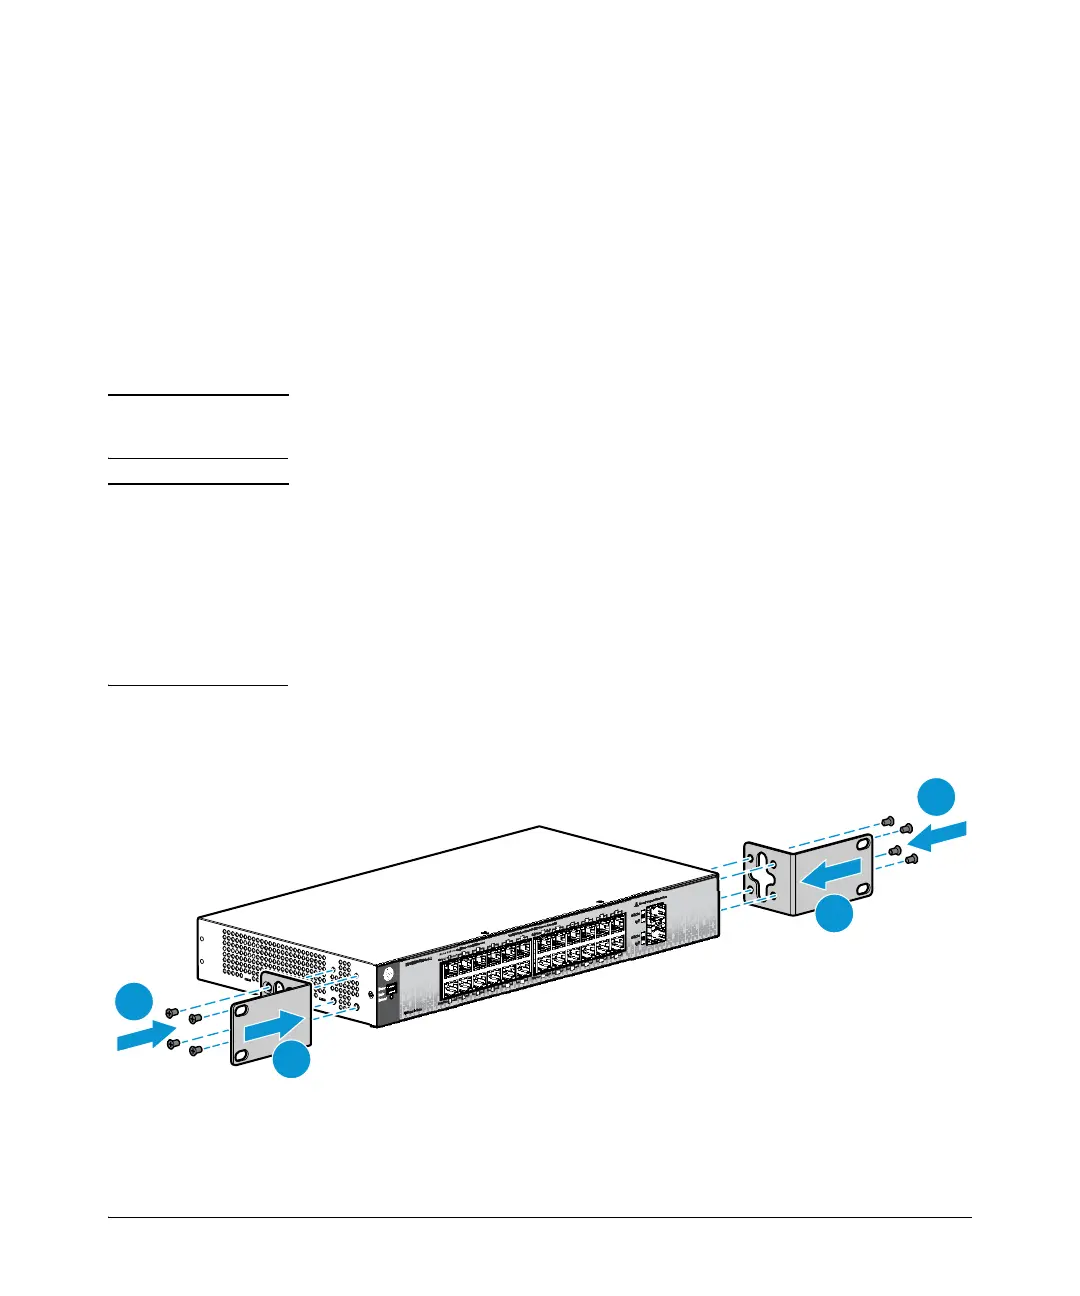
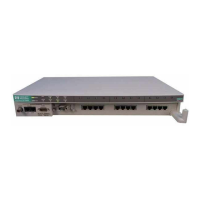
HP PS1810-24G Switch
You can mount the HP PS1810-24G in 19-inch Telco rack or equipment cabinet, on
a wall or on top of a horizontal surface or under a horizontal surface.
Mounting to a Rack or a cabinet .
The PS1810-24G Switches are designed to be mounted in any EIA-standard 19-inch
Telco rack or communication equipment cabinet. The mounting brackets have
multiple mounting holes, and the mounting brackets can be rotated allowing for a
wide variety of mounting options.
Important For safe operation, read the “Installation Precautions” on page 2-3, before
mounting the switch.
Equipment
Cabinet
Note
The screws supplied with the switch are the correct threading for standard EIA/TIA
open 19-inch racks. If you are installing the switch in an equipment cabinet such as
a server cabinet, use the clips and screws that came with the cabinet in place of the
screws that are supplied with the switch.
Complete the following step 1 to attach brackets to the switch. Decide on the four
holes in the cabinet, and then install all the four clips. Then proceed to step 2 to install
the switch in the cabinet.
1. Use a #1 Phillips (cross-head) screwdriver to attach the mounting brackets to the
switch with the included 8-mm M4 screws.