The toner cartridge might be defective.
Scratches are present on the circumference
of the photosensitive drum.
Print the supplies status page to check the
remaining life.
Use HP Device Toolbox to check the
supplies status.
Replace the toner cartridge.
The product is set to override the Replace
black cartridge message and to continue
printing.
Replace the toner cartridge.
Scratches are present on the circumference
of the fuser lm.
Replace the fuser.
The amount of background toner shading
becomes unacceptable.
Extremely dry (low humidity) conditions
can increase the amount of background
shading.
Check the product environment.
The toner cartridge might be defective. Replace the toner cartridge.
The product is set to override the Replace
black cartridge message and to continue
printing.
Replace the toner cartridge.
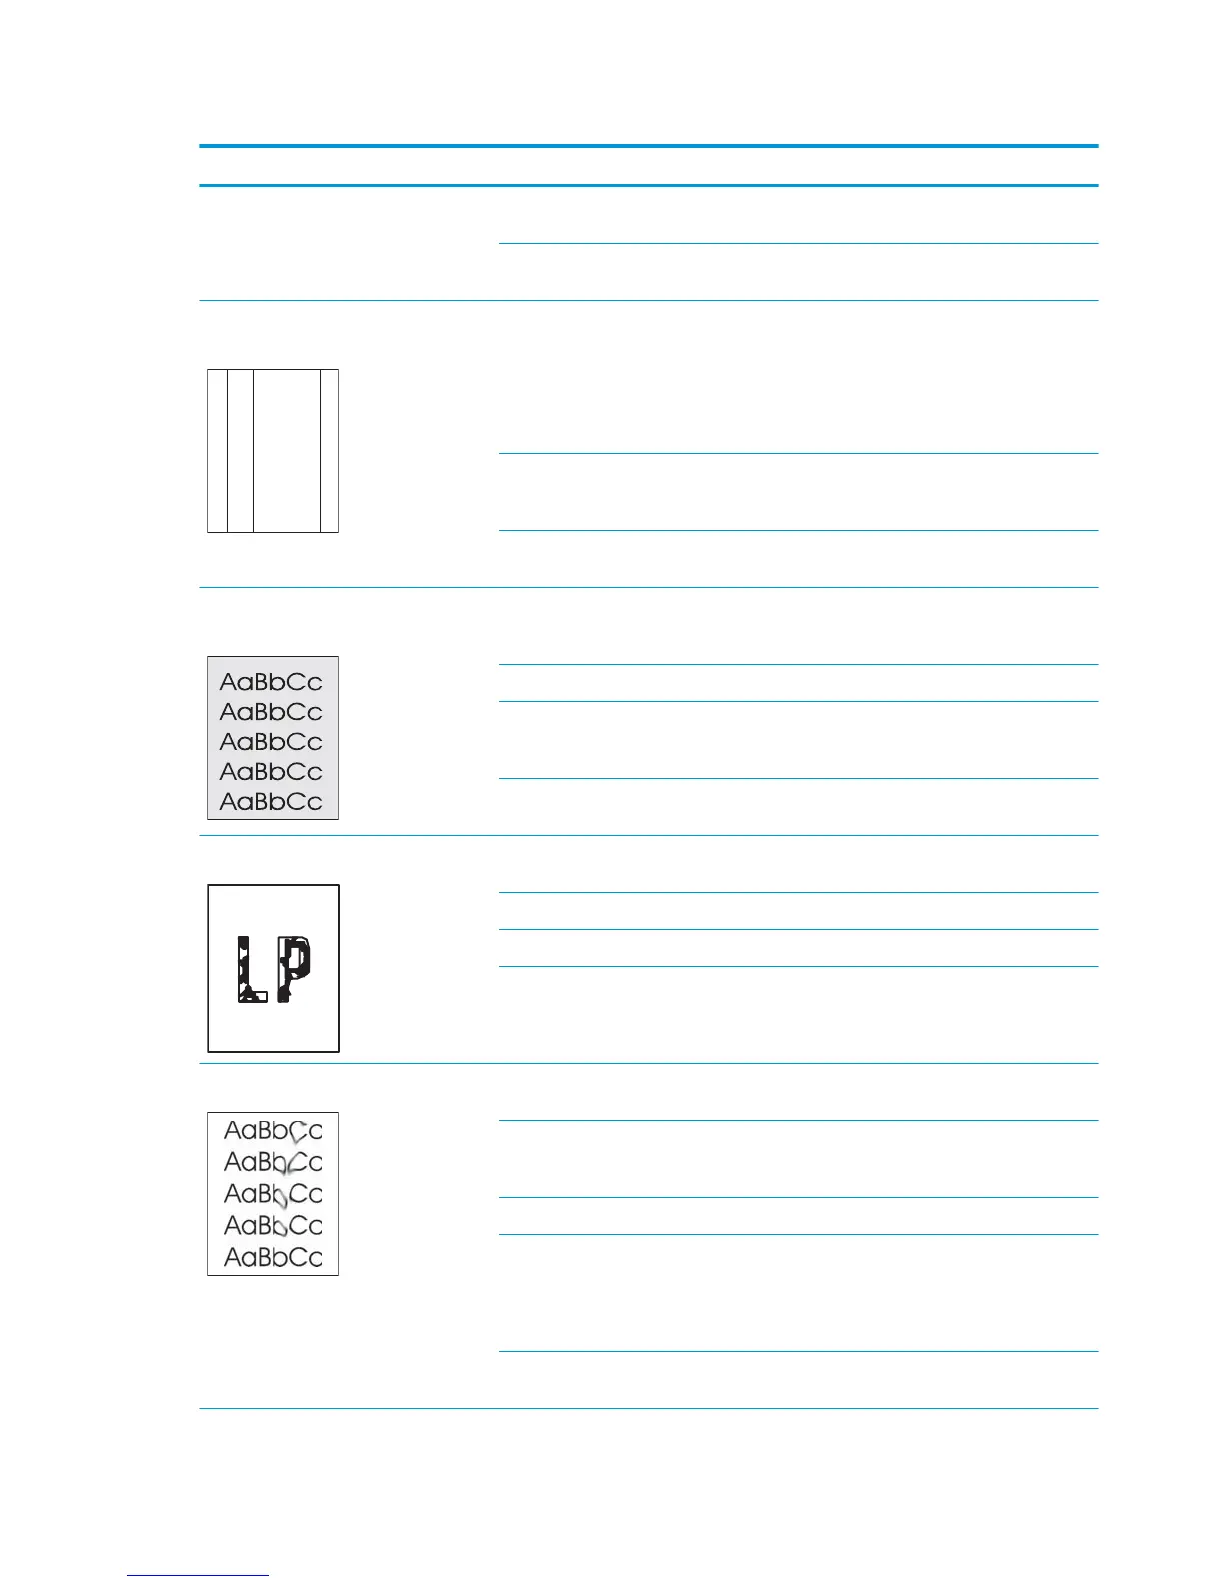
Smooth media shows more background
than plain media
Try using rougher media.
The toner is not fully fused to the media. The fuser lm or pressure roller is scarred
or deformed.
Replace the fuser.
The thermistor is defective. Replace the fuser.
The fuser heater is defective. Replace the fuser.
The fuser control circuit is defective. Replace the low-voltage power supply
assembly.
Toner smears appear on the media. The media might not meet HP
specications.
Use only media that meets
HP specications.
If toner smears appear on the leading edge
of the paper, the media guides are dirty, or
debris has accumulated in the print path.
Clean the media guides.
Clean the paper path.
Residual paper in the paper path. Remove the residual paper.
Poor contact exists in the grounding of the
toner cartridge.
Clean the contacts of both the printer and
the cartridge. If the problem remains after
cleaning, check the contacts for
deformation or damage. Replace any
defective parts.
Foreign substance adheres to the fuser
inlet guide or the guide is dirty.
Clean the fuser inlet guide.
146 Chapter 2 Solve problems ENWW
 Loading...