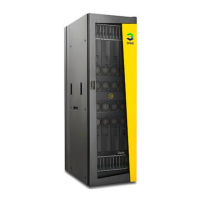
4. Place the cover on the controller module rails and
slide the cover over the controller until the latch
clicks in place.
Figure 7 Installing the controller cover
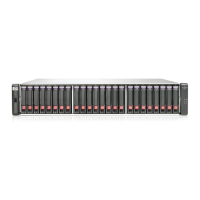
Attach the controller upgrade label
Attach one of the controller upgrade labels to the
bottom of the controller, underneath the part number
label. See Figure 8 (page 4).
NOTE: The new labels identify your controller
as an updated model and insure that you
receive the correct replacement part if needed.
Figure 8 Upgrade label placement
2. Controller upgrade label1. Part number label
Reinstall the controller
To reinstall a controller:
1. Push the controller into the controller enclosure,
and then move the mounting latch to the left until
fully engaged and the controller is fully seated in
the enclosure. See Figure 9 (page 4).
2. Attach the host port and SAS (if applicable) cables
to the controller.
CAUTION: Do not power up the enclosure at
this time.
Figure 9 Installing a controller
Upgrade controller 2
Replace the DIMMs in controller 2 by repeating the
procedures described in “Remove controller 1” (page
2) through “Reinstall the controller” (page 4).
Replace the controller enclosure battery
modules
There are two battery modules under the bezel on the
front of the controller enclosure.
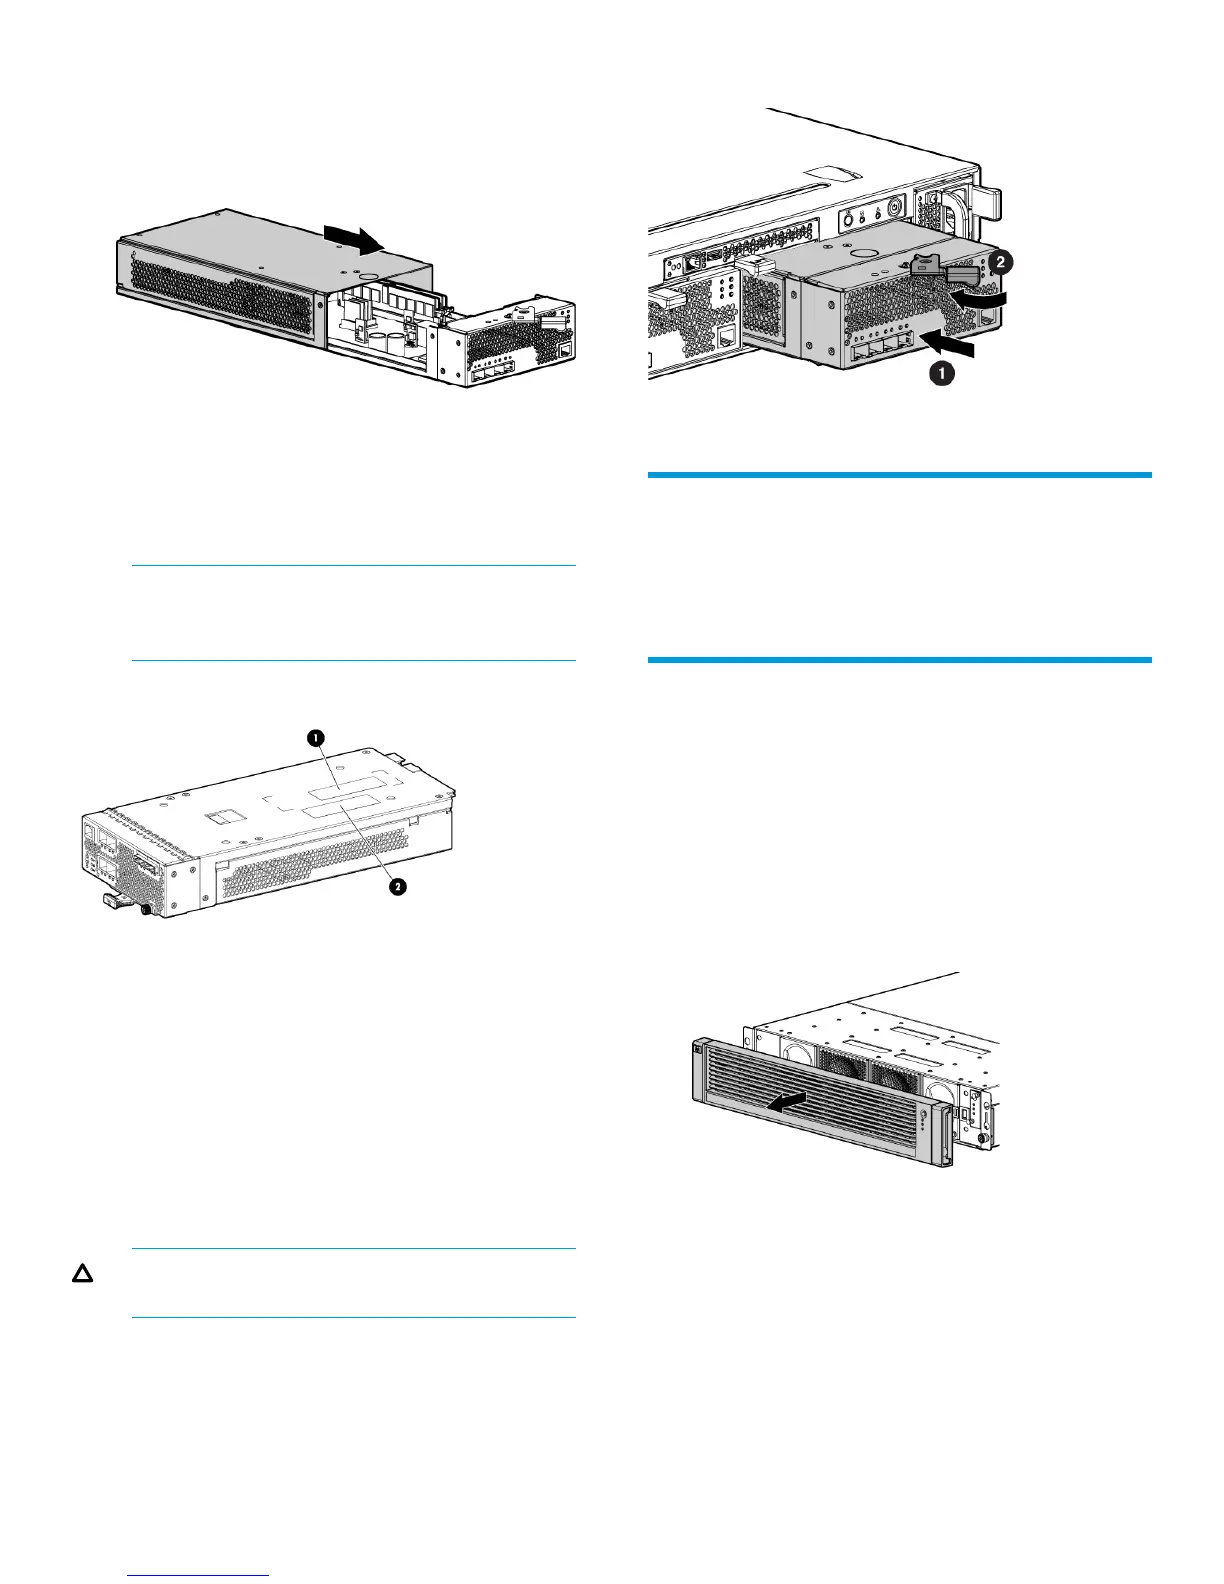
Removing the battery modules
1. Remove the enclosure front bezel by grasping
both ends and pulling it off the enclosure.
Figure 10 Enclosure bezel removal
2. Grasp the handle on the battery module and pull
it out a short distance.
3. Position one hand under the battery module, and
with the other hand, pull the battery out of the
enclosure.
4. Remove the second battery module.
Page 4